New Face On The Block

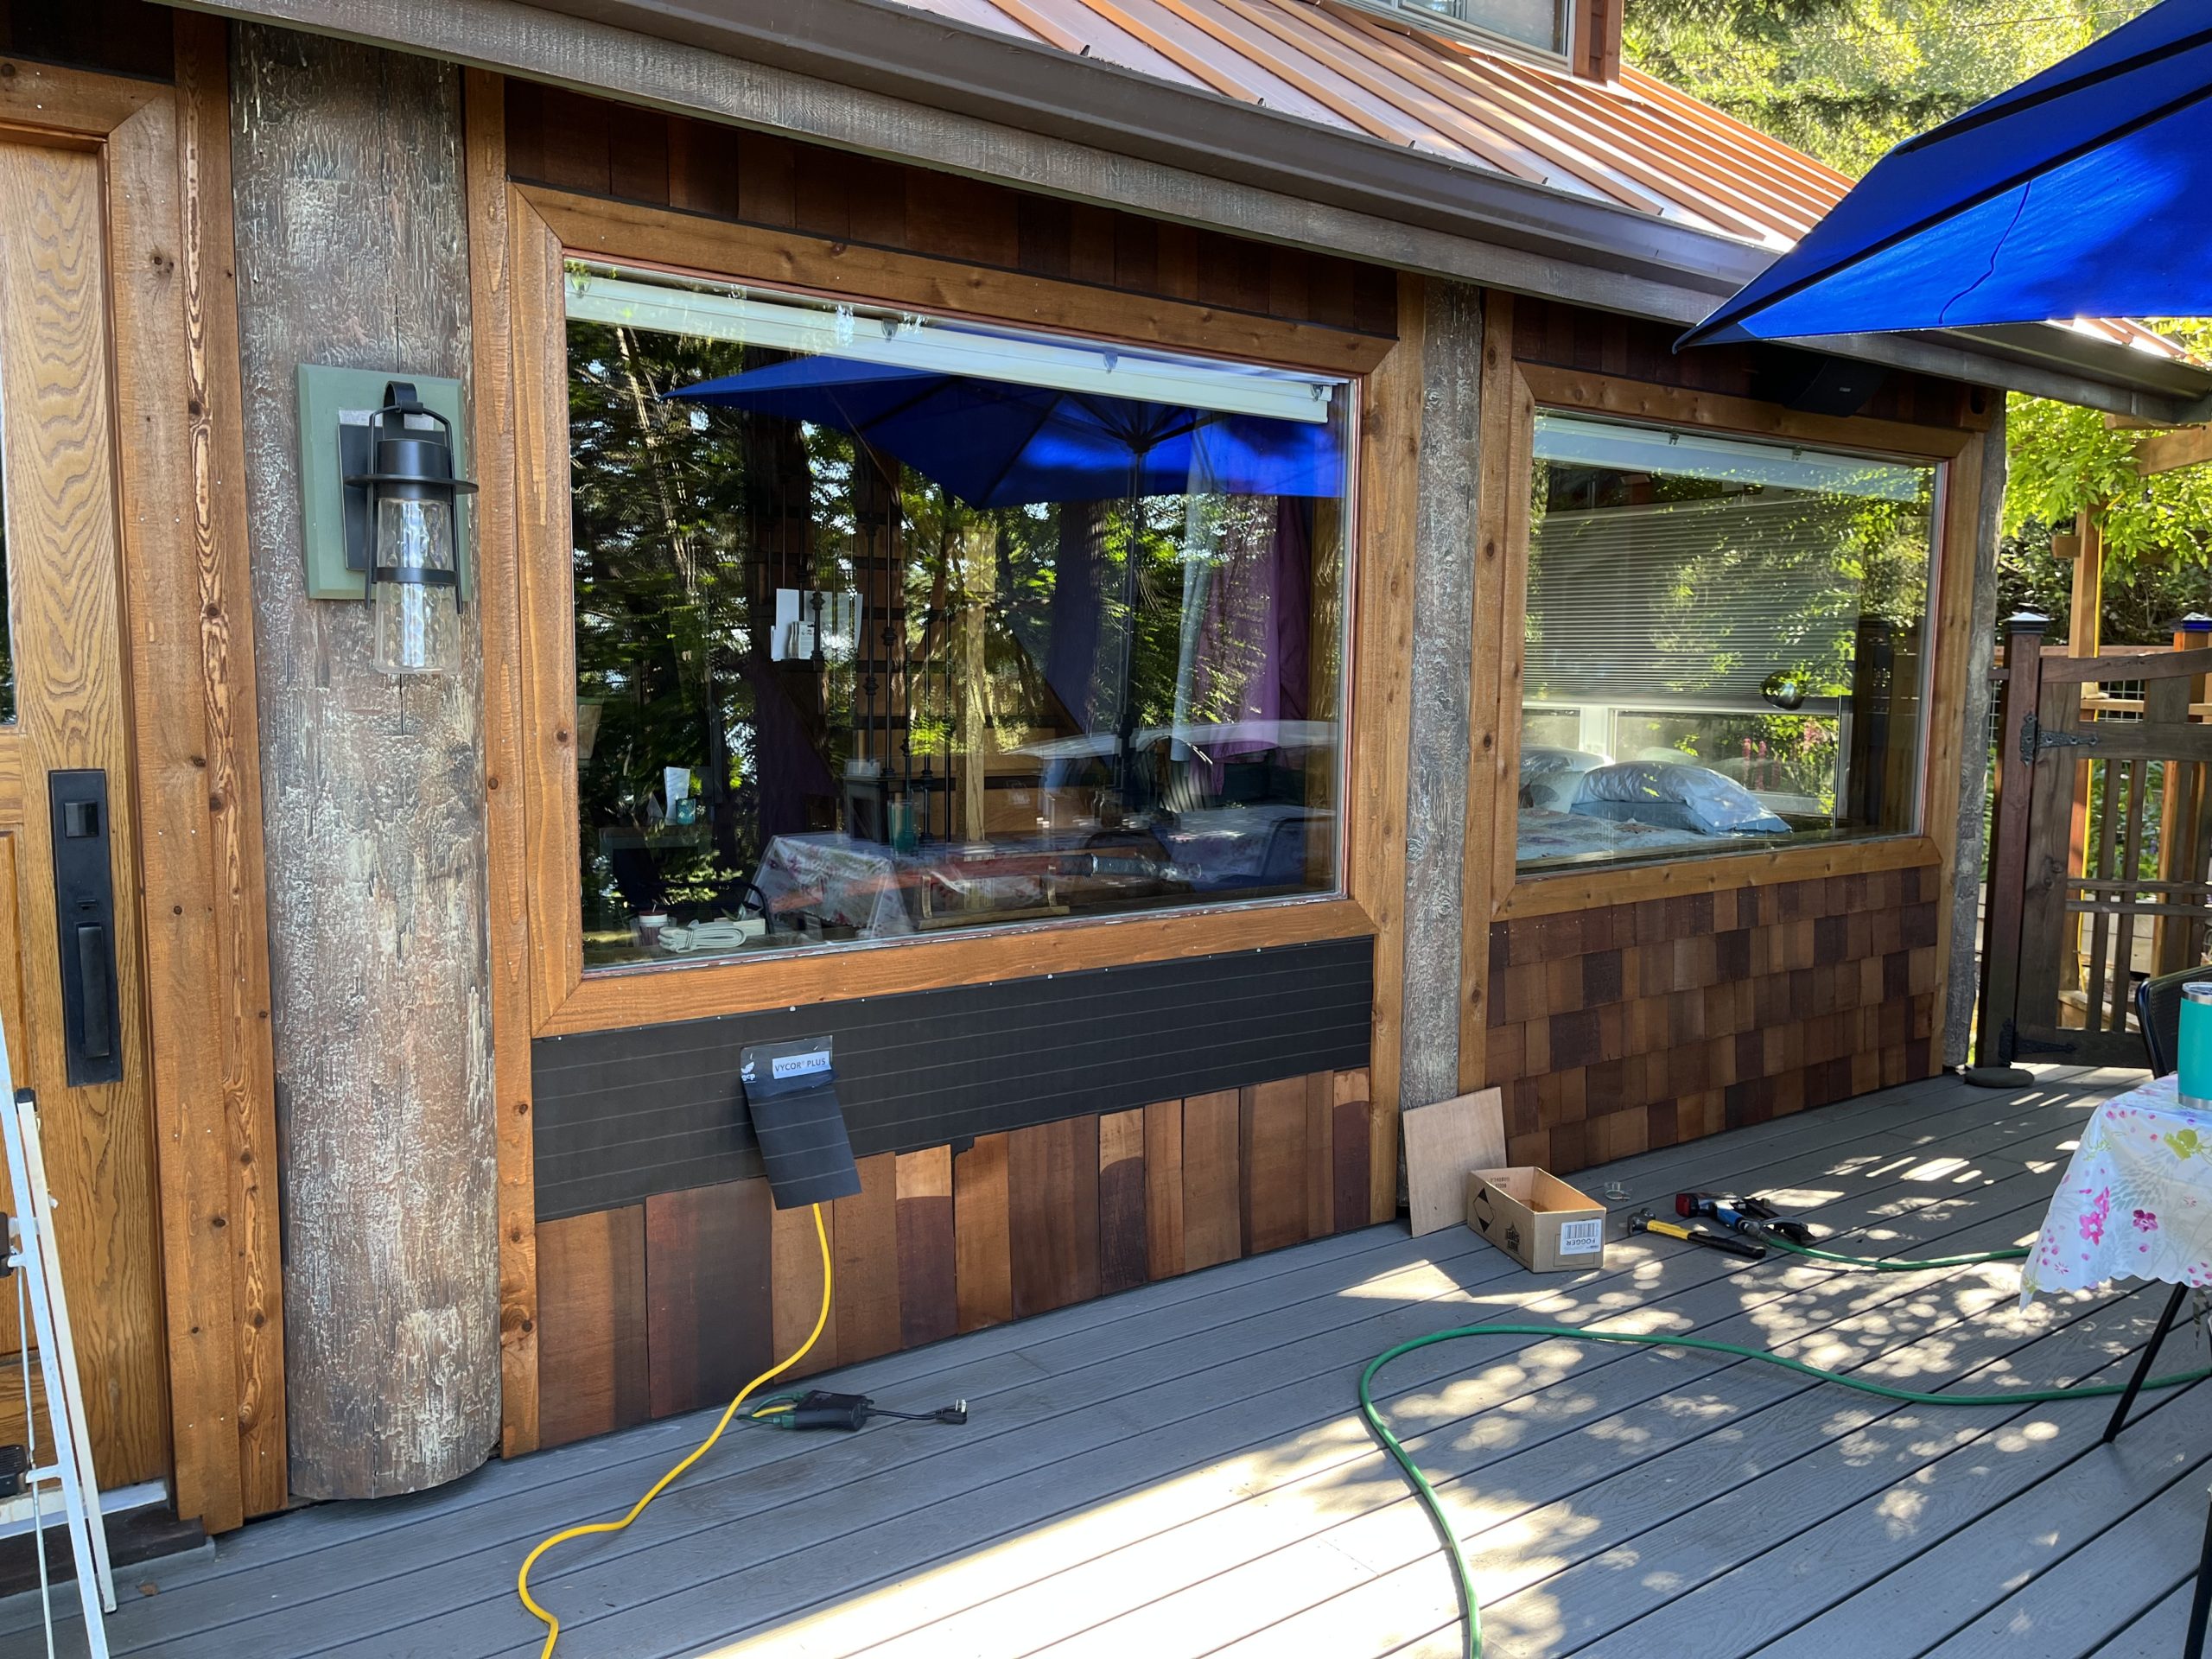
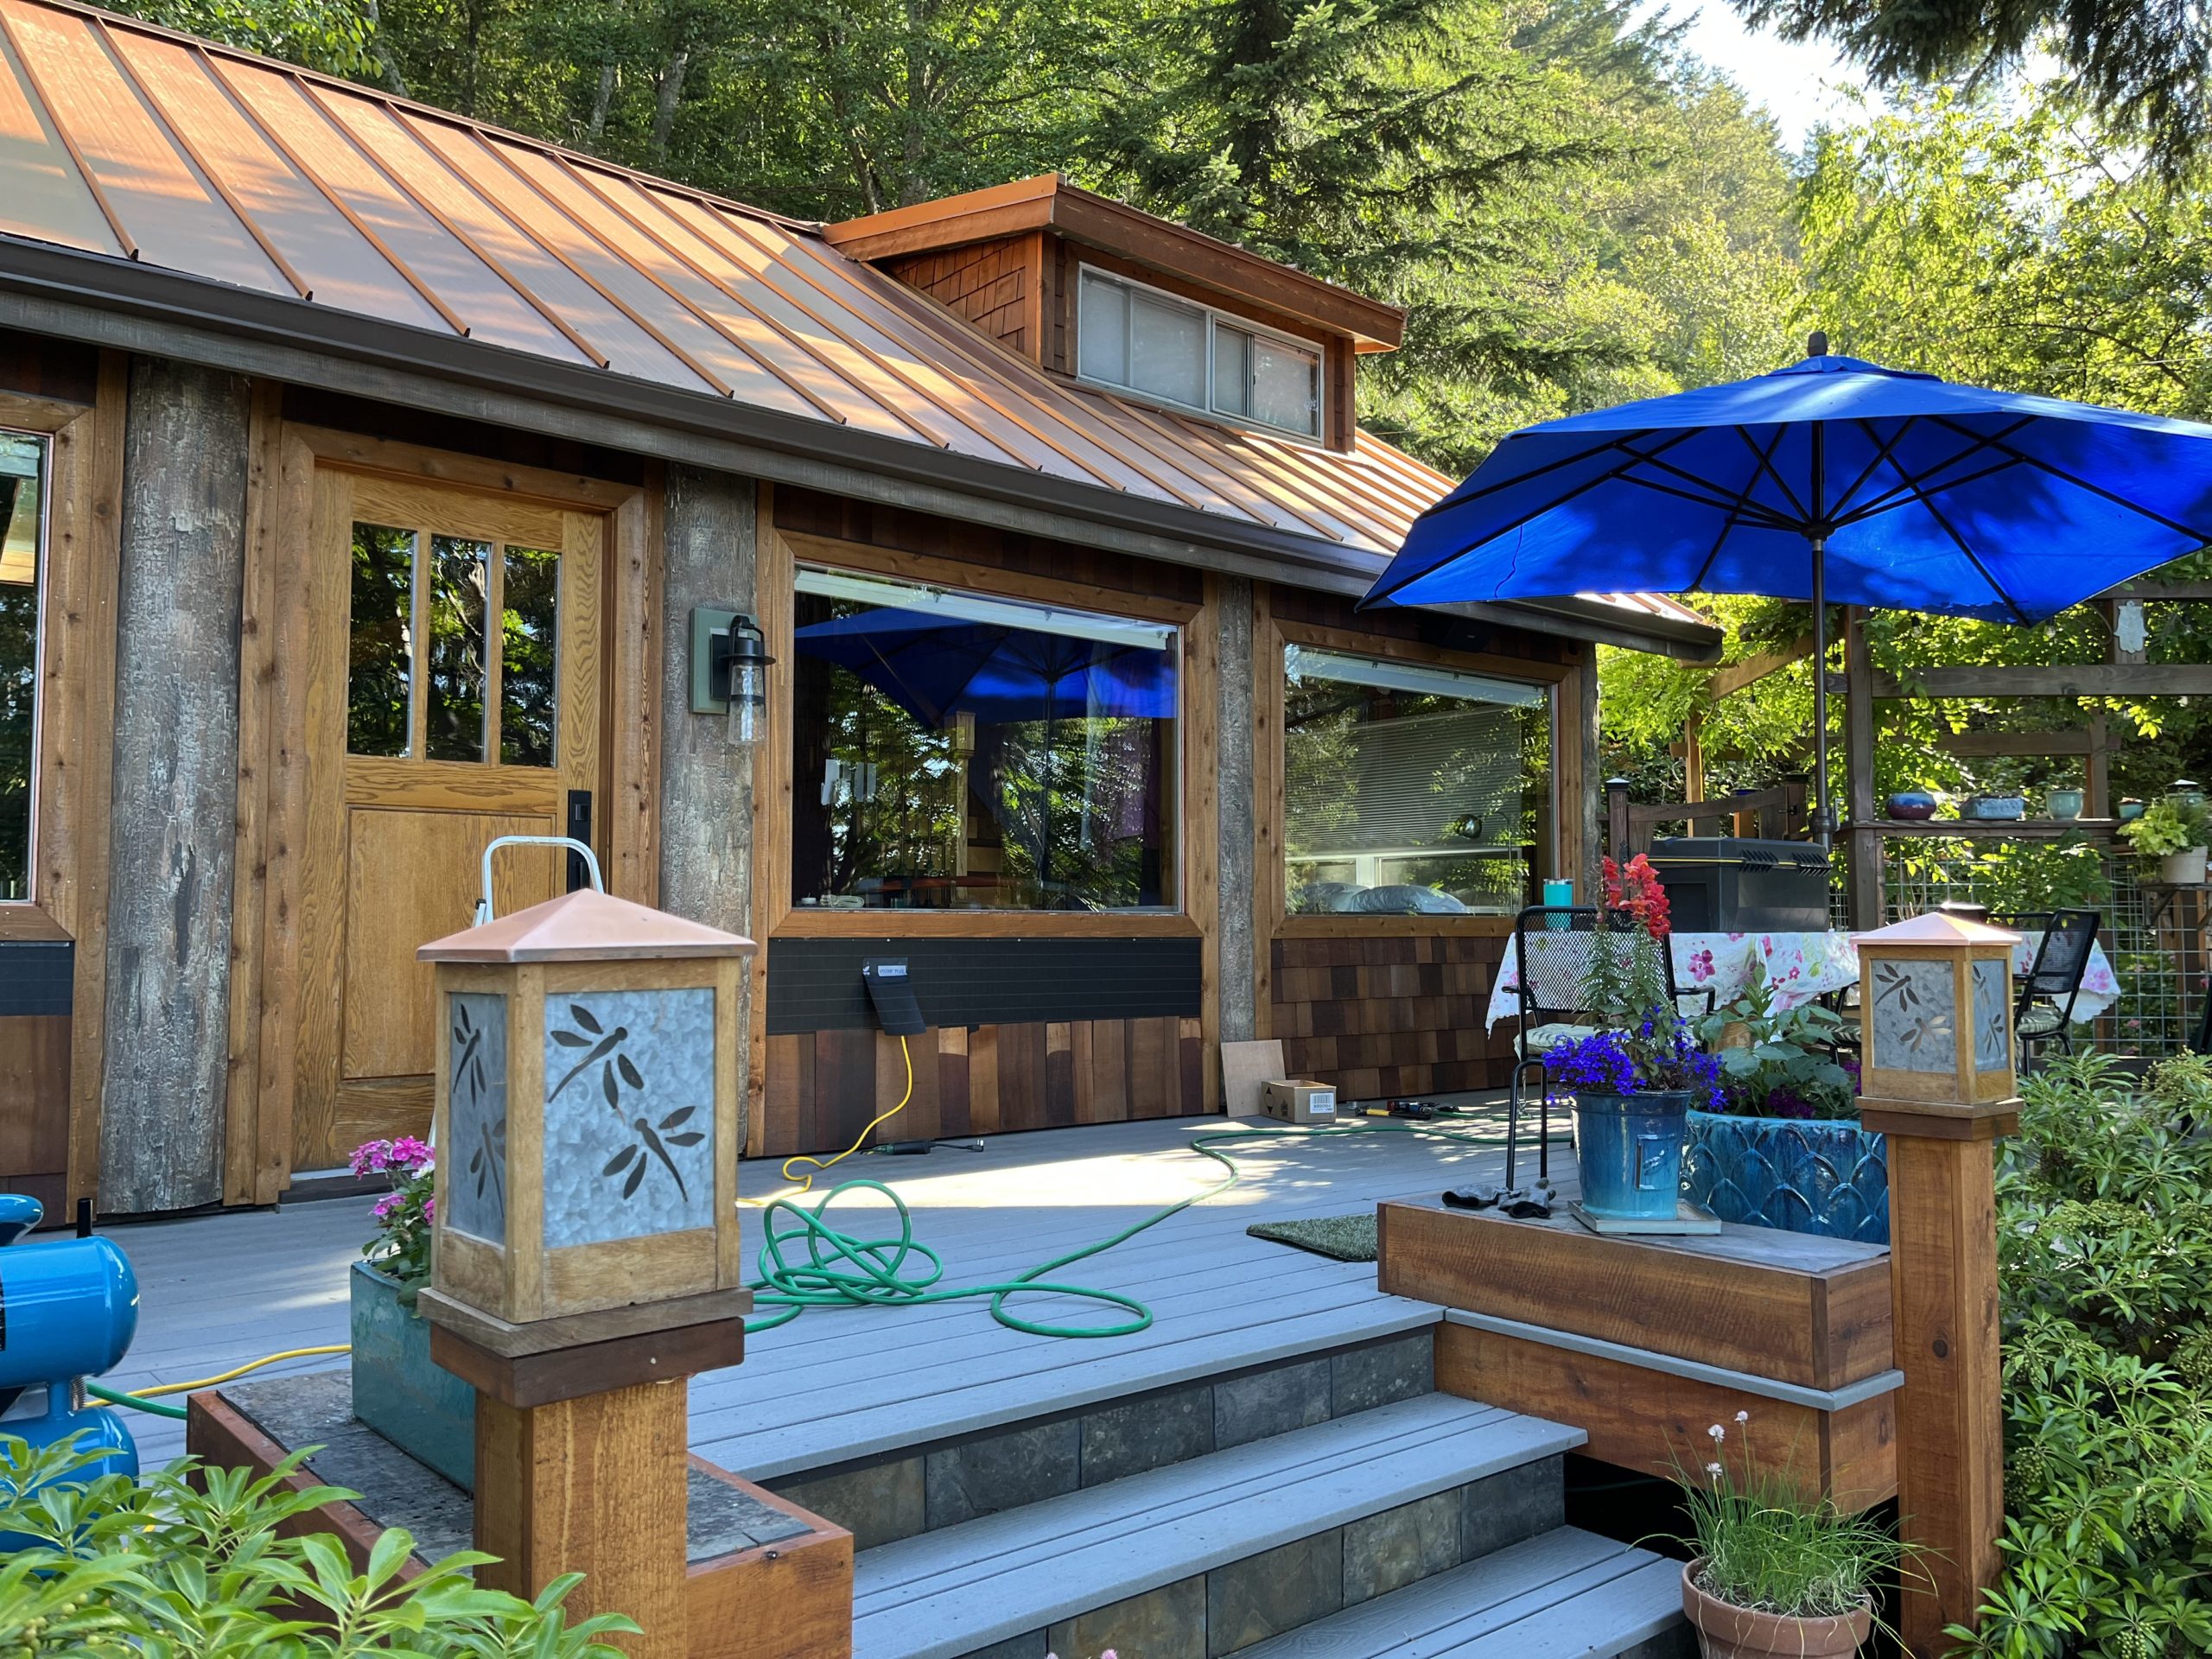
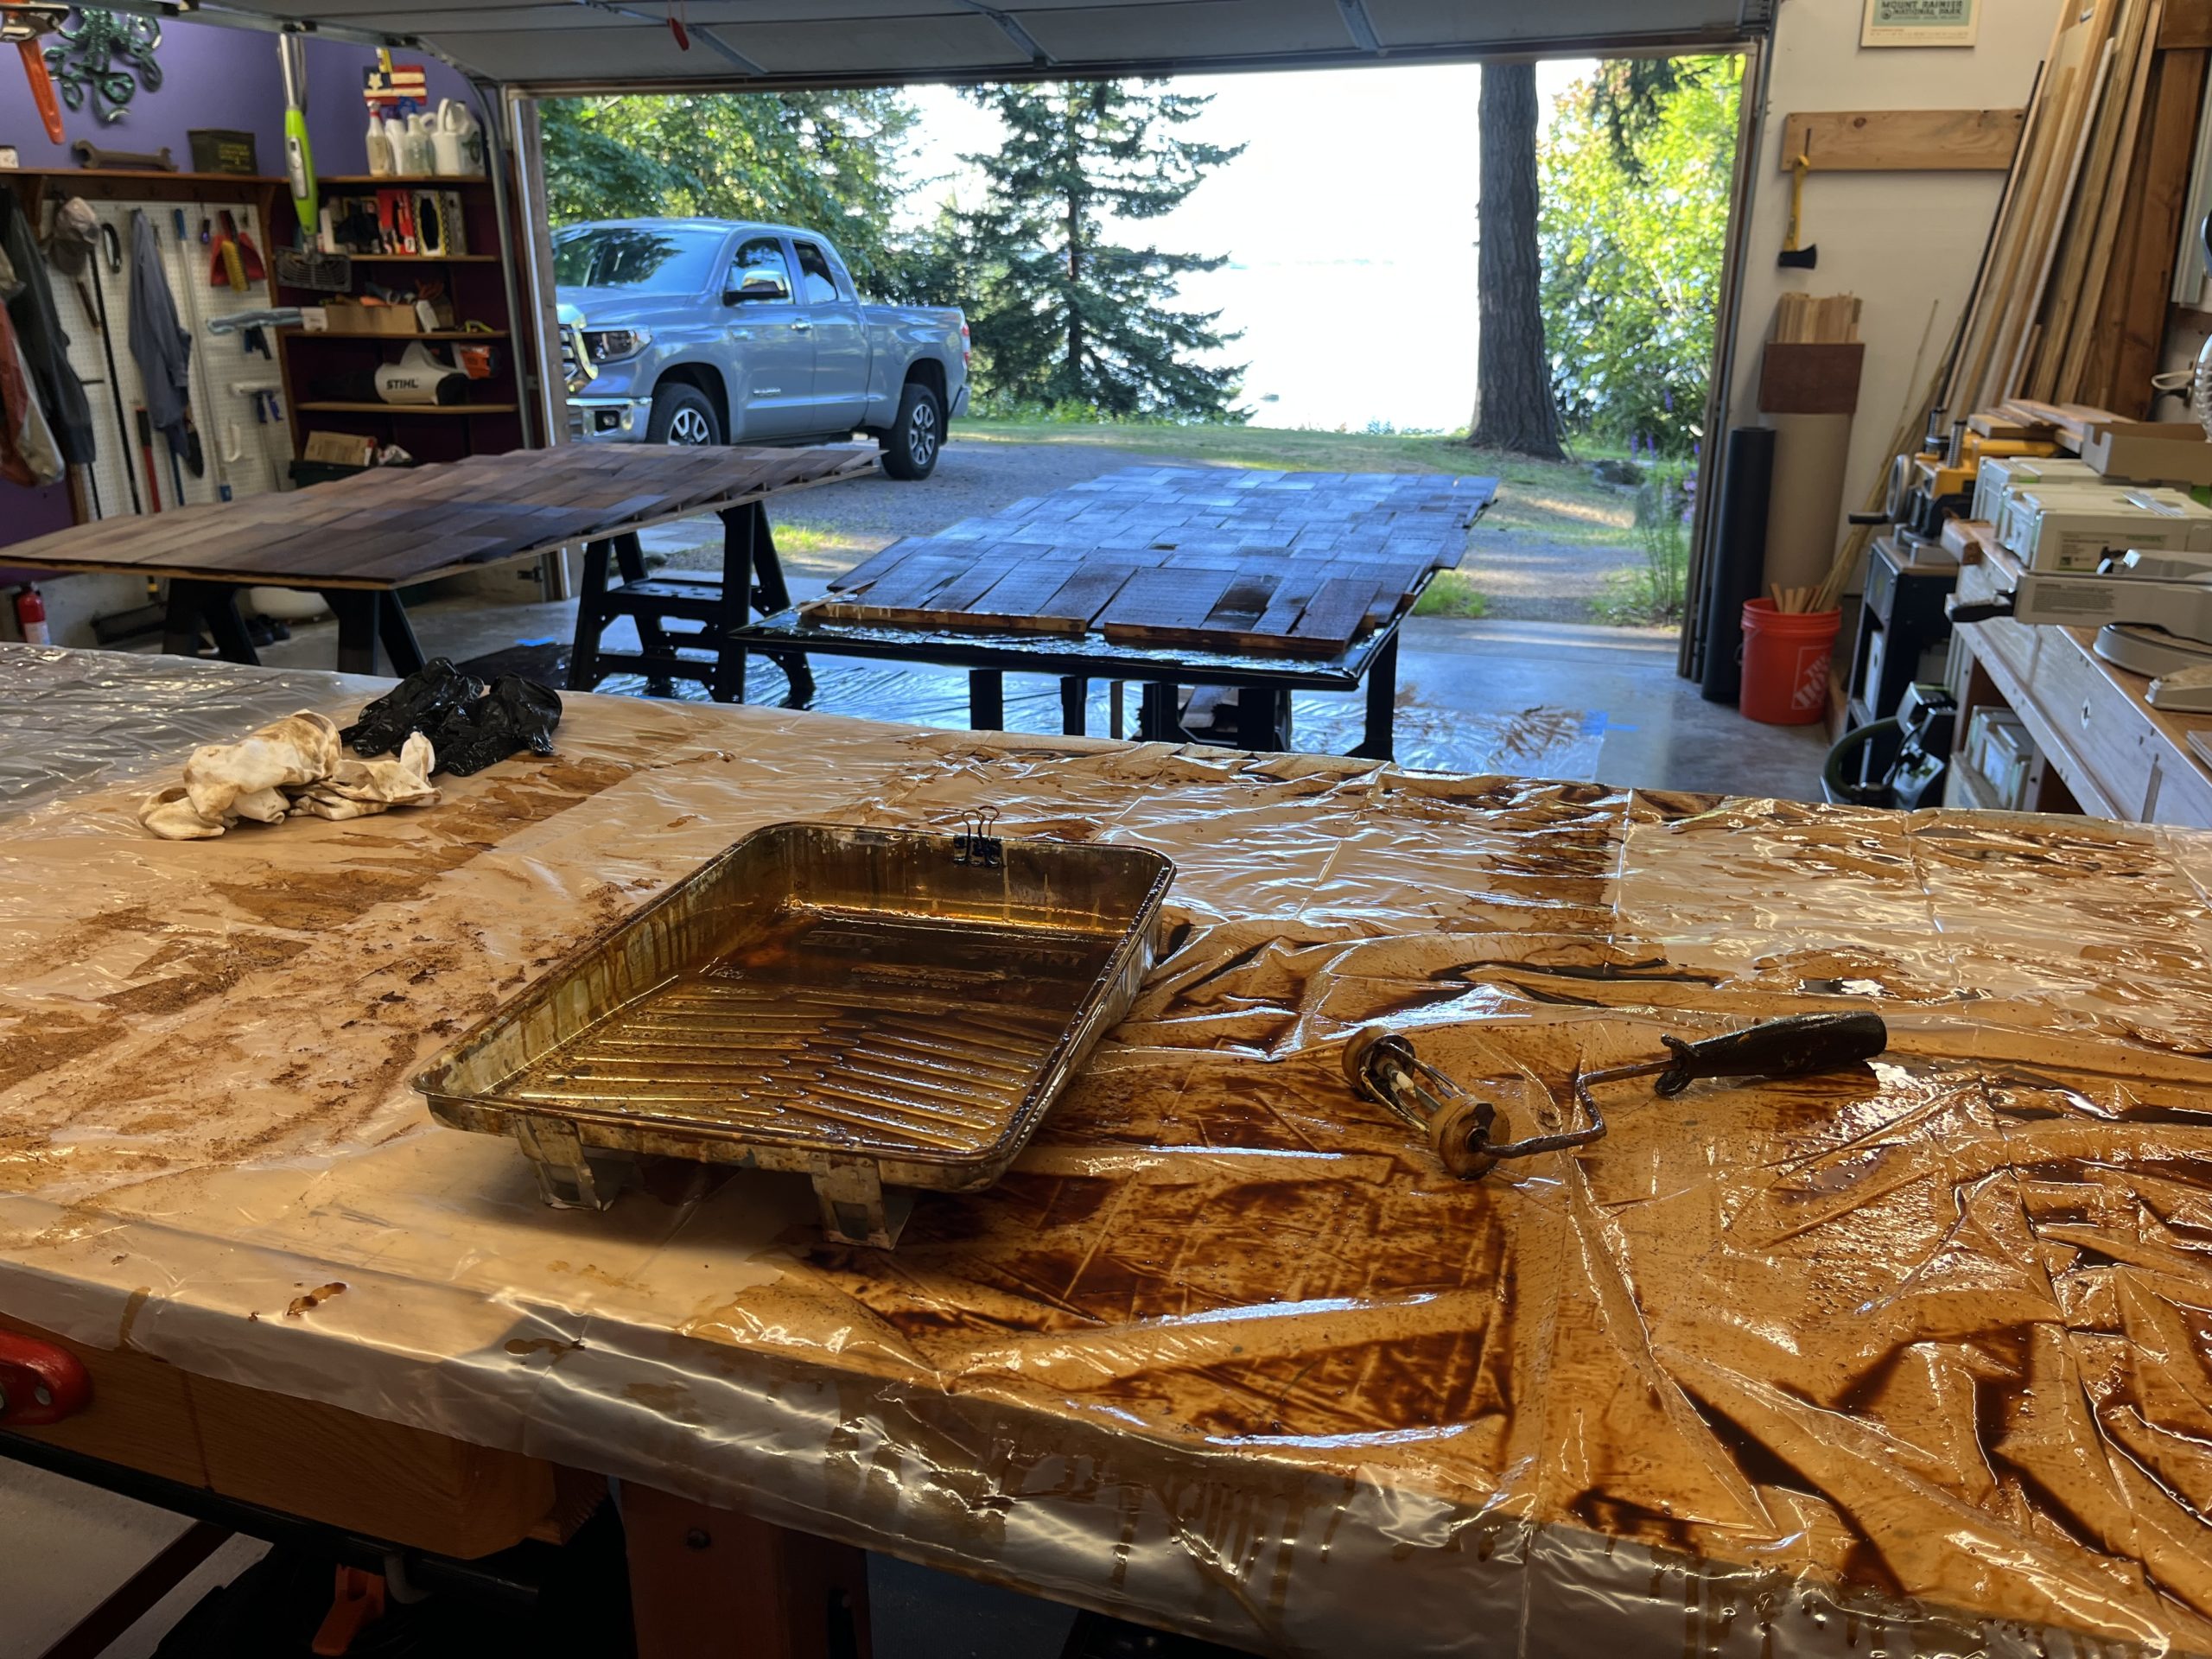
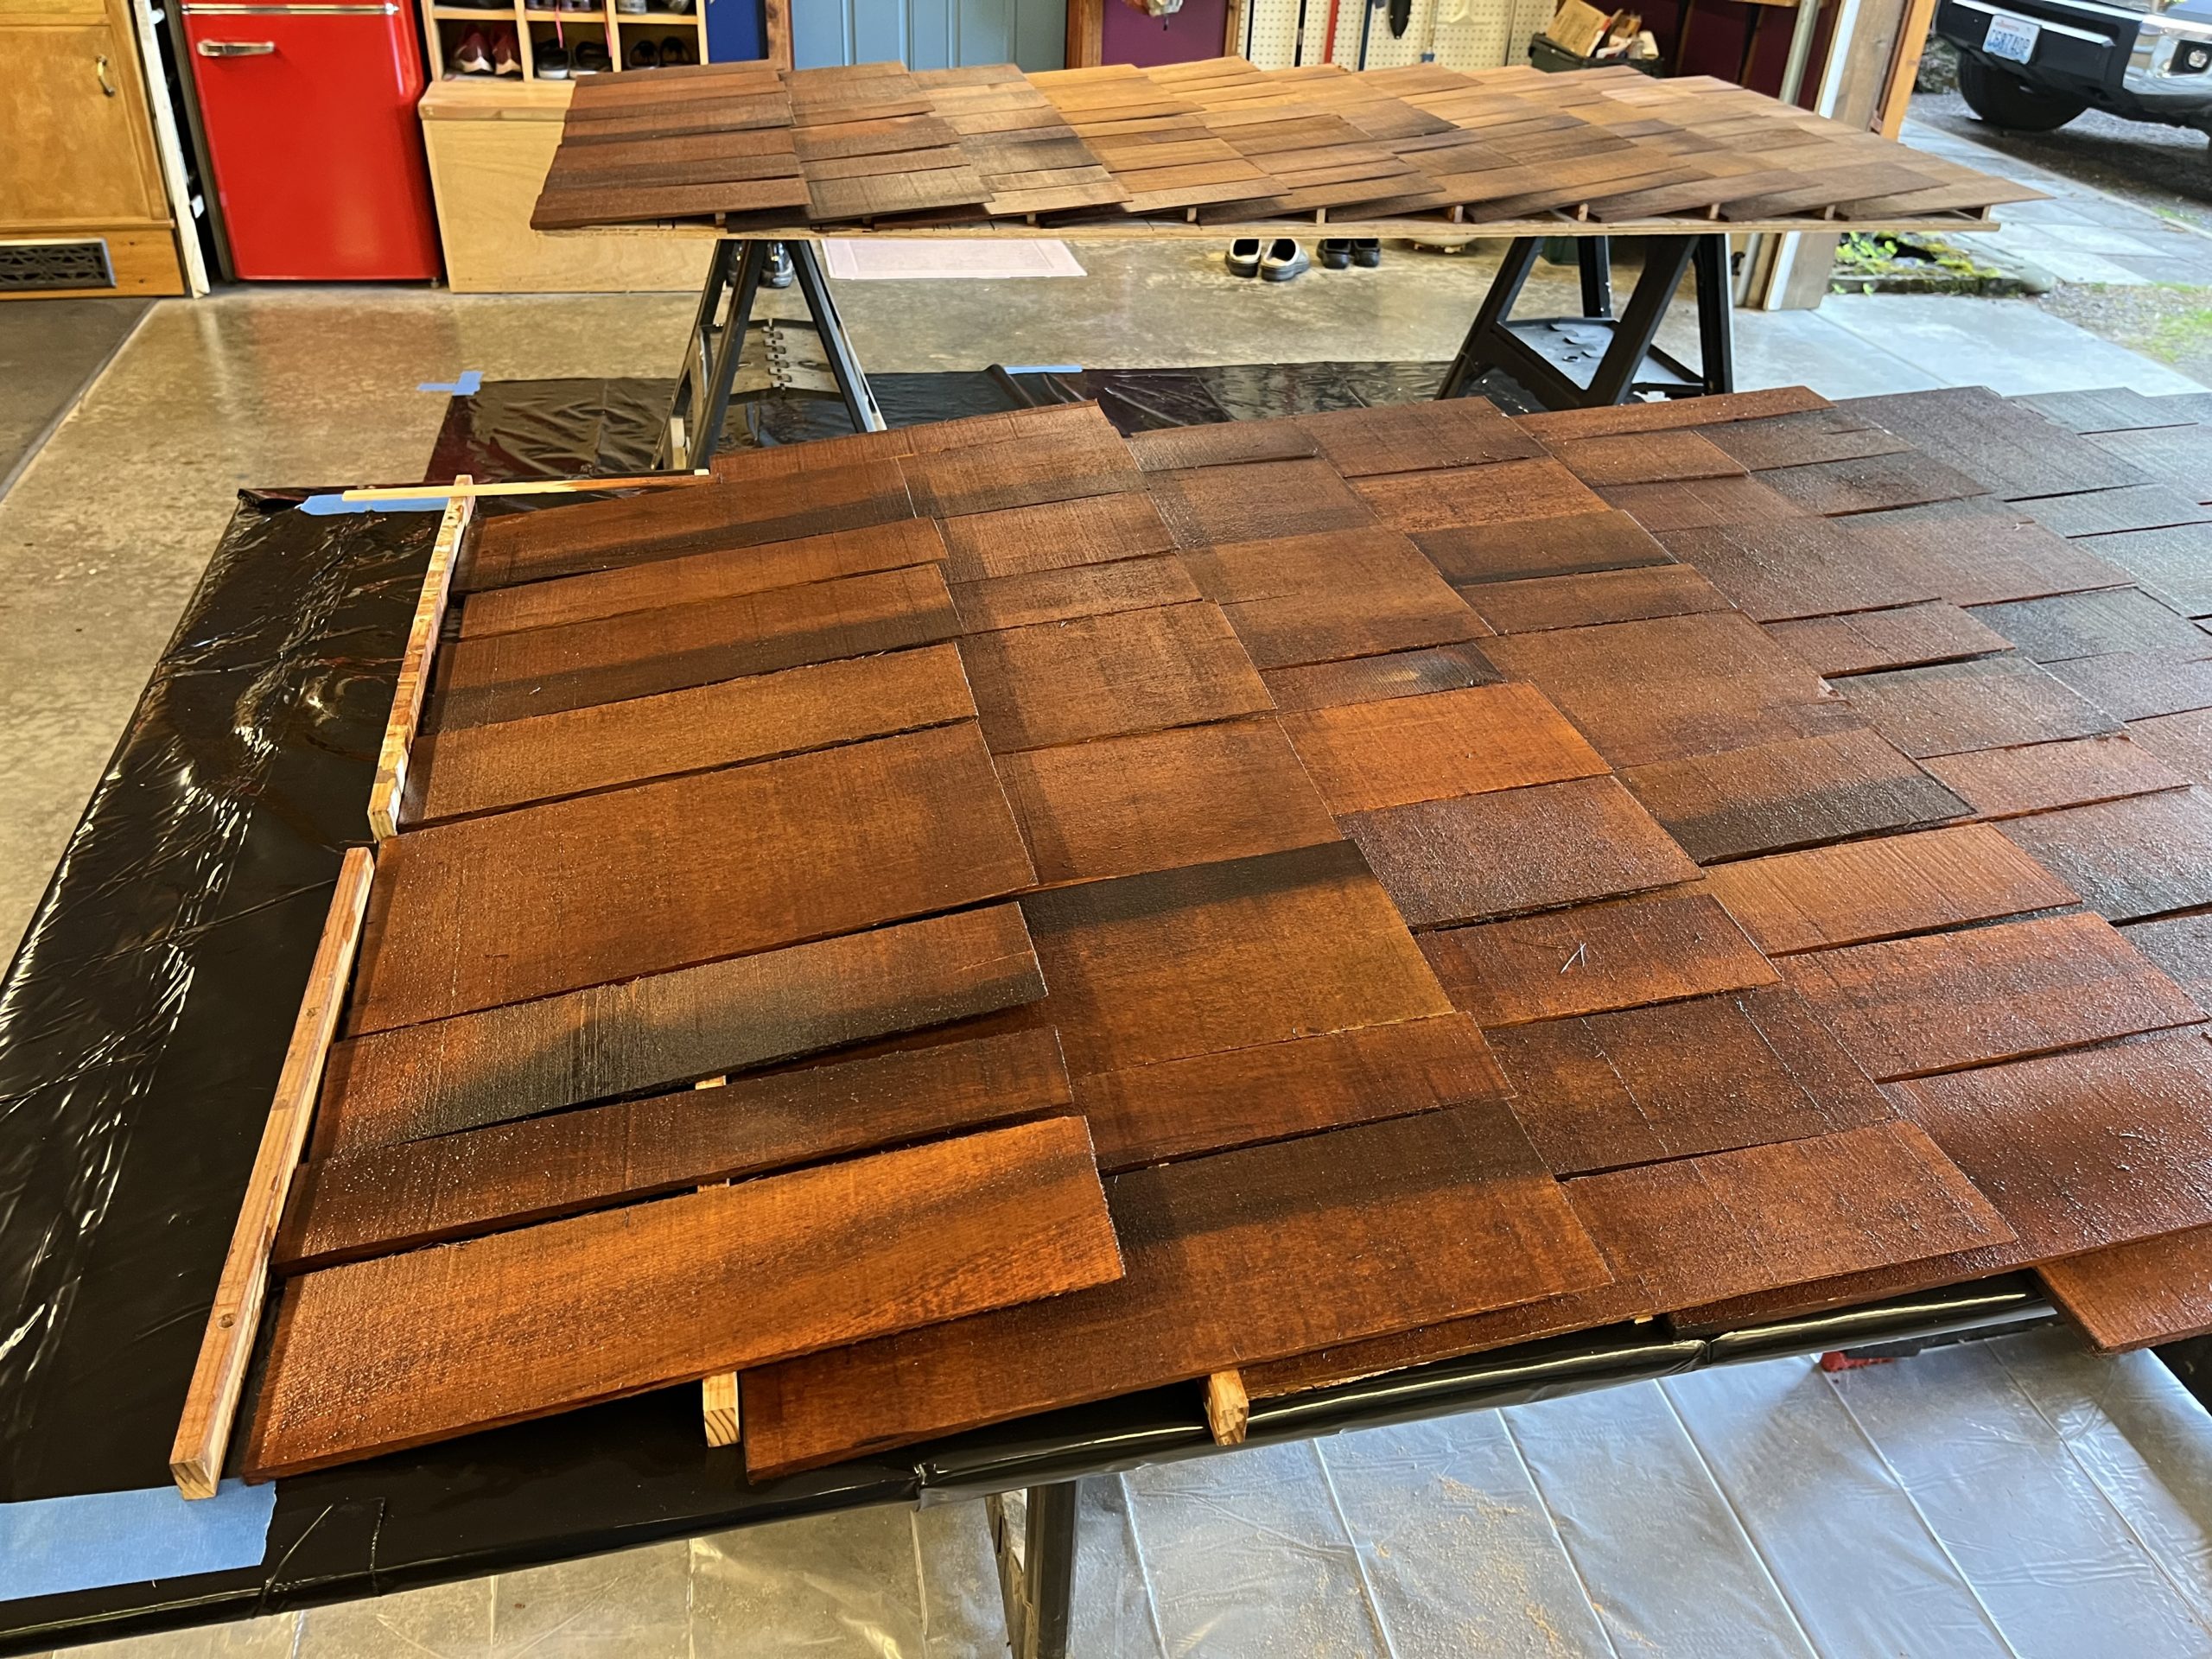
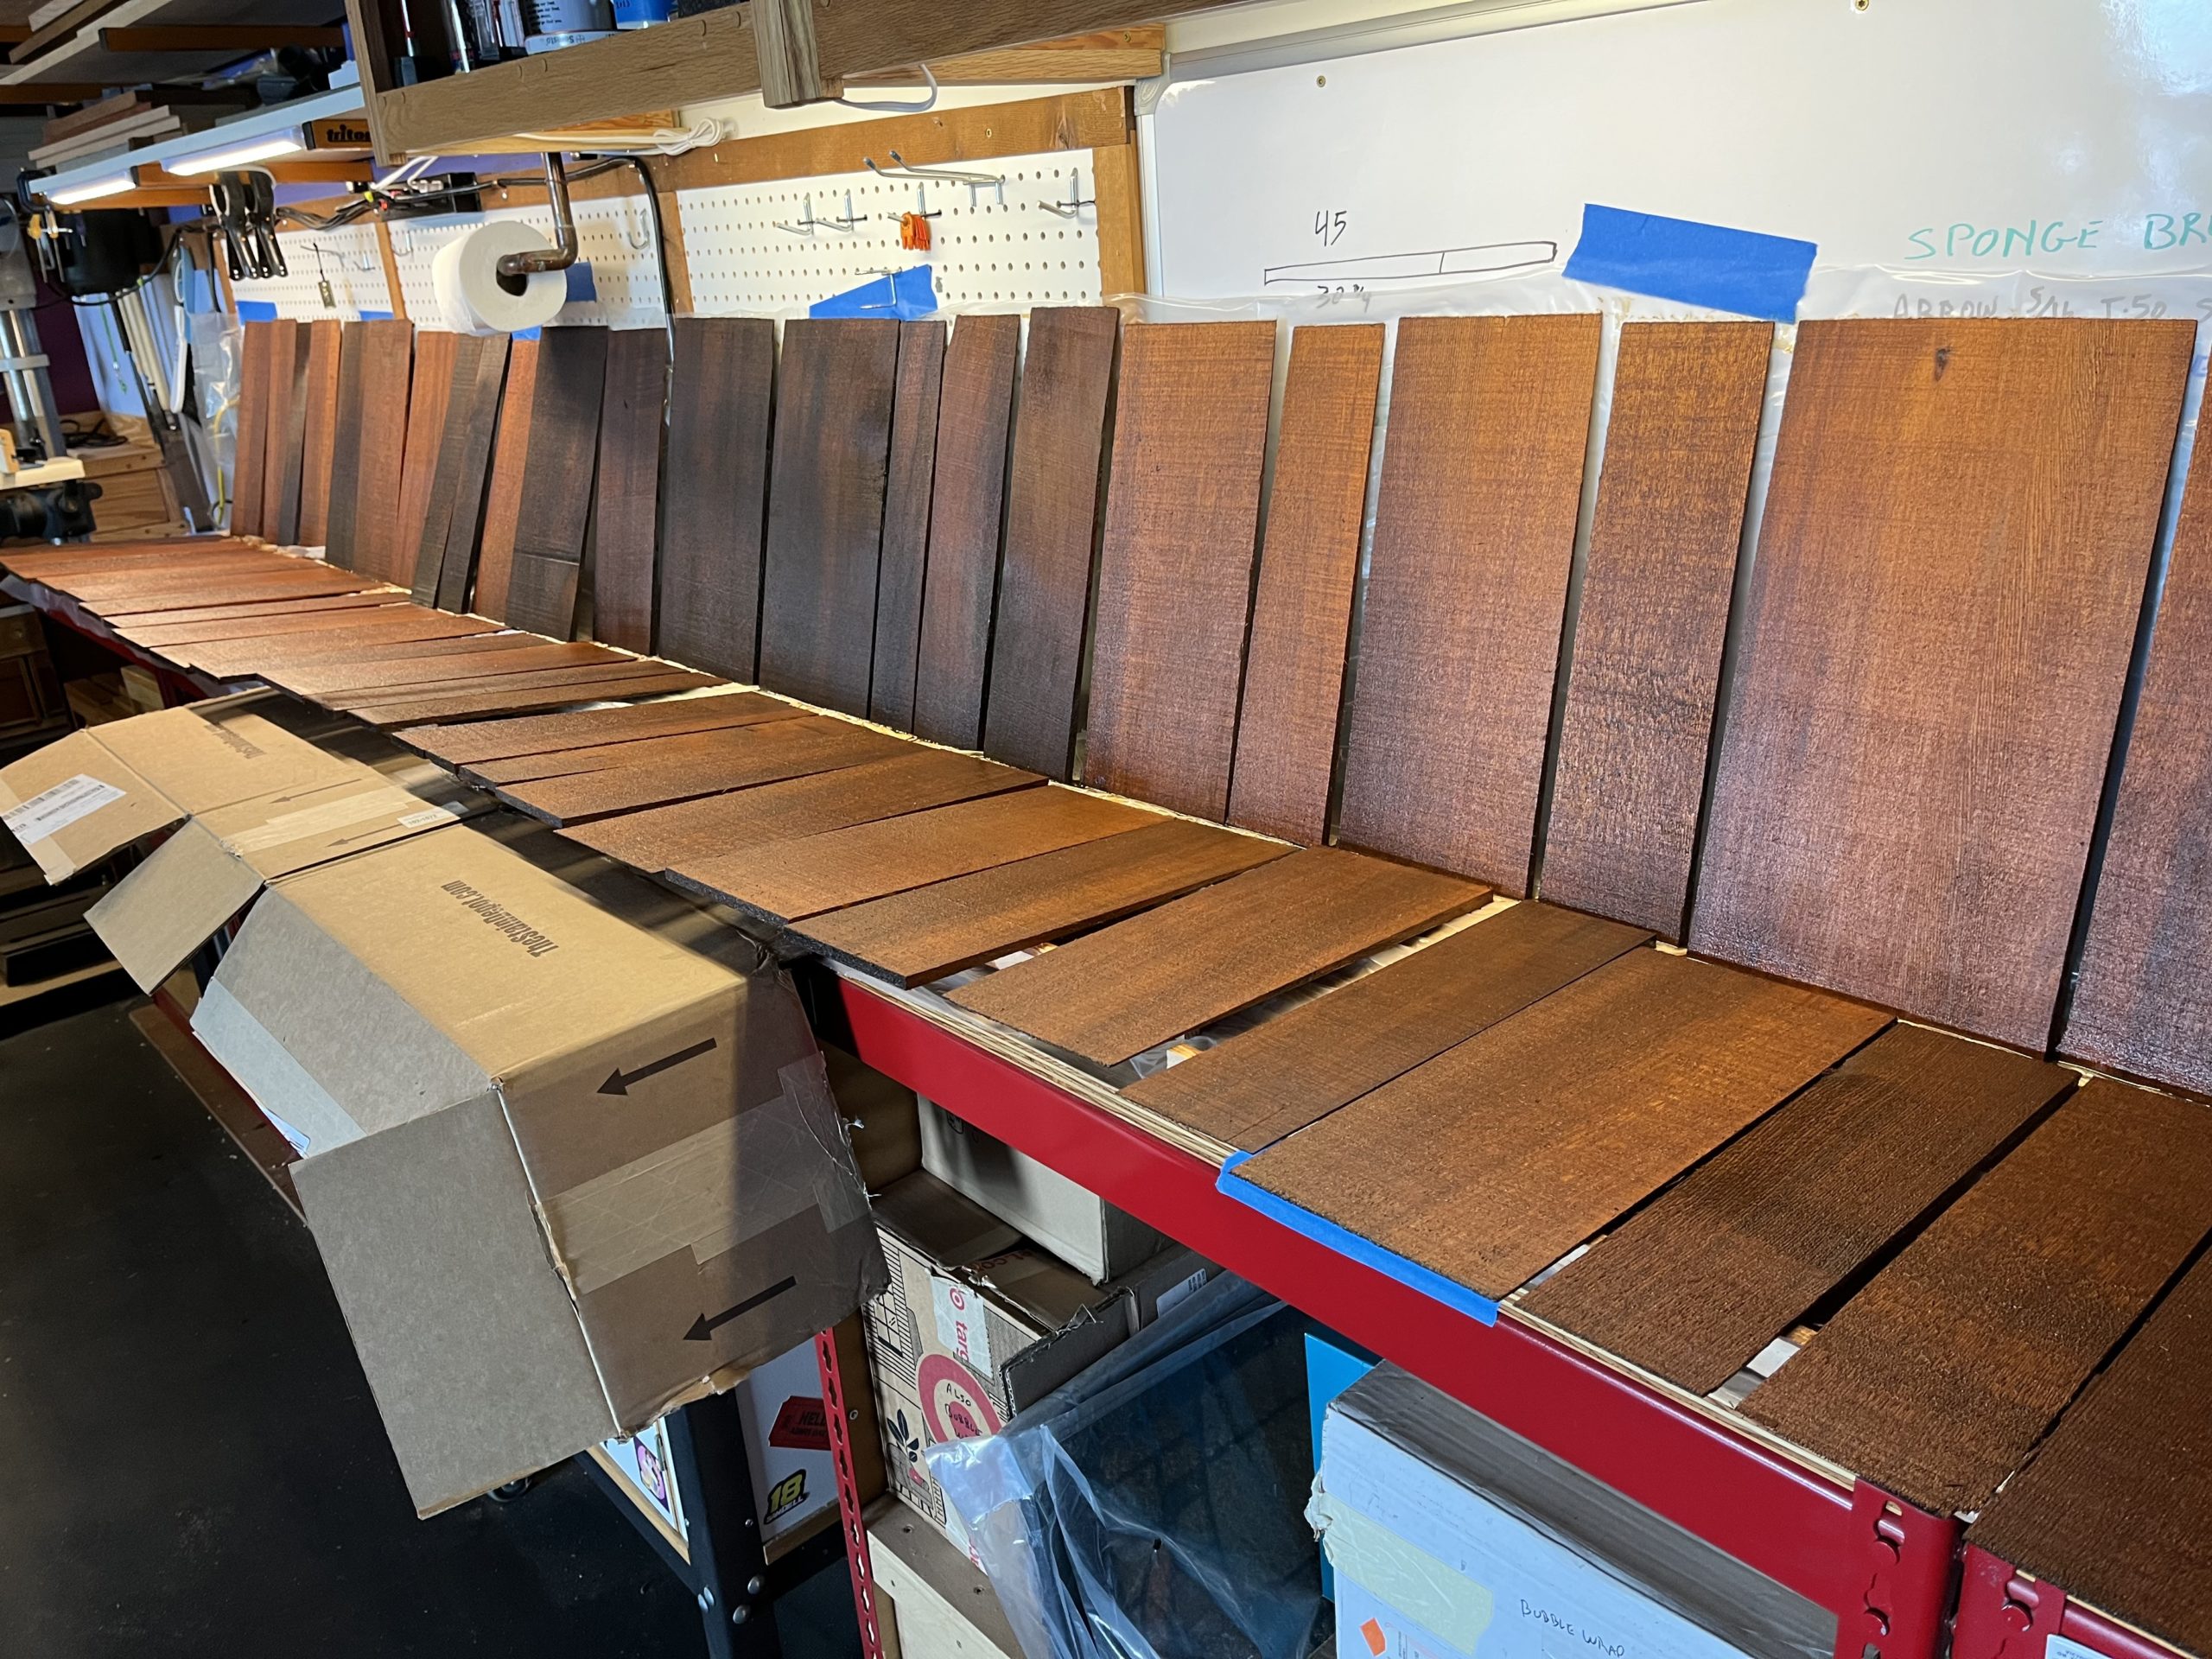
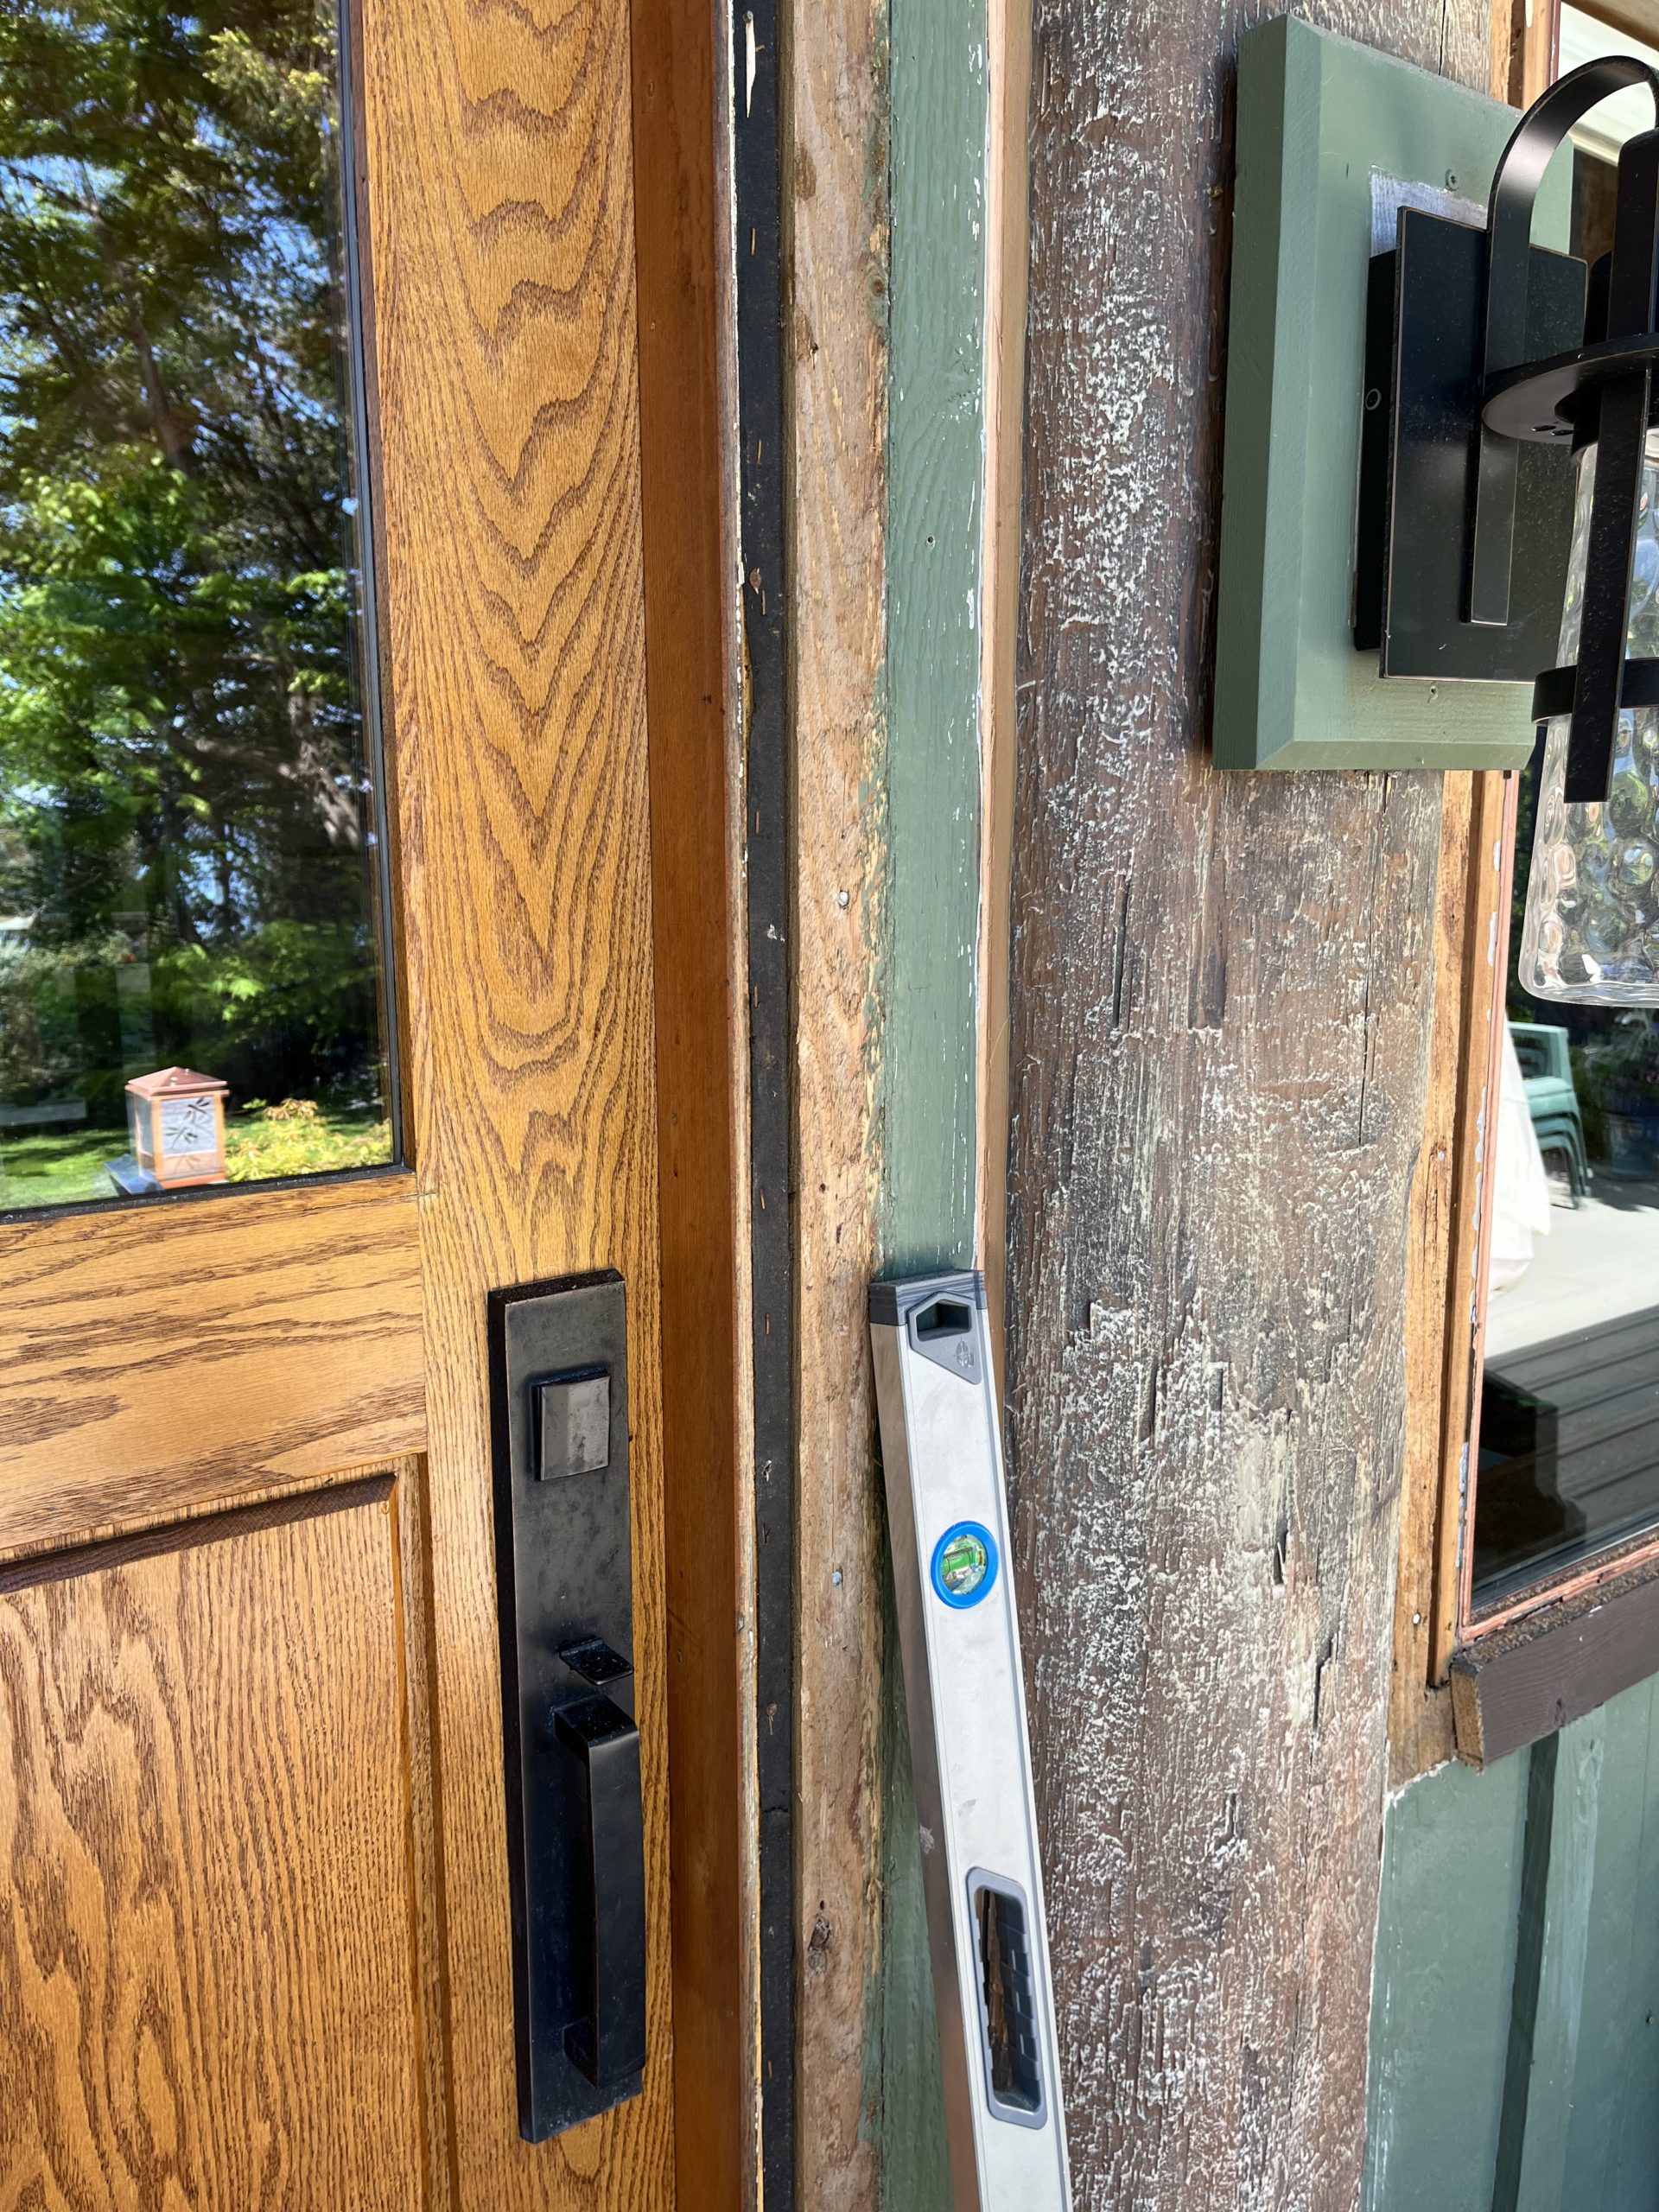
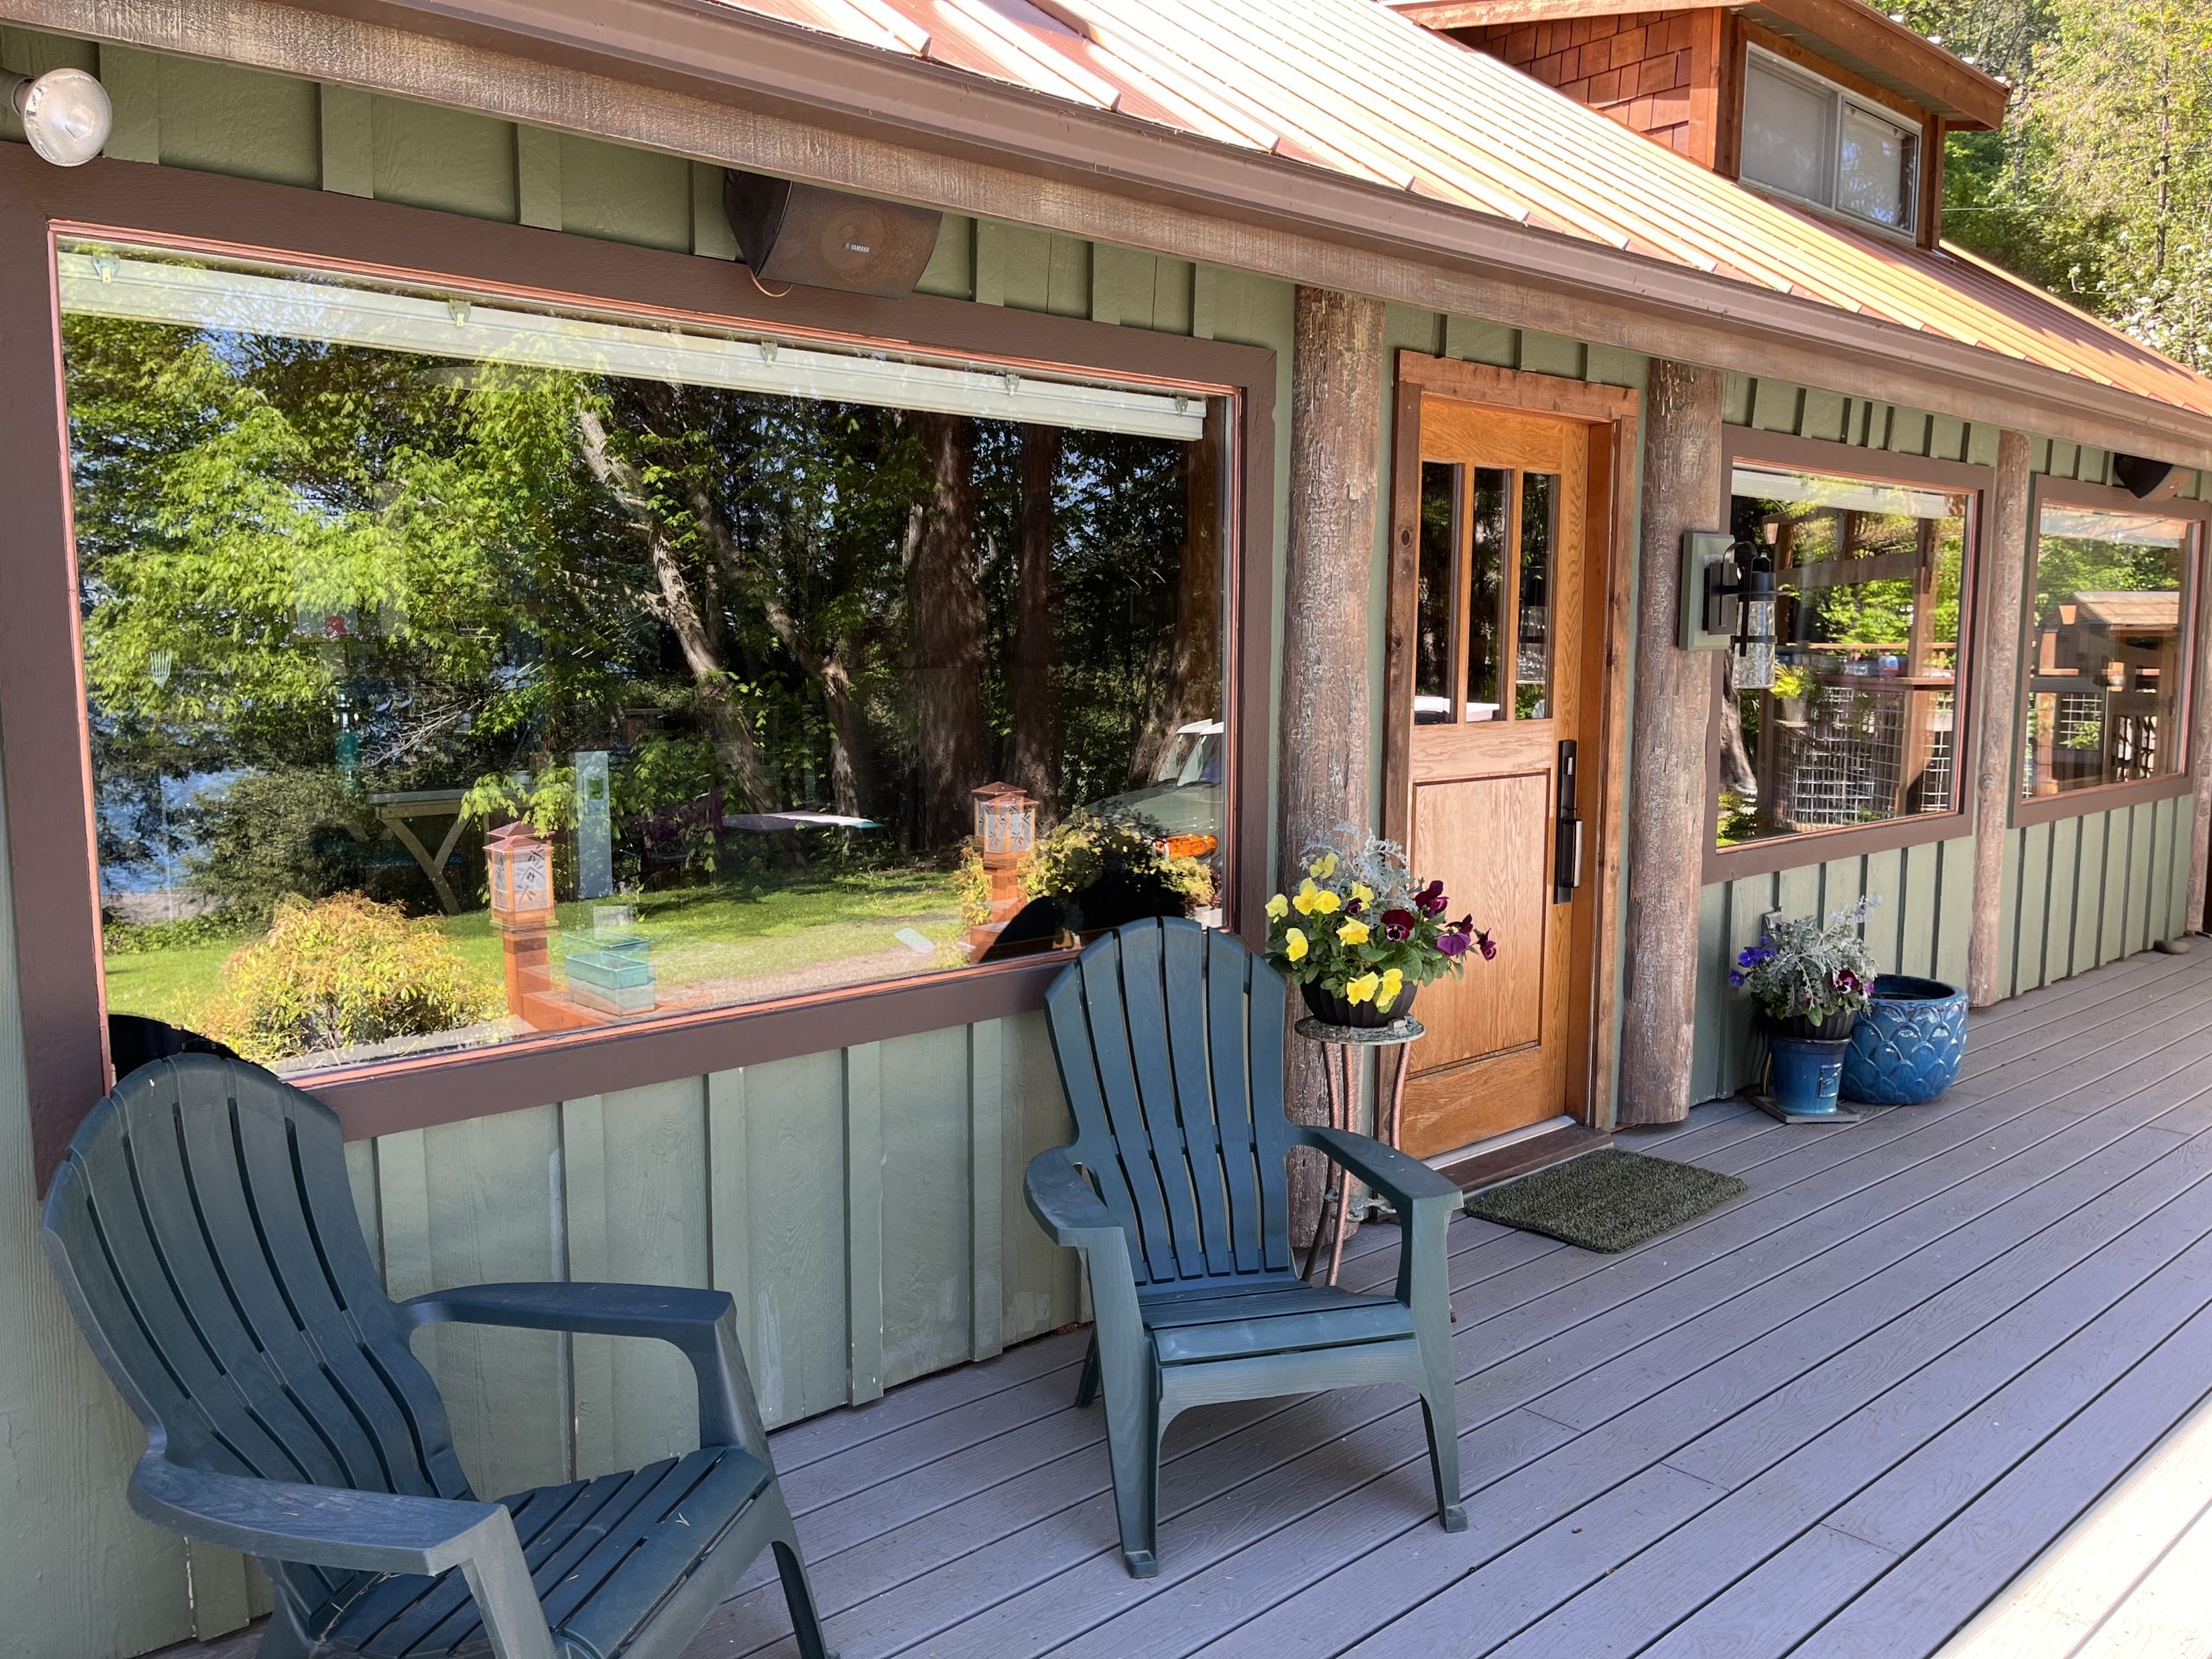
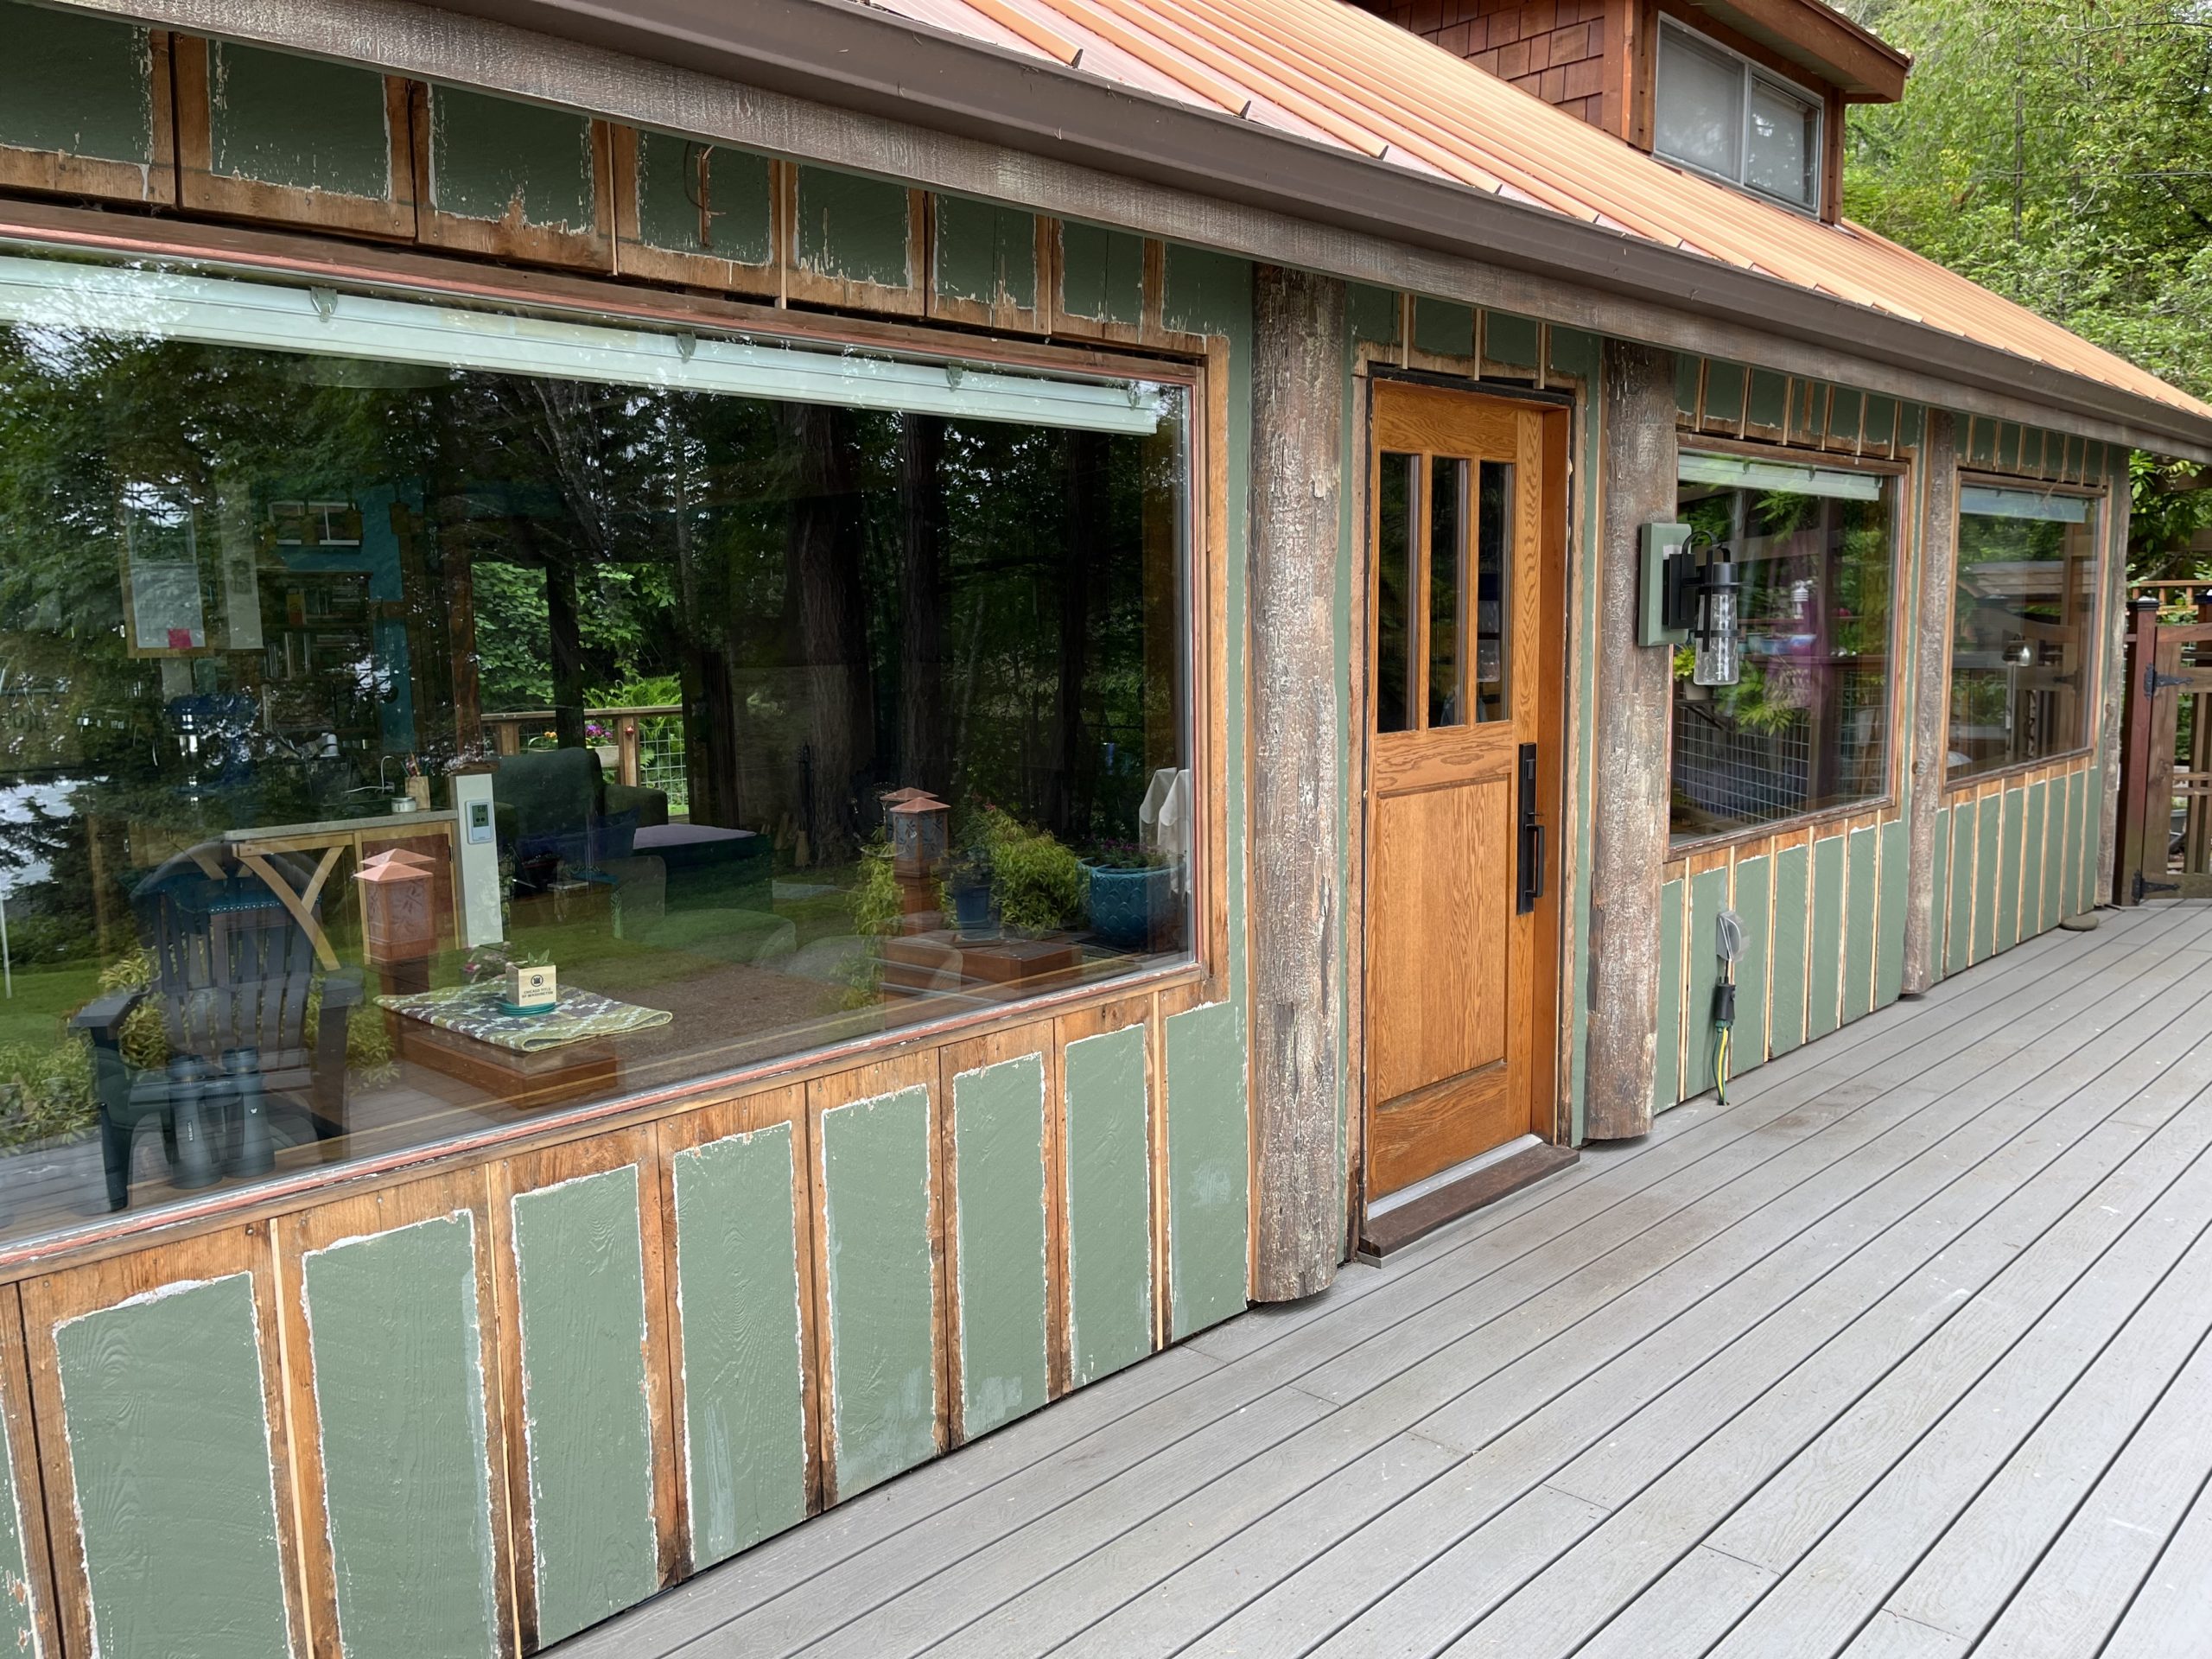
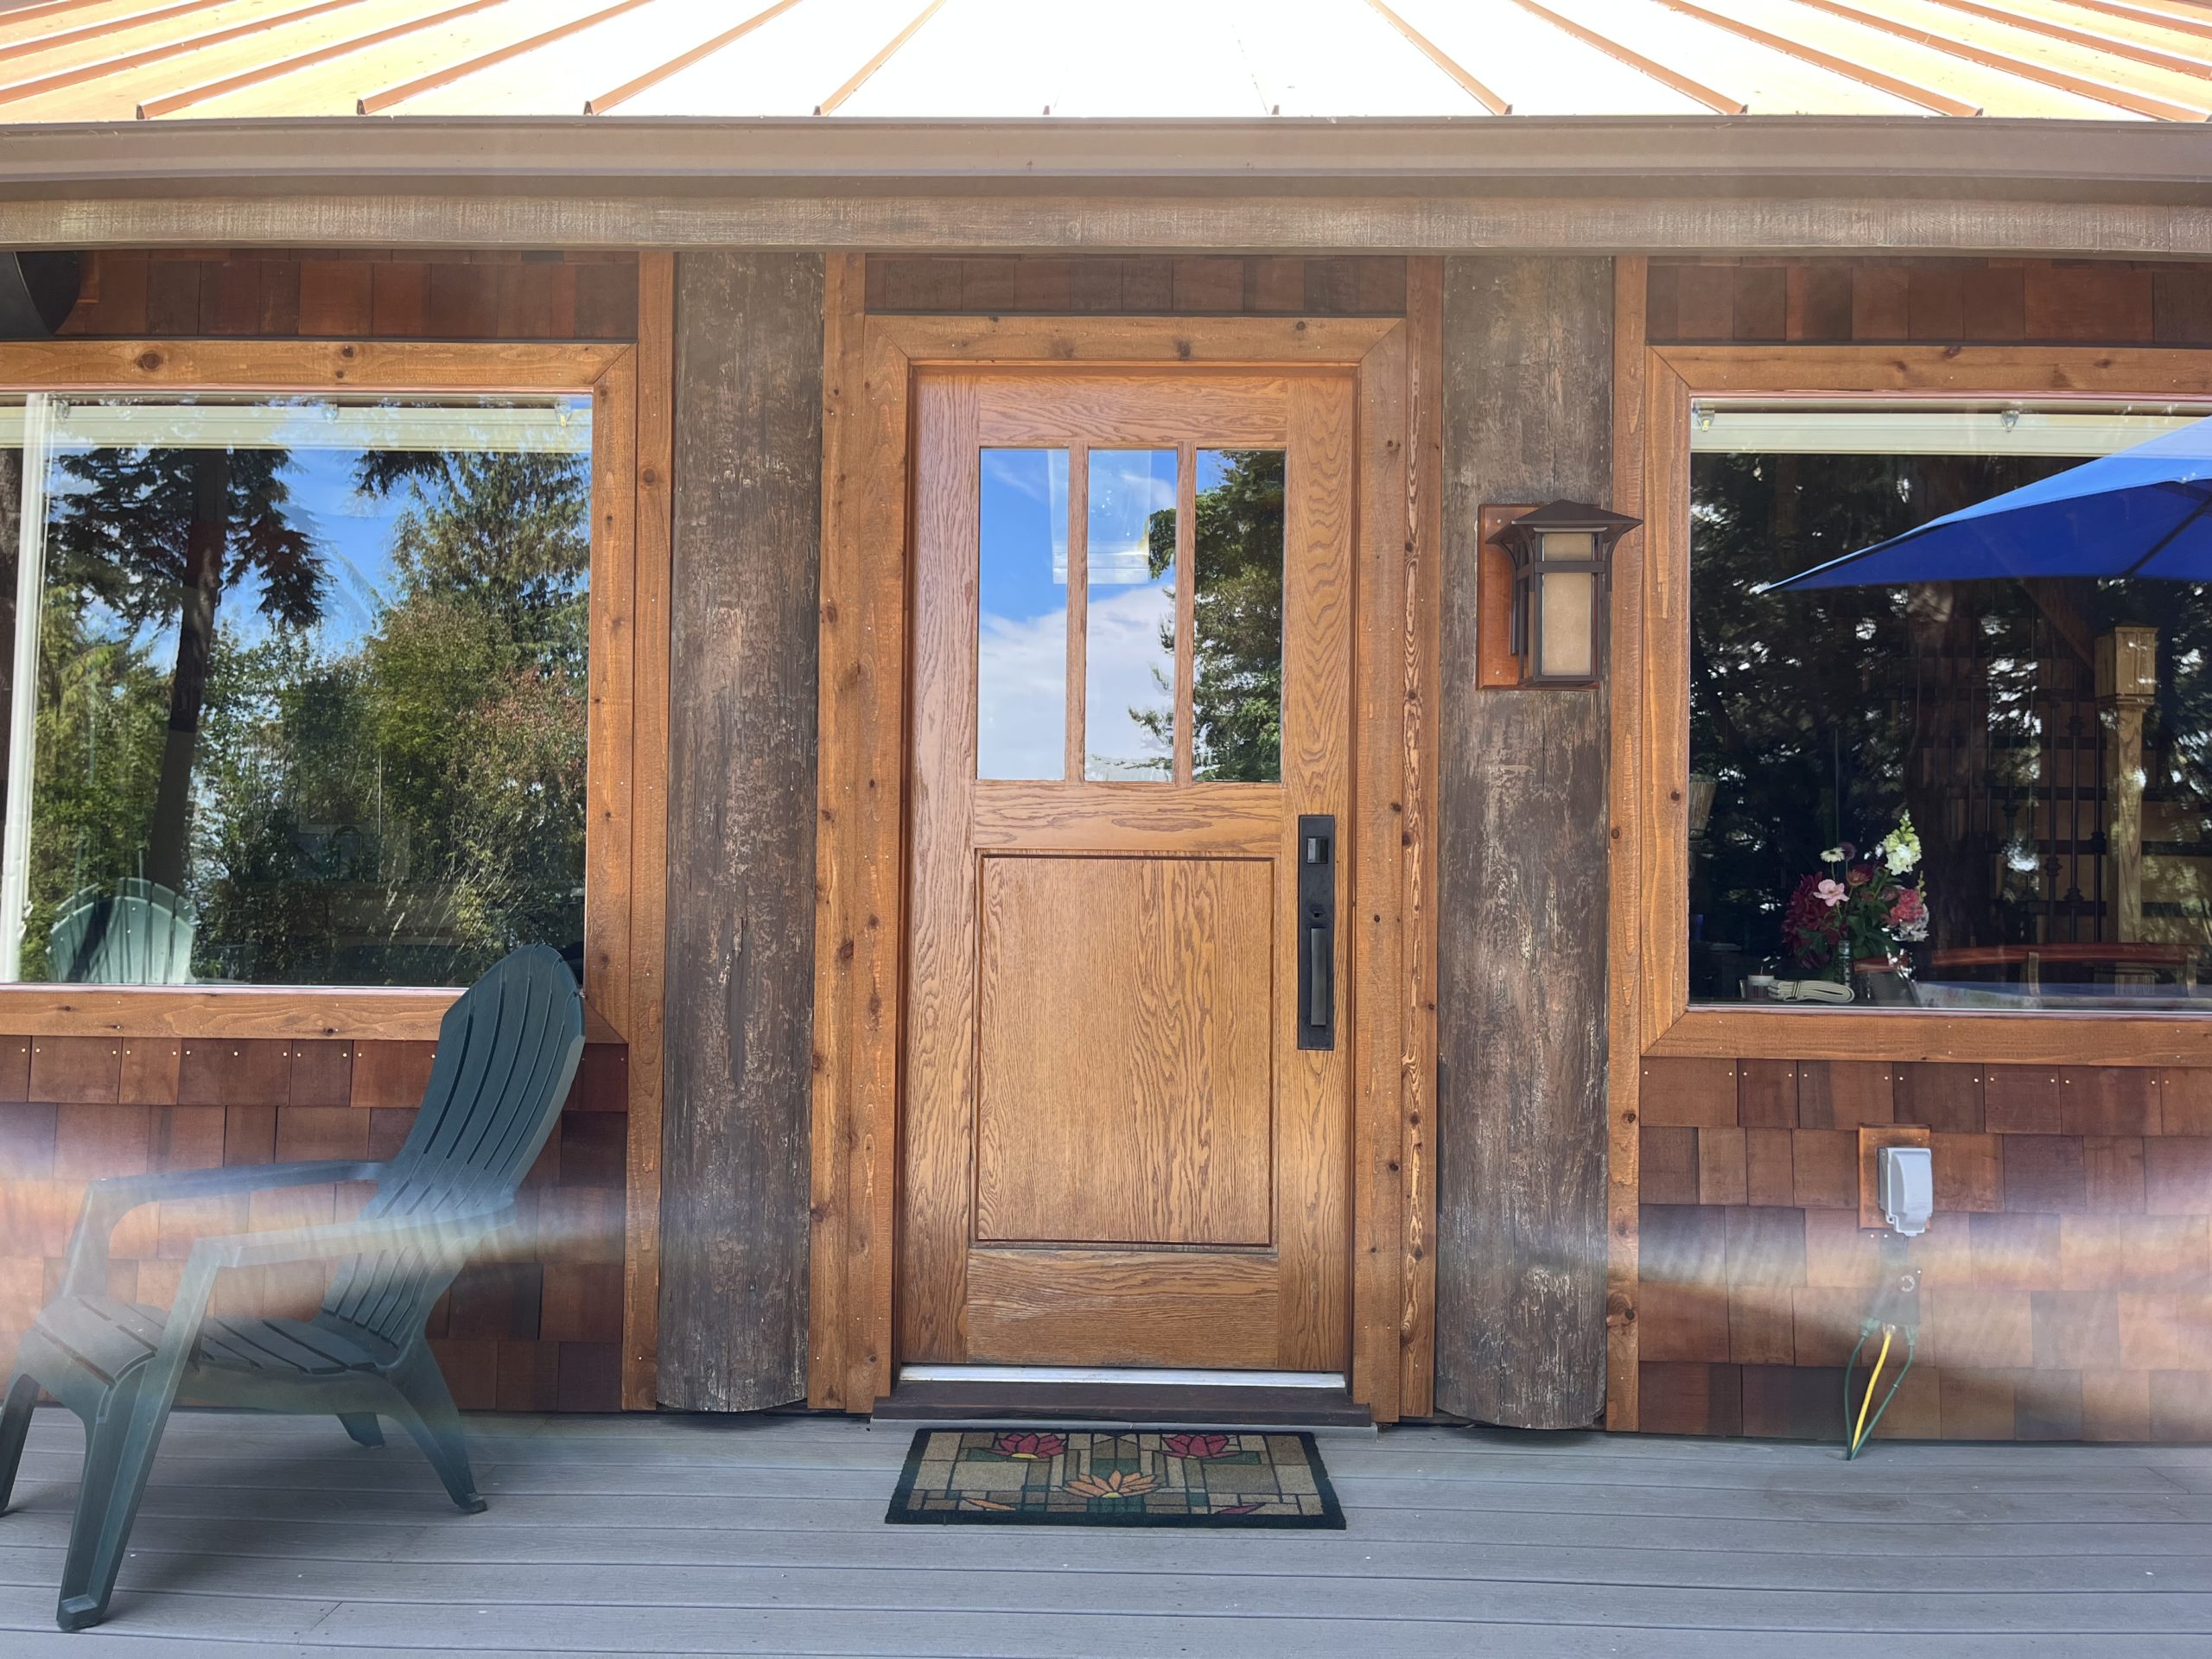
Finally getting some curb appeal around here! New cedar trim, new shingles, new light fixture, new electrical outlet, new paint around the window flashing, new security lights to see the ninjas with, new door mat, lots of improvements here.

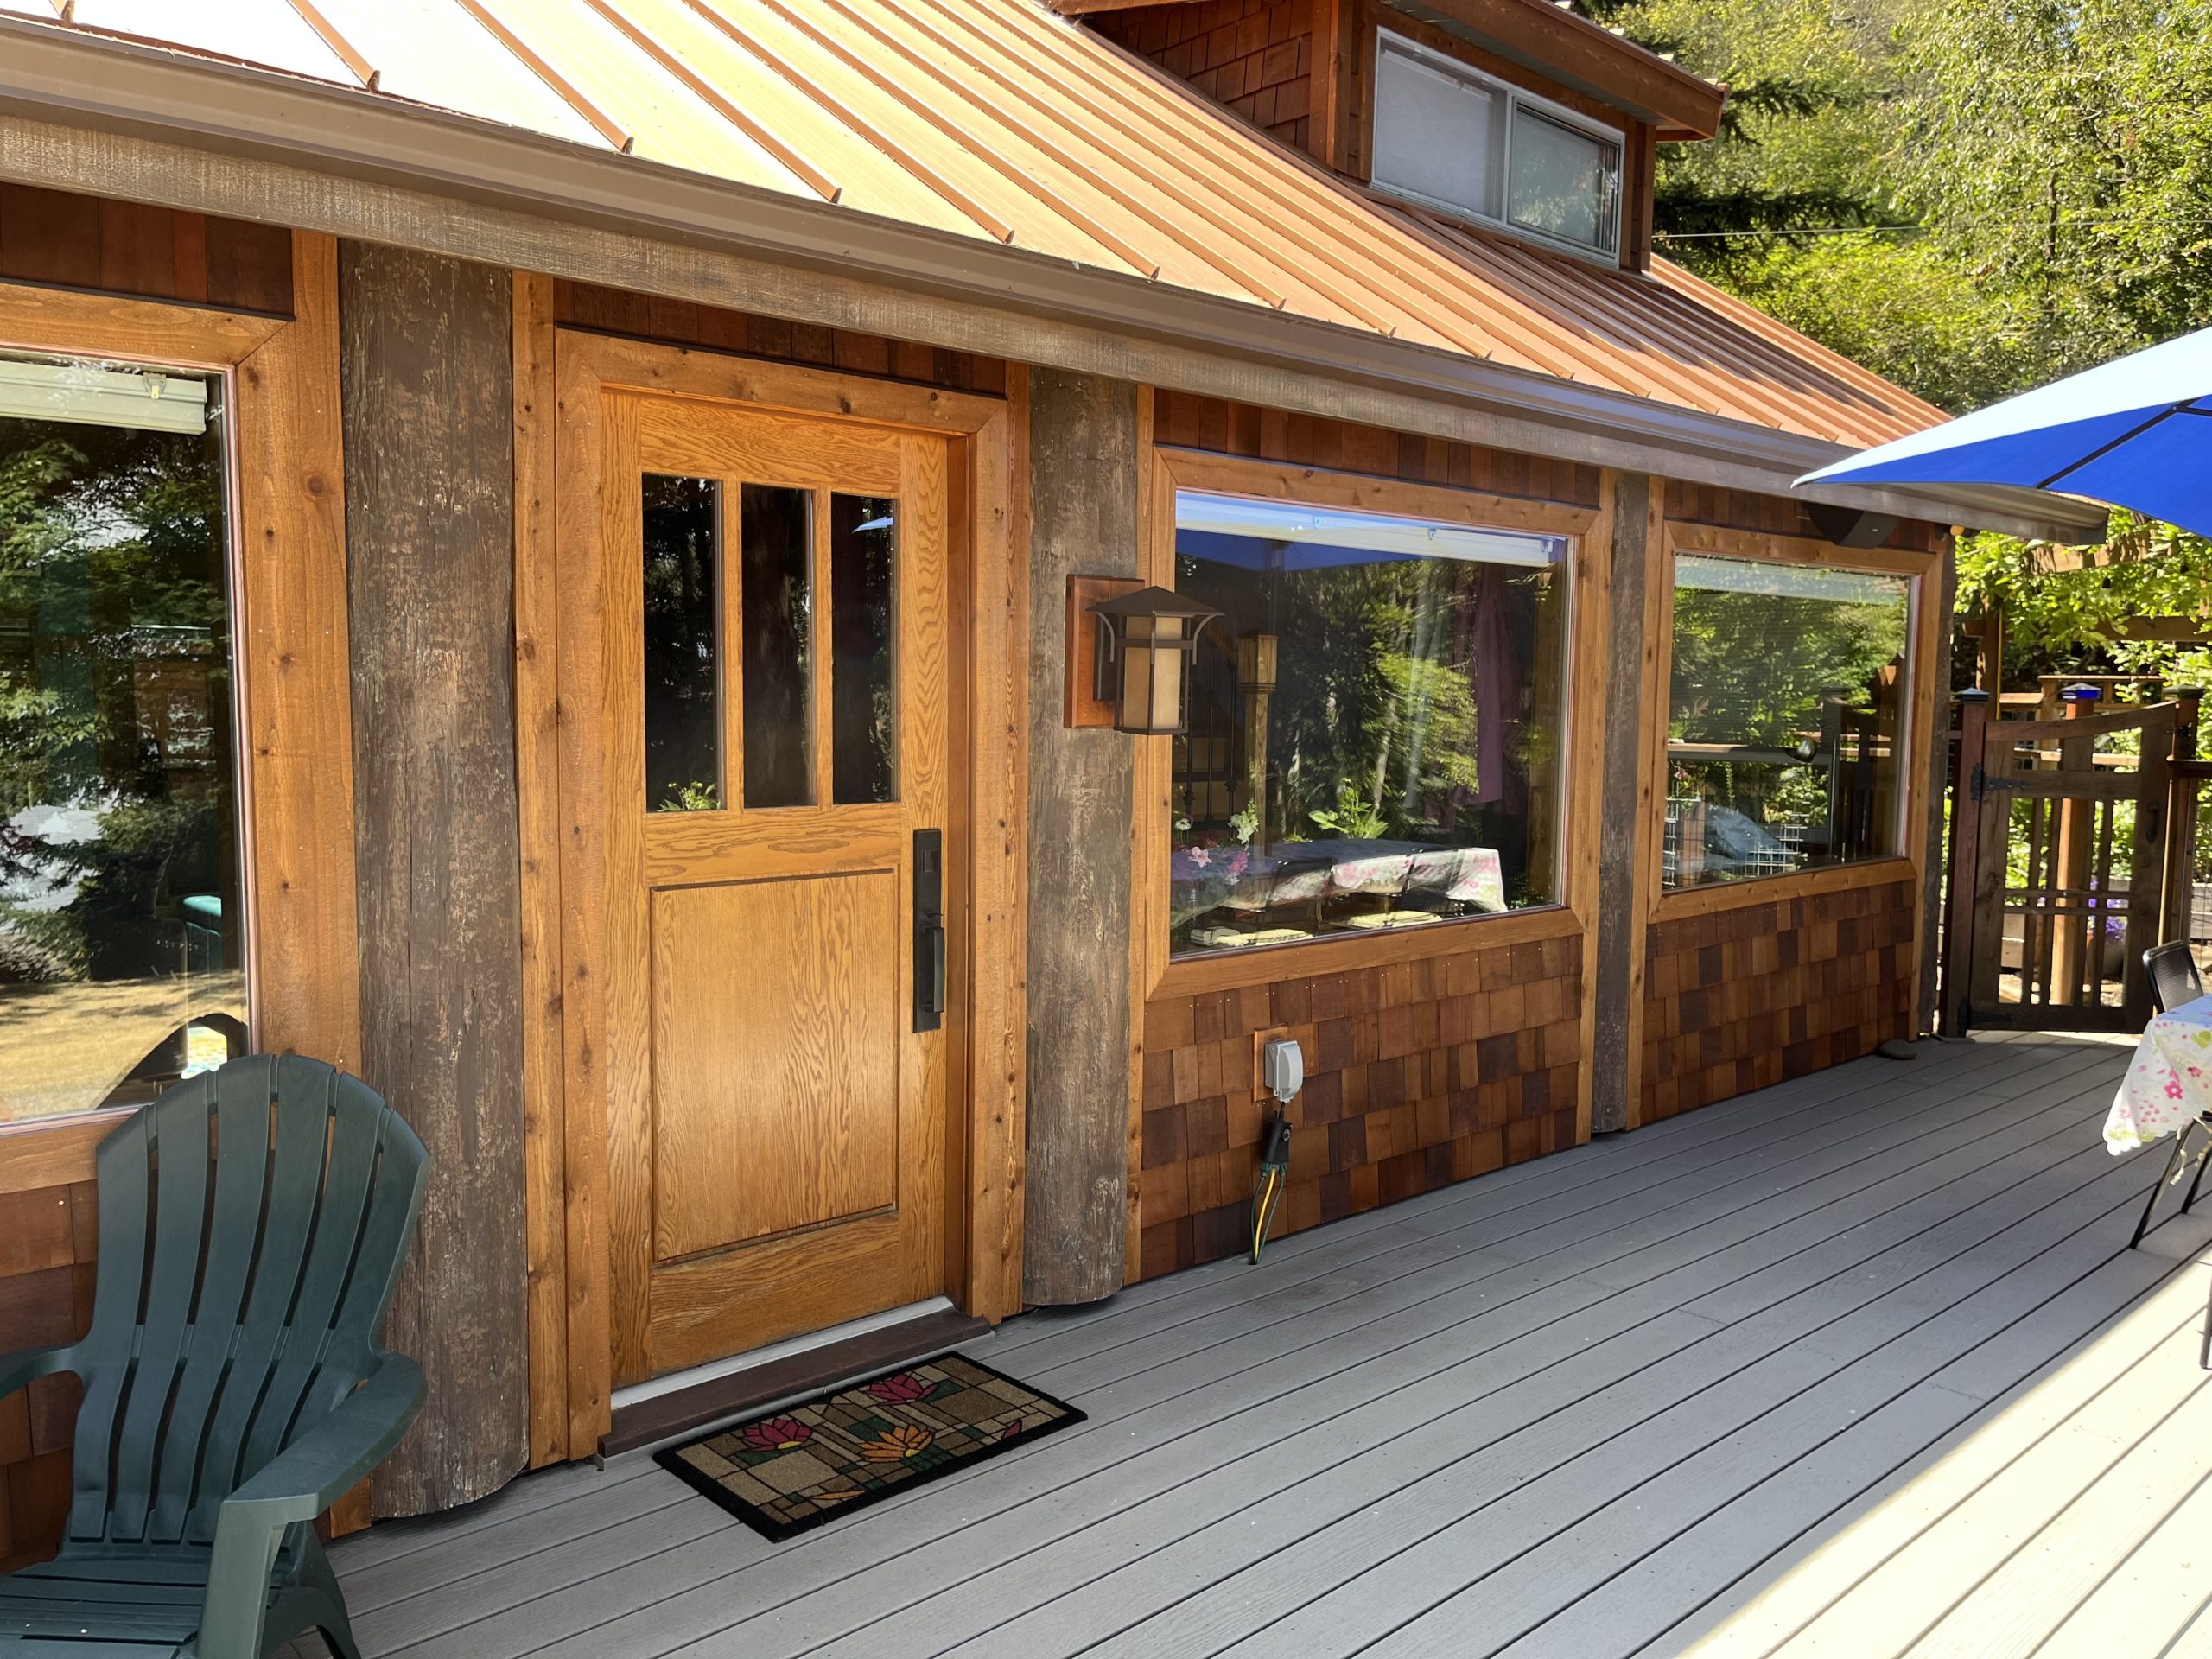
I still hate those logs, but the time to get rid of them has come and gone. Twelve years gone. They’re part of the house. I can’t even imagine now all the things that would need to be undone to get rid of them.

Fun With Pneumatic Staplers

Hammers are one of my favorite tools. They say that if you give a child a hammer, every problem looks like a nail. Well, I can solve a lot of problems with a hammer. They’re good for unsticking things that are stuck, moving things that don’t want to move, and driving pieces of metal into wood.

That said, the more I use a pneumatic nail gun, the more I think hammers are the wrong tool for that job. Just point and shoot. Boom.

Hammers are better suited for things that need to be persuaded. Sometimes they’re useful if something just needs a little attitude adjustment. But when you’re sticking cedar shingles to the side of a house, the best tool is one you can strap to your air compressor.

Skinny Dipping

Next up, all the cedar shingles need to be dipped in Sikkens and set out on tables to dry. They need to be nice and dry before they’re installed, which takes a few days. I’ve installed them wet, which is just a big mess. It’s a big enough mess just dipping them.

Watch for spiders when unpacking shingles. I was lucky this time, but when I’ve done this before, there’s usually one big spider per six shingles. A pack of shingles has lots of little voids where spiders can make a living.

Cedar shingles pretty much took over the whole shop for a couple weeks.

The Hard Part Was Actually First

After demo (which went easy, for some reason), one of the first things I had to do was cut a straight line into each log. This way, a straight trim piece can be installed on either side of the log and my cedar shingle sides will but up to a flat surface, as opposed to a log surface. I really, really, really, really, really wanted to just remove the logs and replace them with normal house parts, but that would have been a lot like surgically removing dinosaur bones. They’re part of the house. Just leave them be. I guess.

I cut each line with the Festool rail saw, affixing the rail to the house as flat and I could, and tried not to cut my hand off while I ran the saw along the length of the log. From there, the remaining wood had to be cleaned out with hand saws and chisels. Do this on both sides of five logs, and you’ll know what a pain in the ass is.

Curb Appeal

So, we built this nice new addition and it makes the rest of the house looks ugly. All those logs. All that green paint. All that old, deteriorating bat and board. You can only put so many flowers on the front of the house.

Time to rip it all out.

A Nice Space

This room does a lot of work. There’s workout, there’s a potting bench, there’s a utility sink, there’s access to the back of the house. It’s a little busy with all the shelves and chests and benches, but it’s deliberately busy. It’s no longer just a room you pass through.

The weight rack is made out of scrap lumber.

Spaces for vases.

A workout with a view.

And a place for spare practice swords. Just watch the hanging lights on those overhead swings.

Covering the Concrete

Rubber gym flooring is fairly cheap, durable and easy to maintain. And it’s a lot nicer to stand and step on than the concrete. Also here I’m bolting 2×4’s to the wall, so I can nail down cedar planks to cover up the concrete footers. The room is warmer already.

The Concrete Jungle

This room, being what it is, has a lot of concrete. It’s basically an at-grade basement. The floor is bare concrete as are the foundation walls. It’s cold and hard on the feet. We’re going with rubber gym flooring, and will cover those foundation walls with cedar. Which means I’ll be drilling a lot of little holes in concrete, and that’s literally my 12,782nd favorite thing in the world. Somewhere between dental surgery and cleaning up behind an elephant.

The Mudgarden – Before Pictures

It’s a mud room. It’s a garden room. It’s both! It’s the mudgarden, and this is the ‘before picture’.

Hang on, this one is before that.

And before that.

And before that! You get the idea.

It’s the last room in the house that’s not completely finished yet. It’s mostly there (has walls, a ceiling, running water and electricity) but still needs some details. We waited on finishing this room to give us some time to figure out how we liked to use it, and at first it was kind of an enigma. It’s big, but it’s small. It has a tall ceiling, except where the stairs are. It exits out the front and out the back. It took us a little while to figure this one out.