Things went pretty smoothly. Of course, in the middle of the install, an impromptu DeWalt commercial occurred.

Things went pretty smoothly. Of course, in the middle of the install, an impromptu DeWalt commercial occurred.
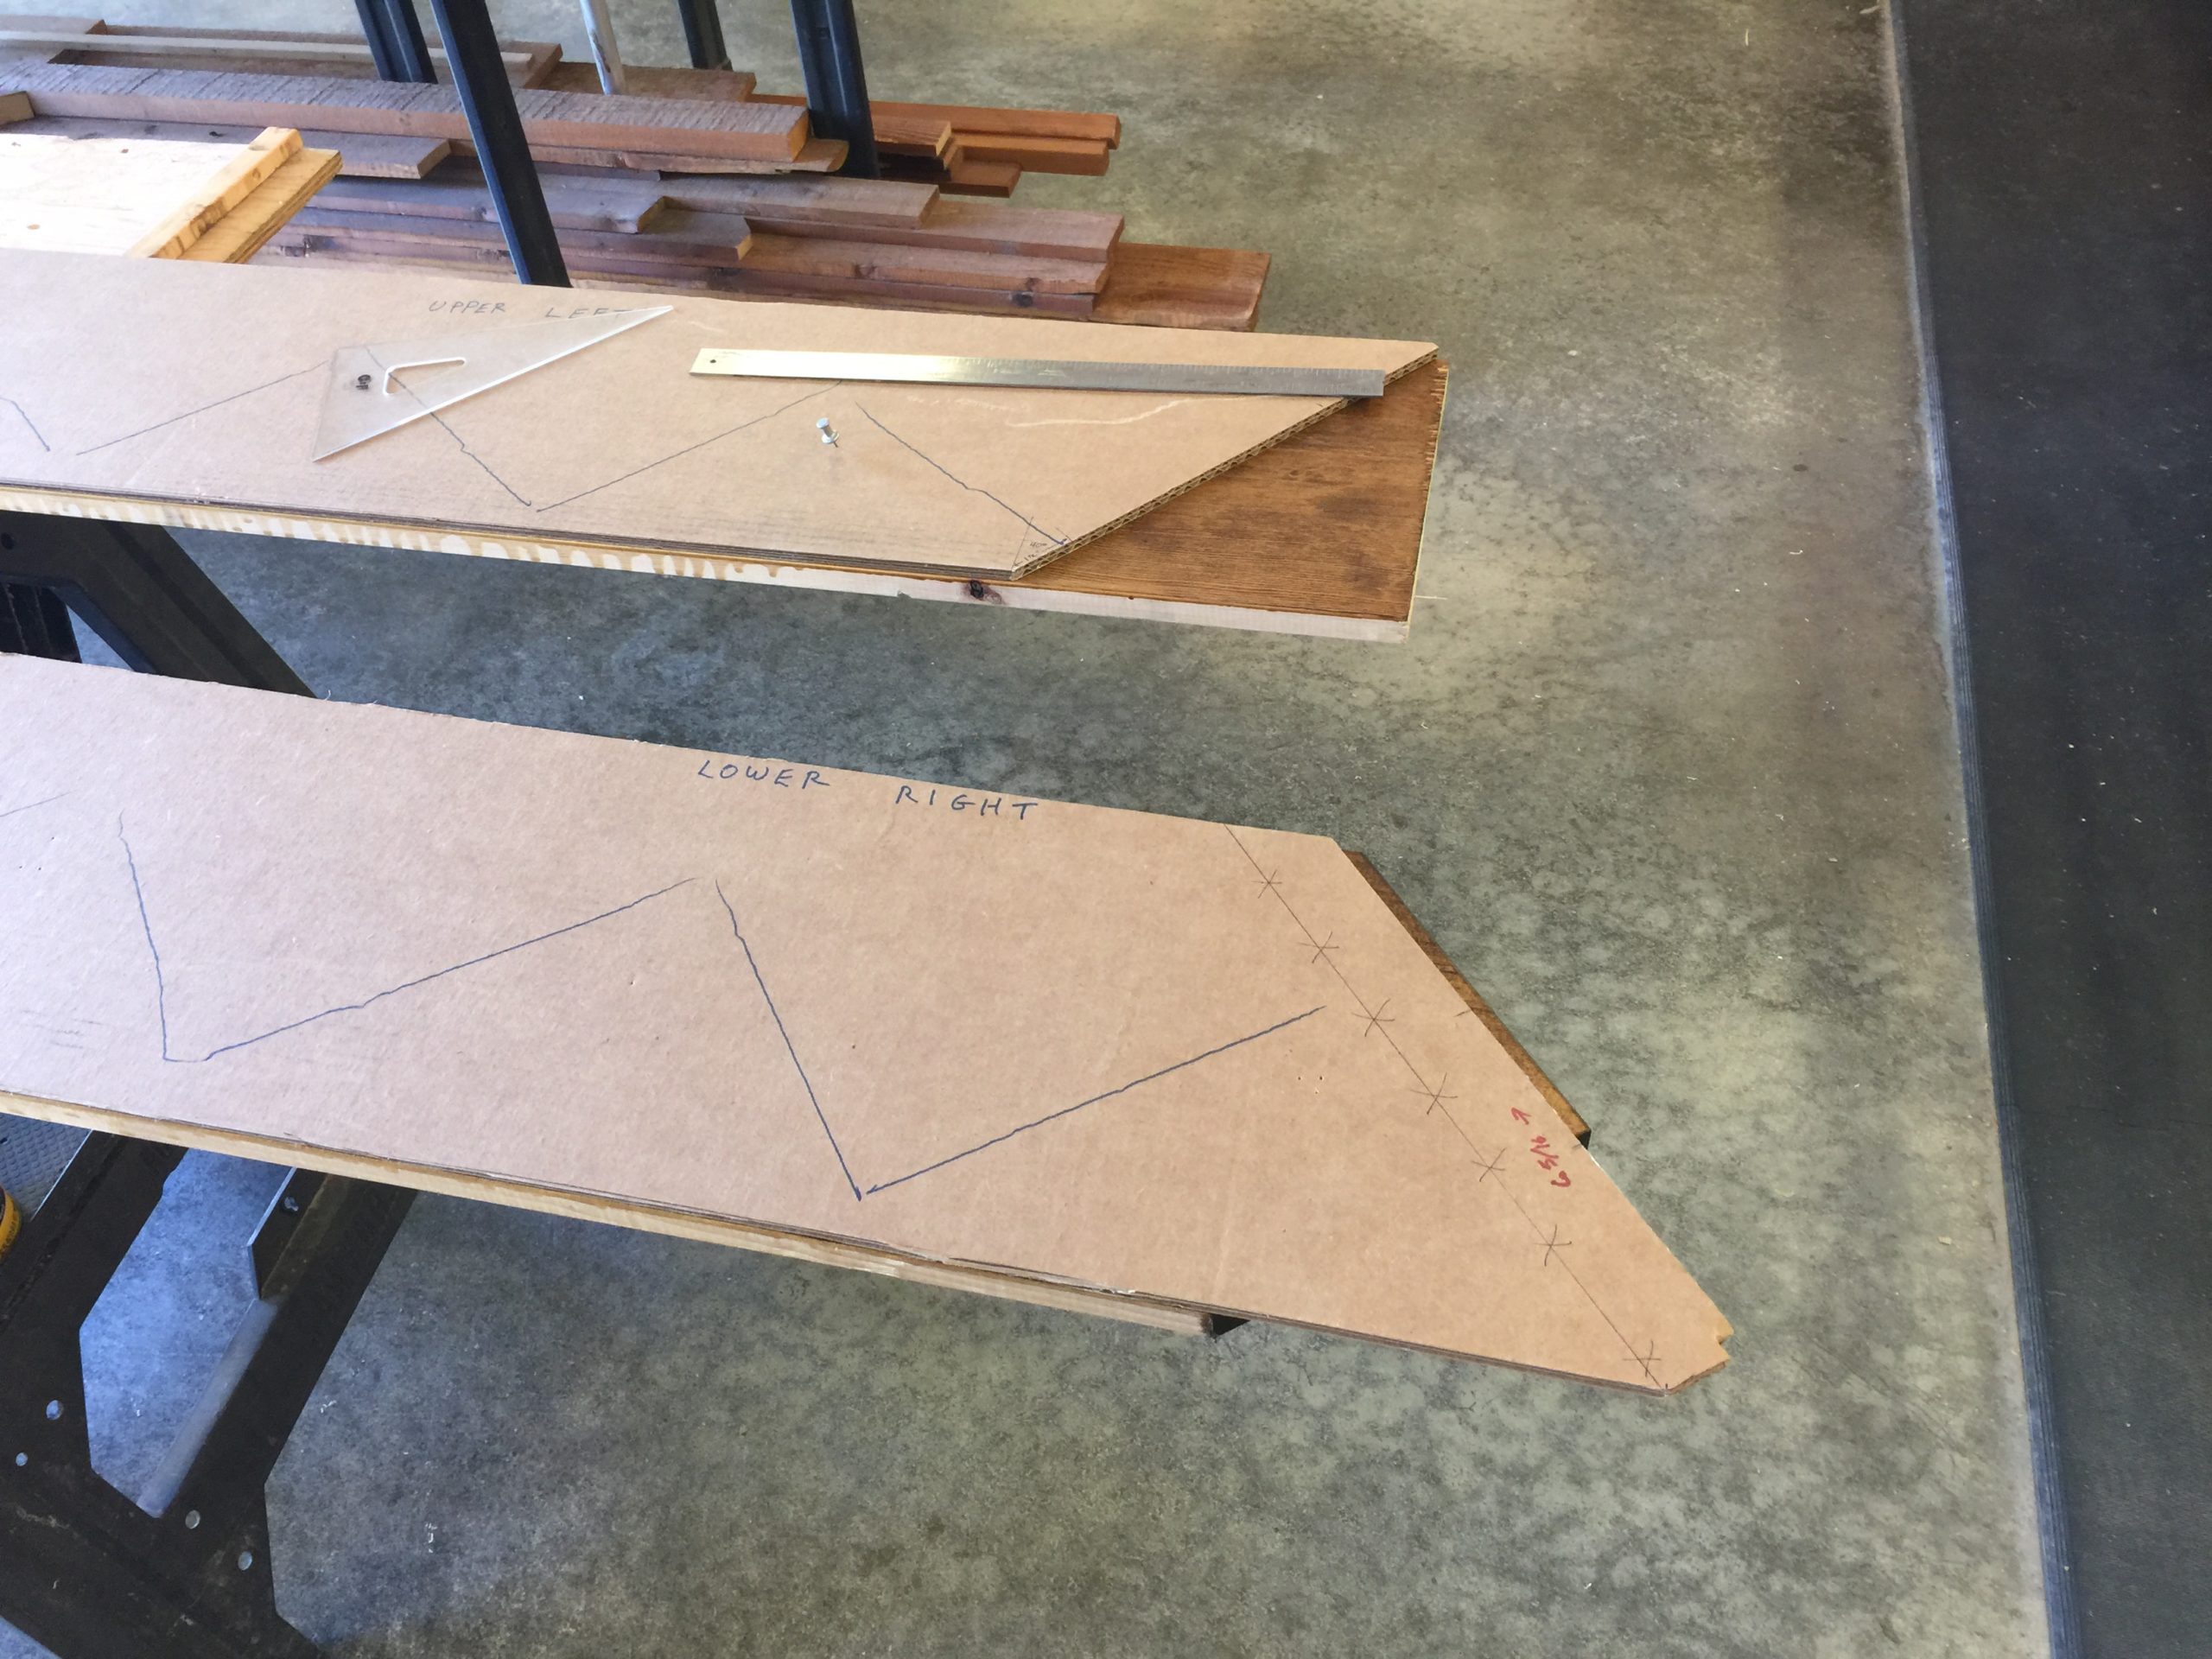
The wall stringers are in, and magically they fit without much of a fuss (thanks to all that cardboard). They serve useful purposes: protecting the drywall from being kicked in the middle of the night, containing coffee spills and tufts of cat fur, hiding thermostat wires, and keeping the slinkies in line while they roll down stairs, alone or in pairs.
It’s what I’m here for!
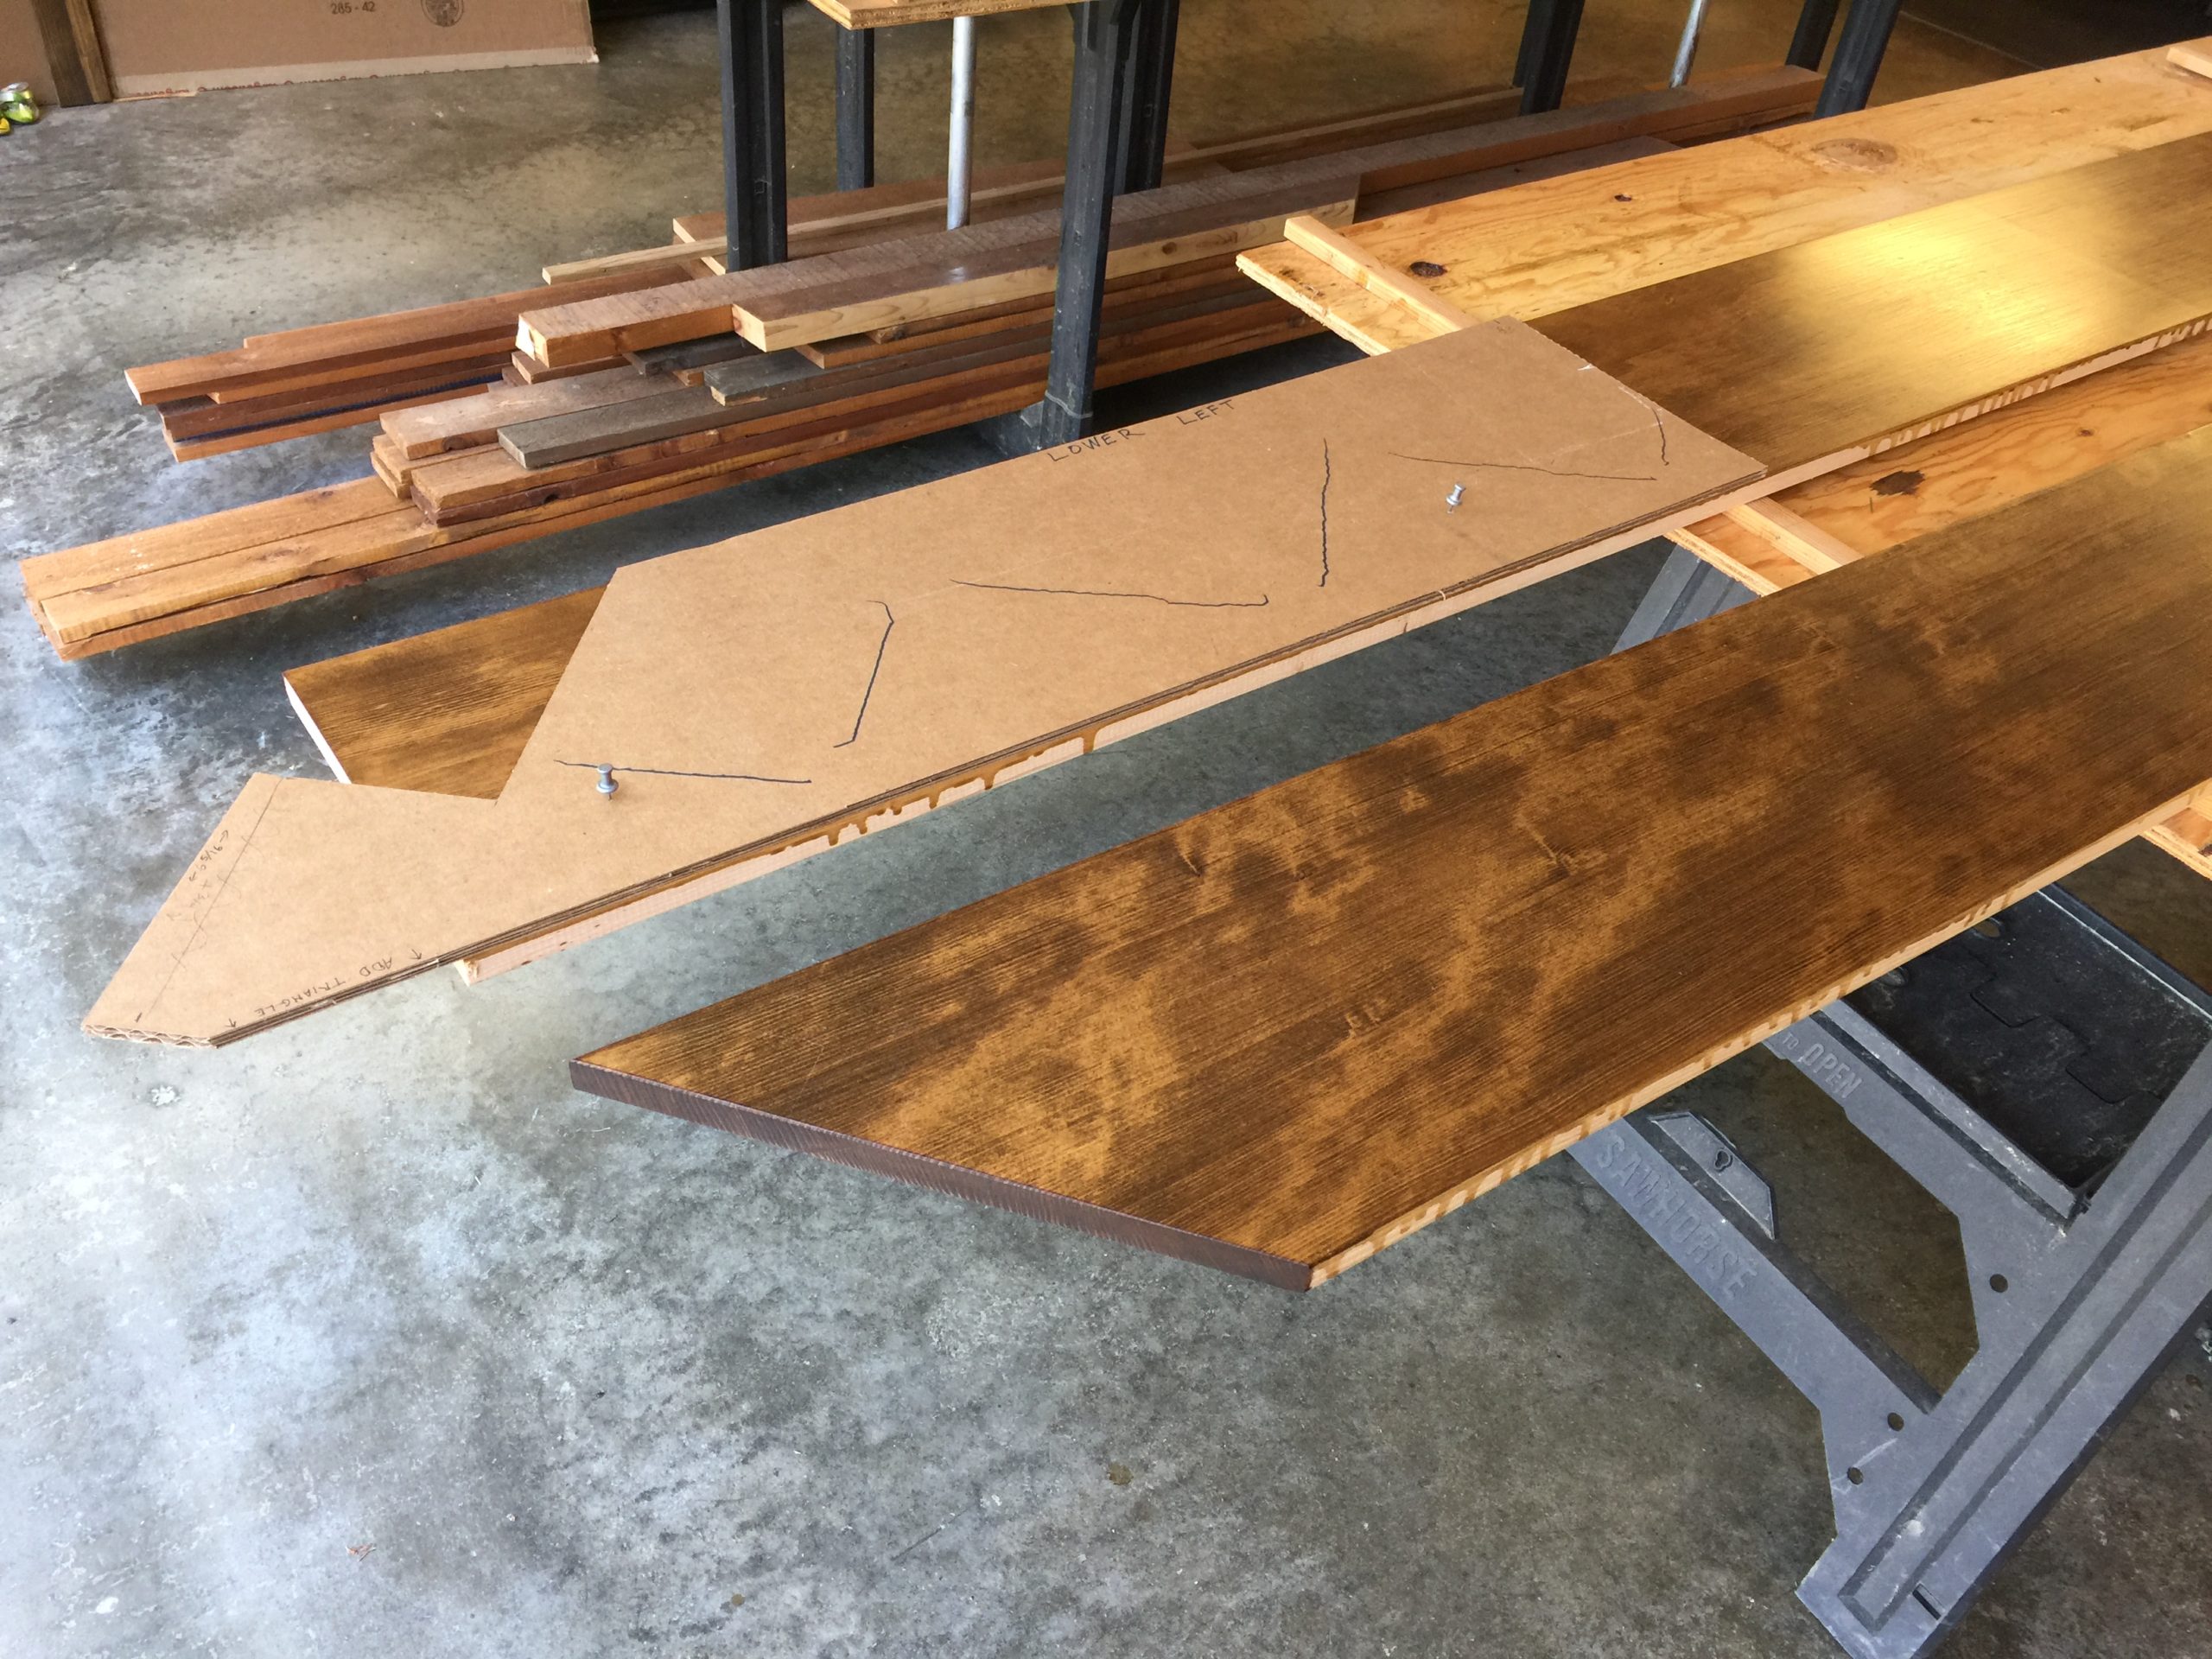
Seems like when you (1) live on an Island where everything has to be shipped, and (2) are building a house where you need lots of things, you’re going to get copious amounts of cardboard. Turns out it’s useful for a variety of things, such as making template forms for the stair stringers so you can fit them to the stairs.
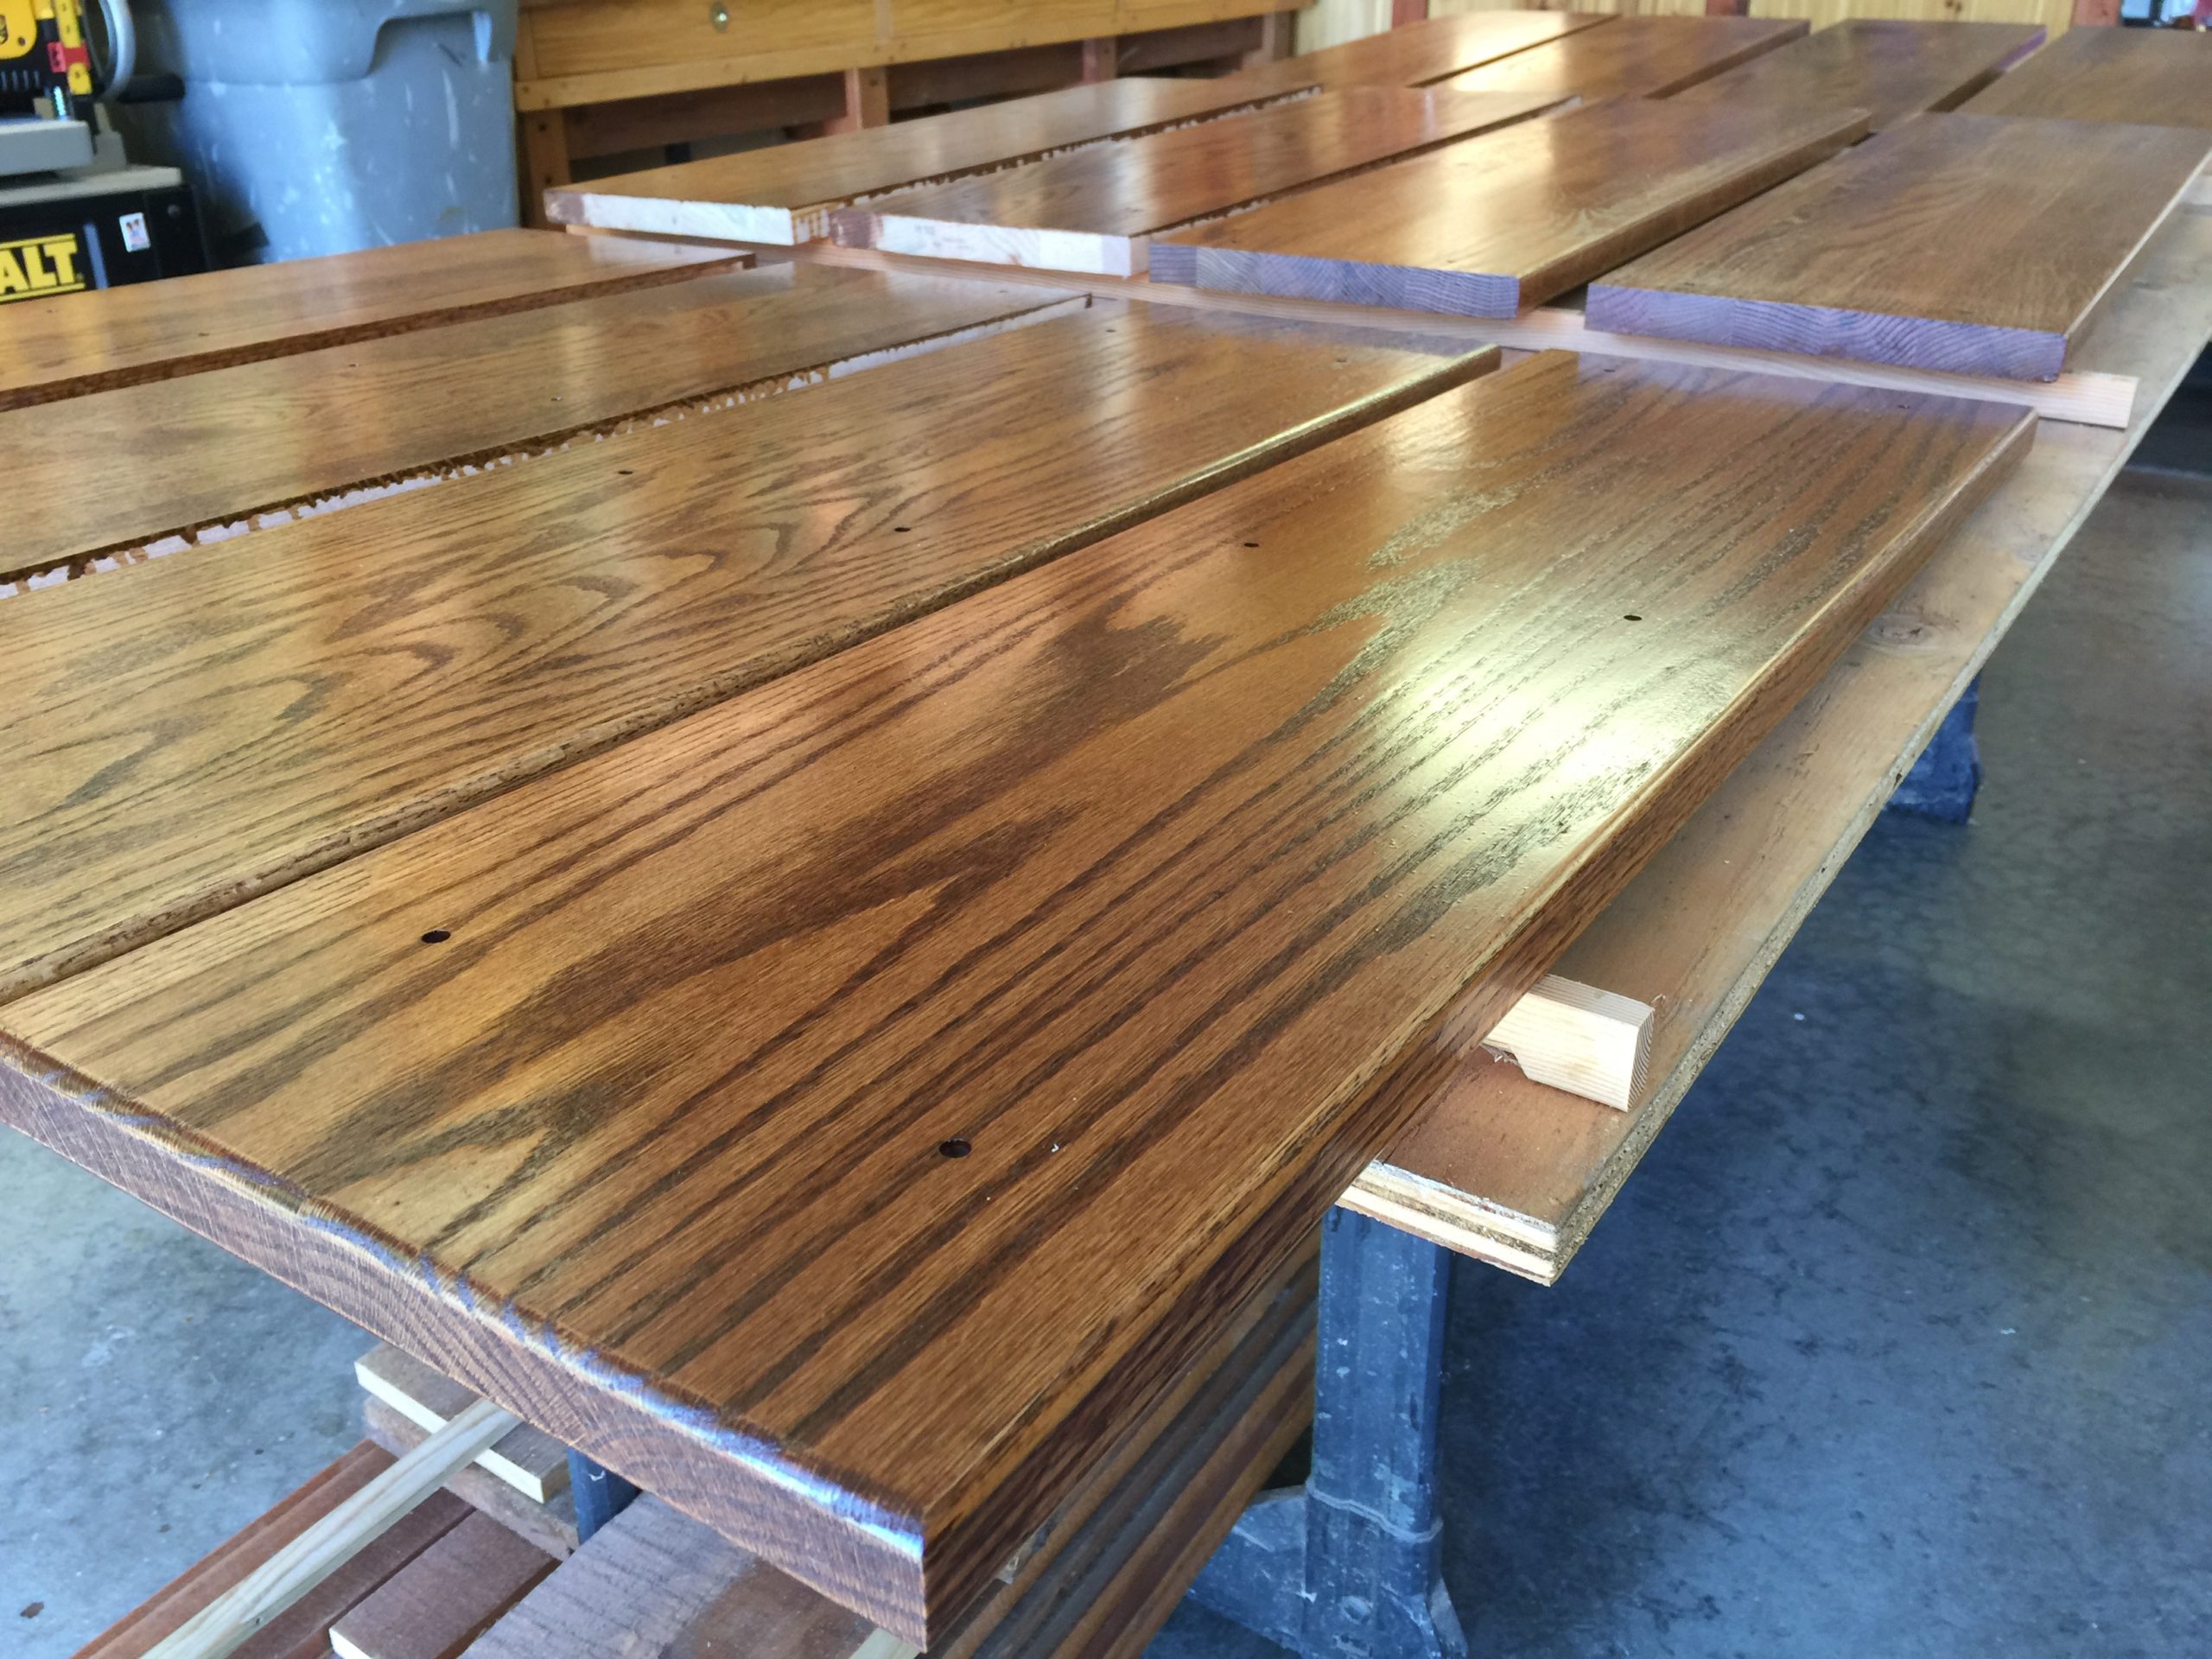
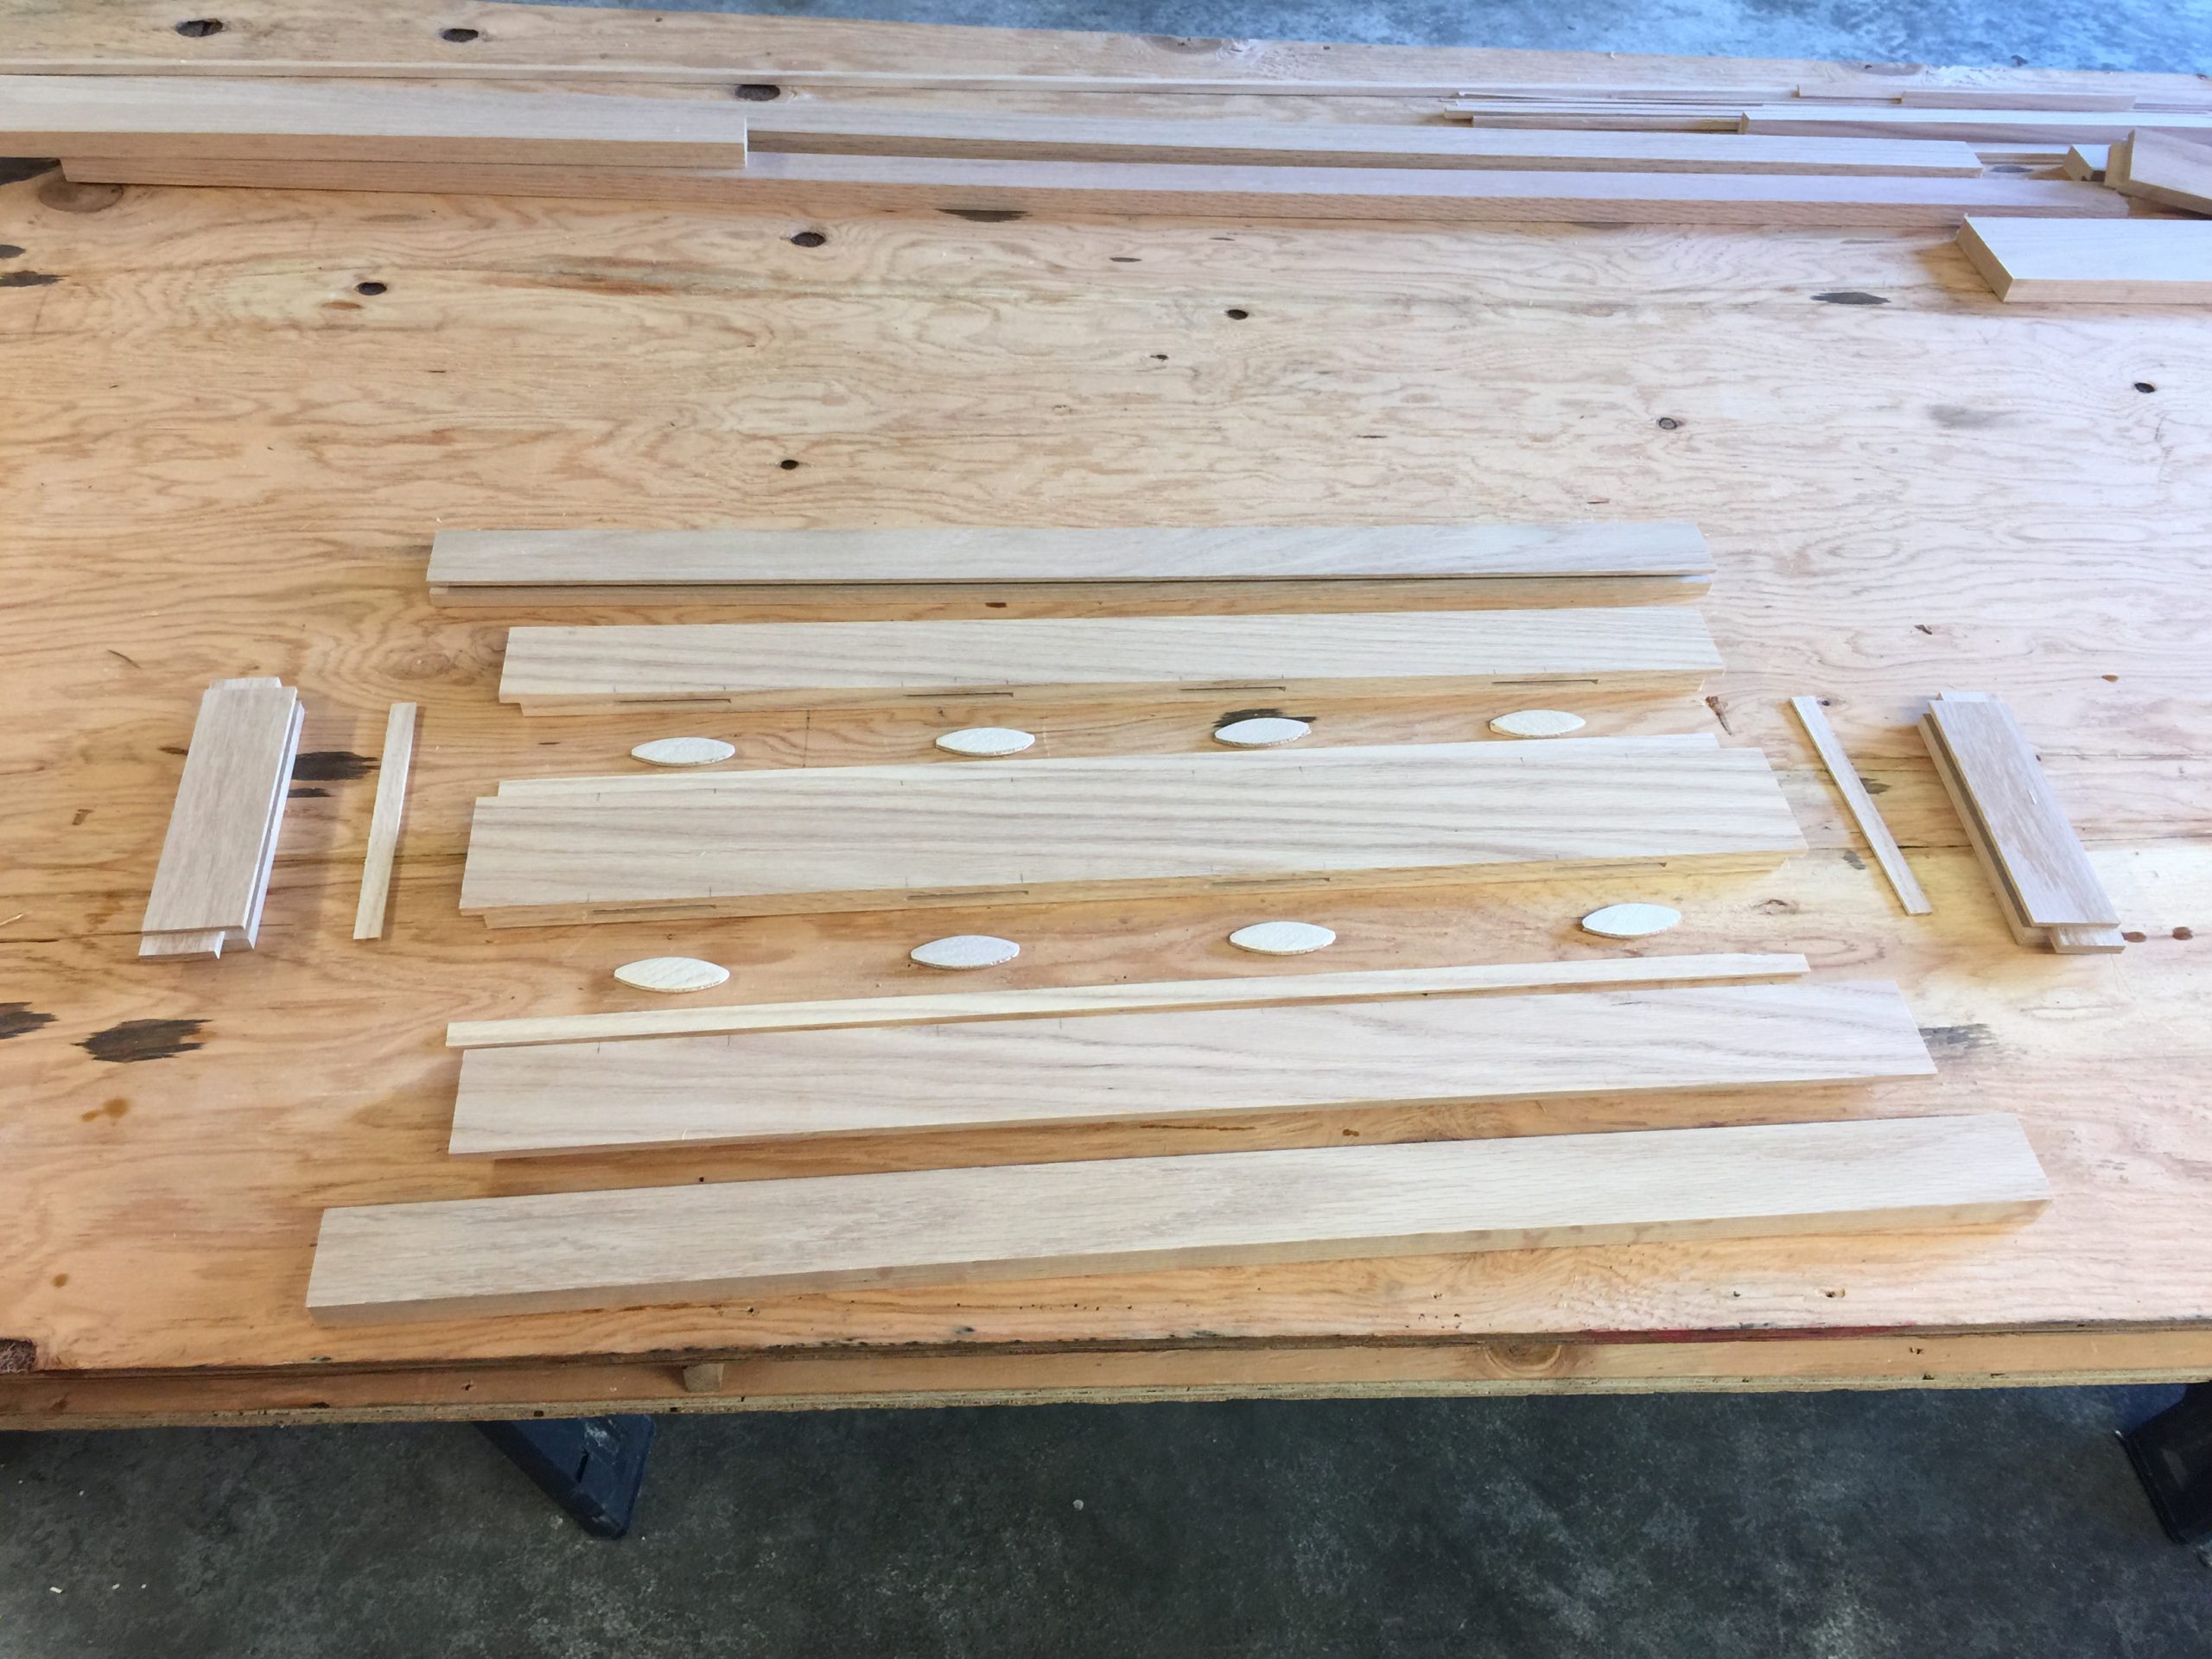
This is everything I’ll need to do the stairs: stair treads, risers, runners and trim pieces. Everything is laid out and properly slathered with polyurethane. Those 1×12 boards go up and down either side of the stairs and are a bit of a challenge as they need to fit in a snug space and they’re 13 feet long. Big and unwieldy and they need to be cut to length and be accurate within around 1/8 of an inch. This will be a magic trick if I can pull it off.
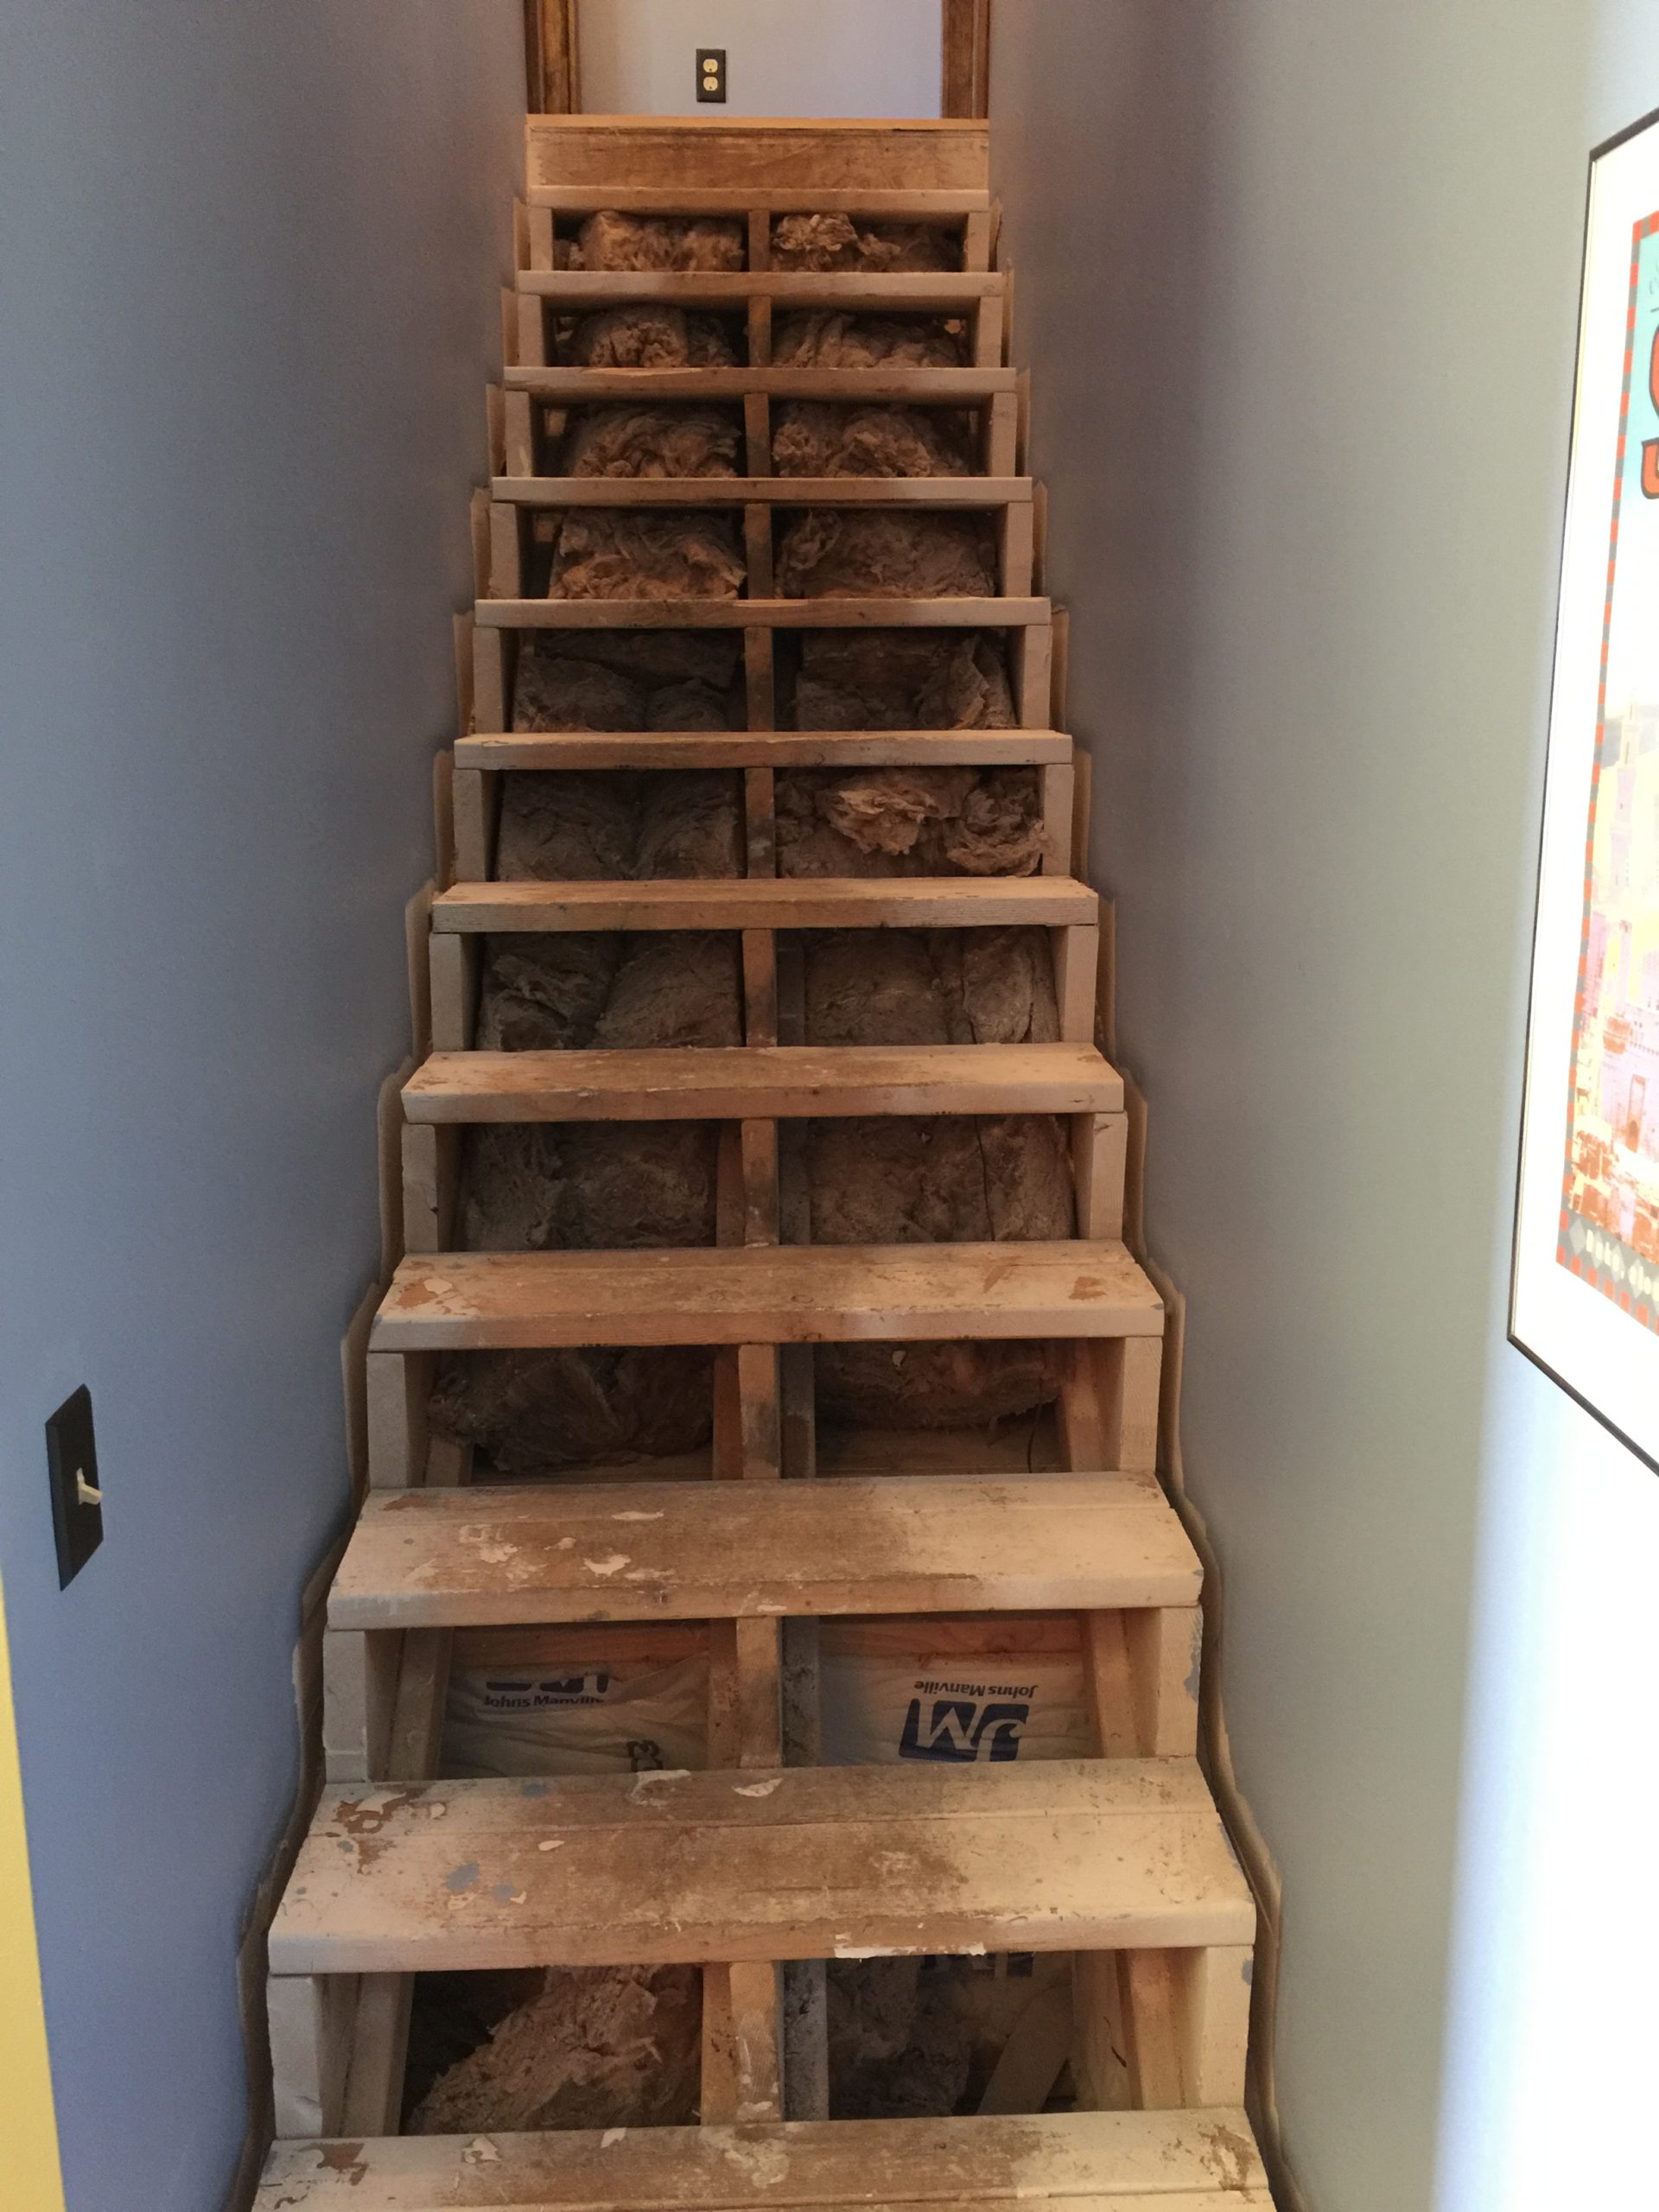
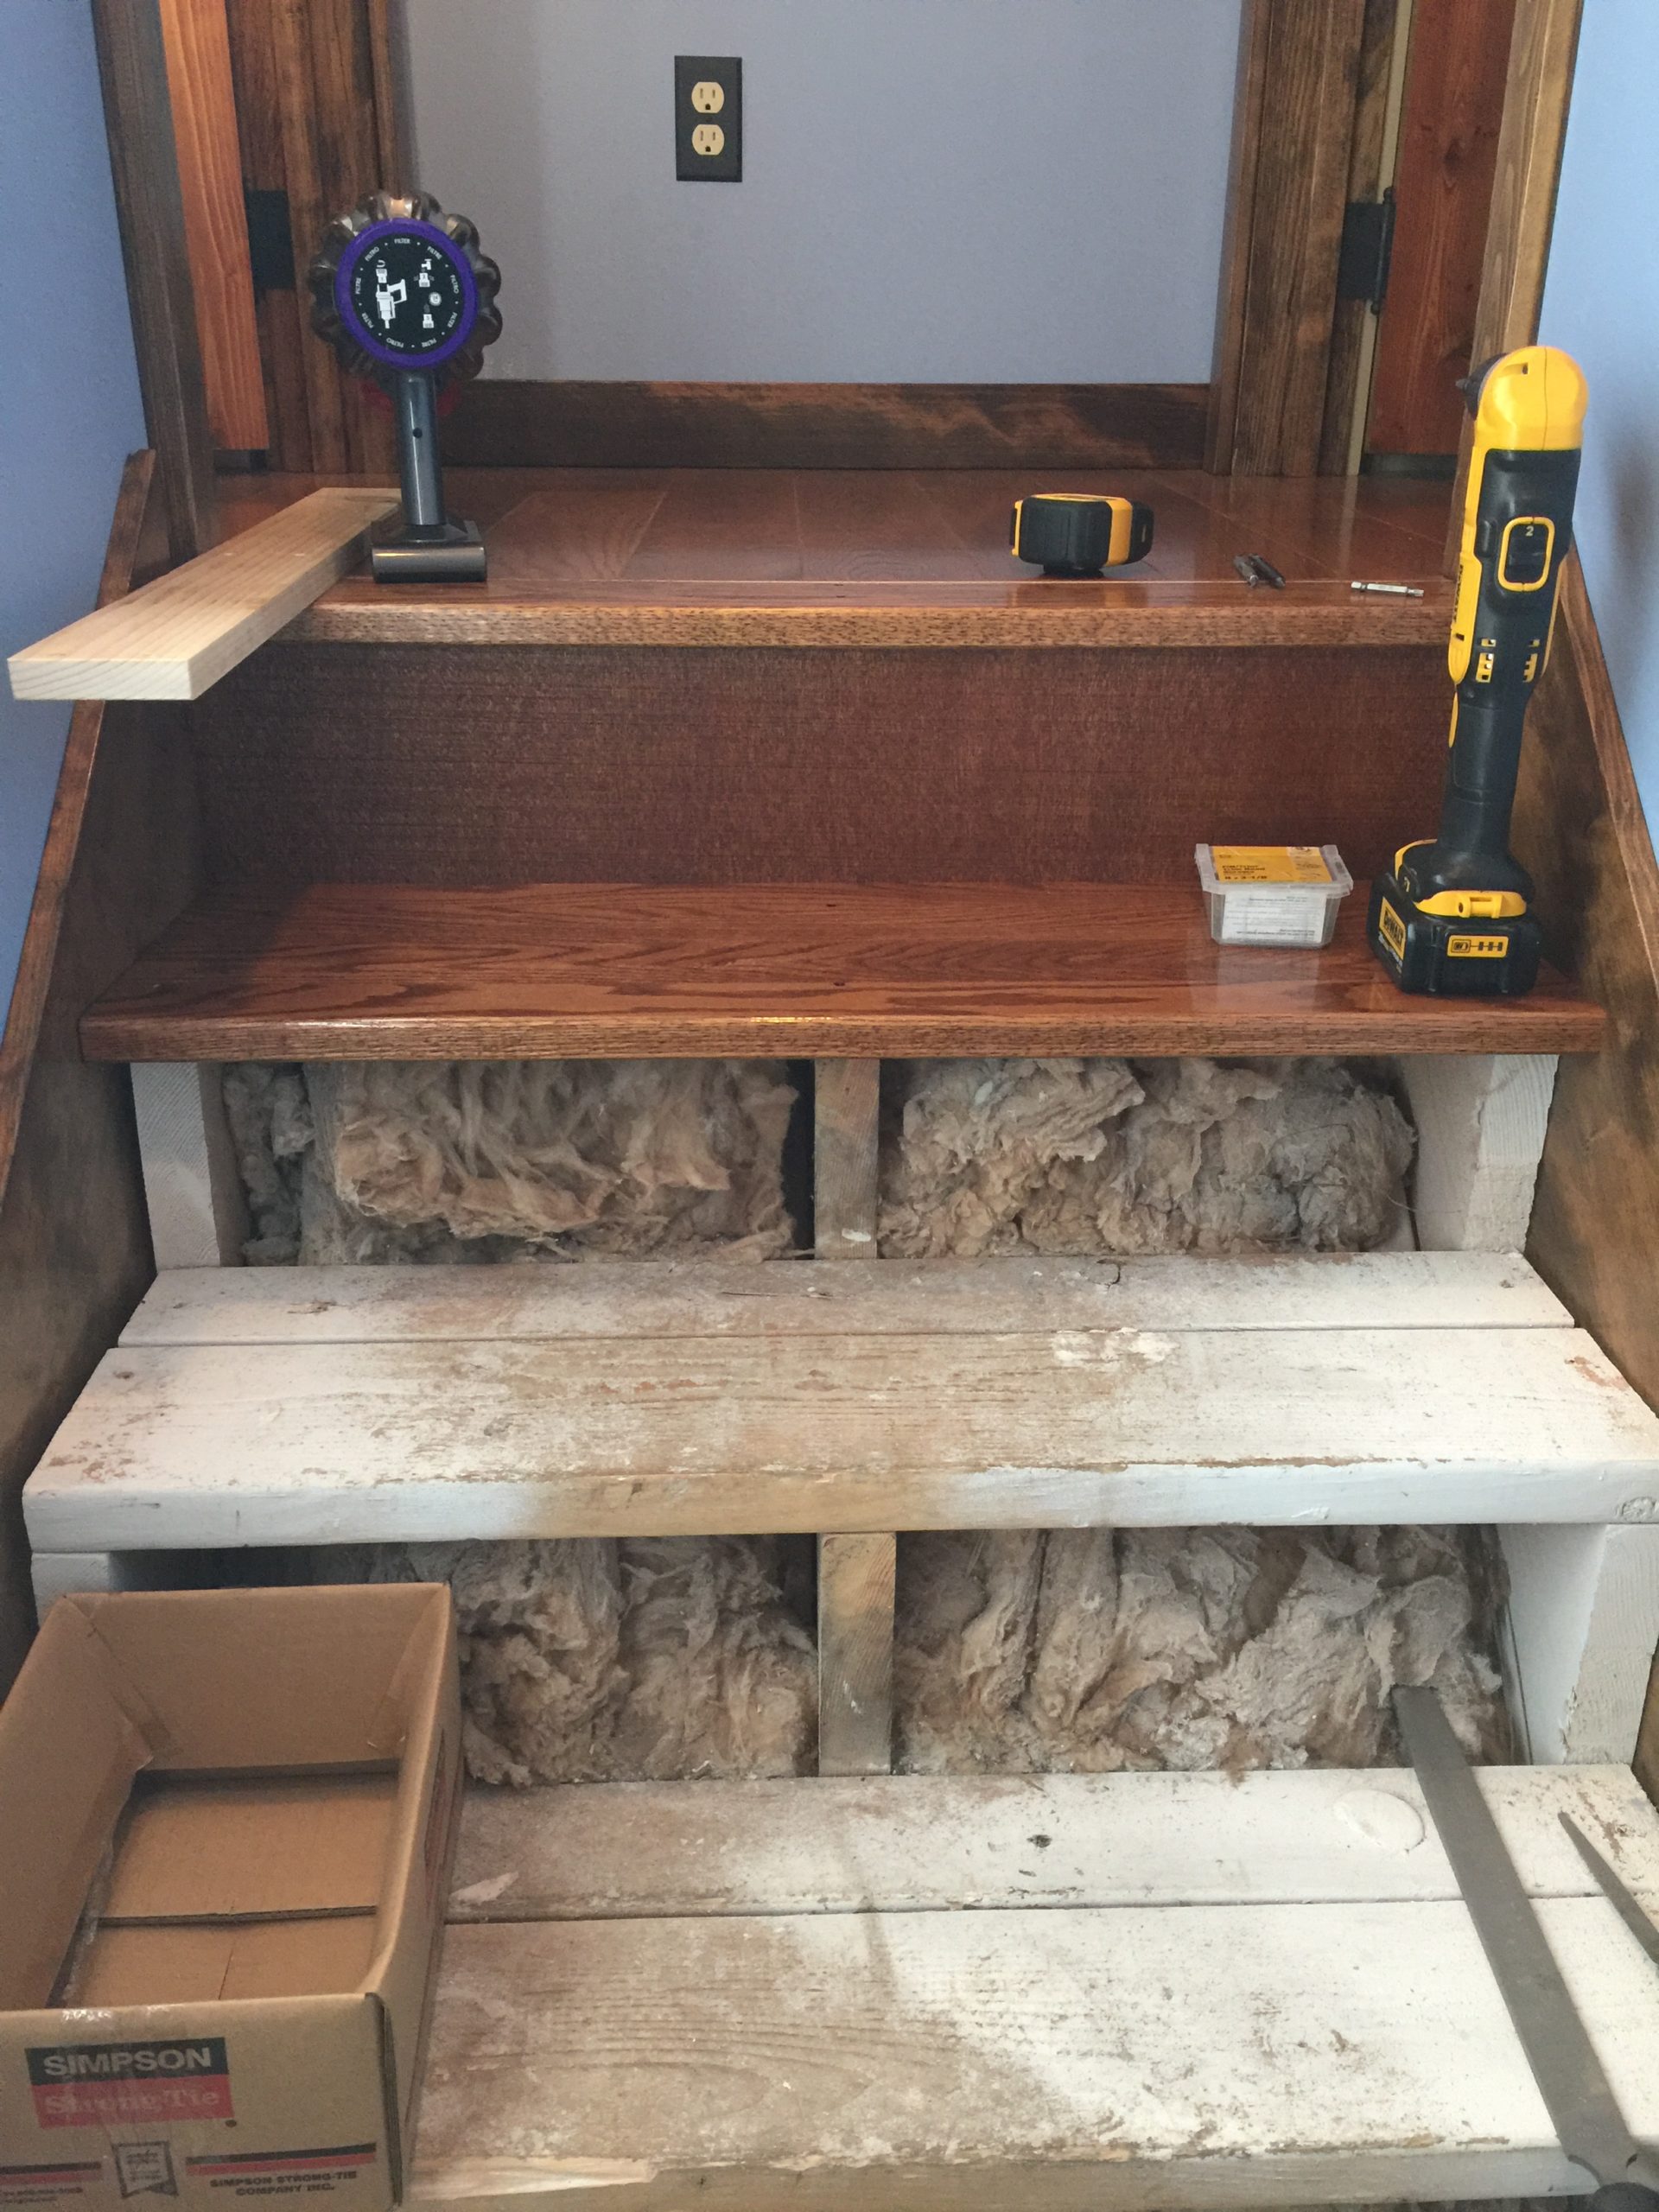
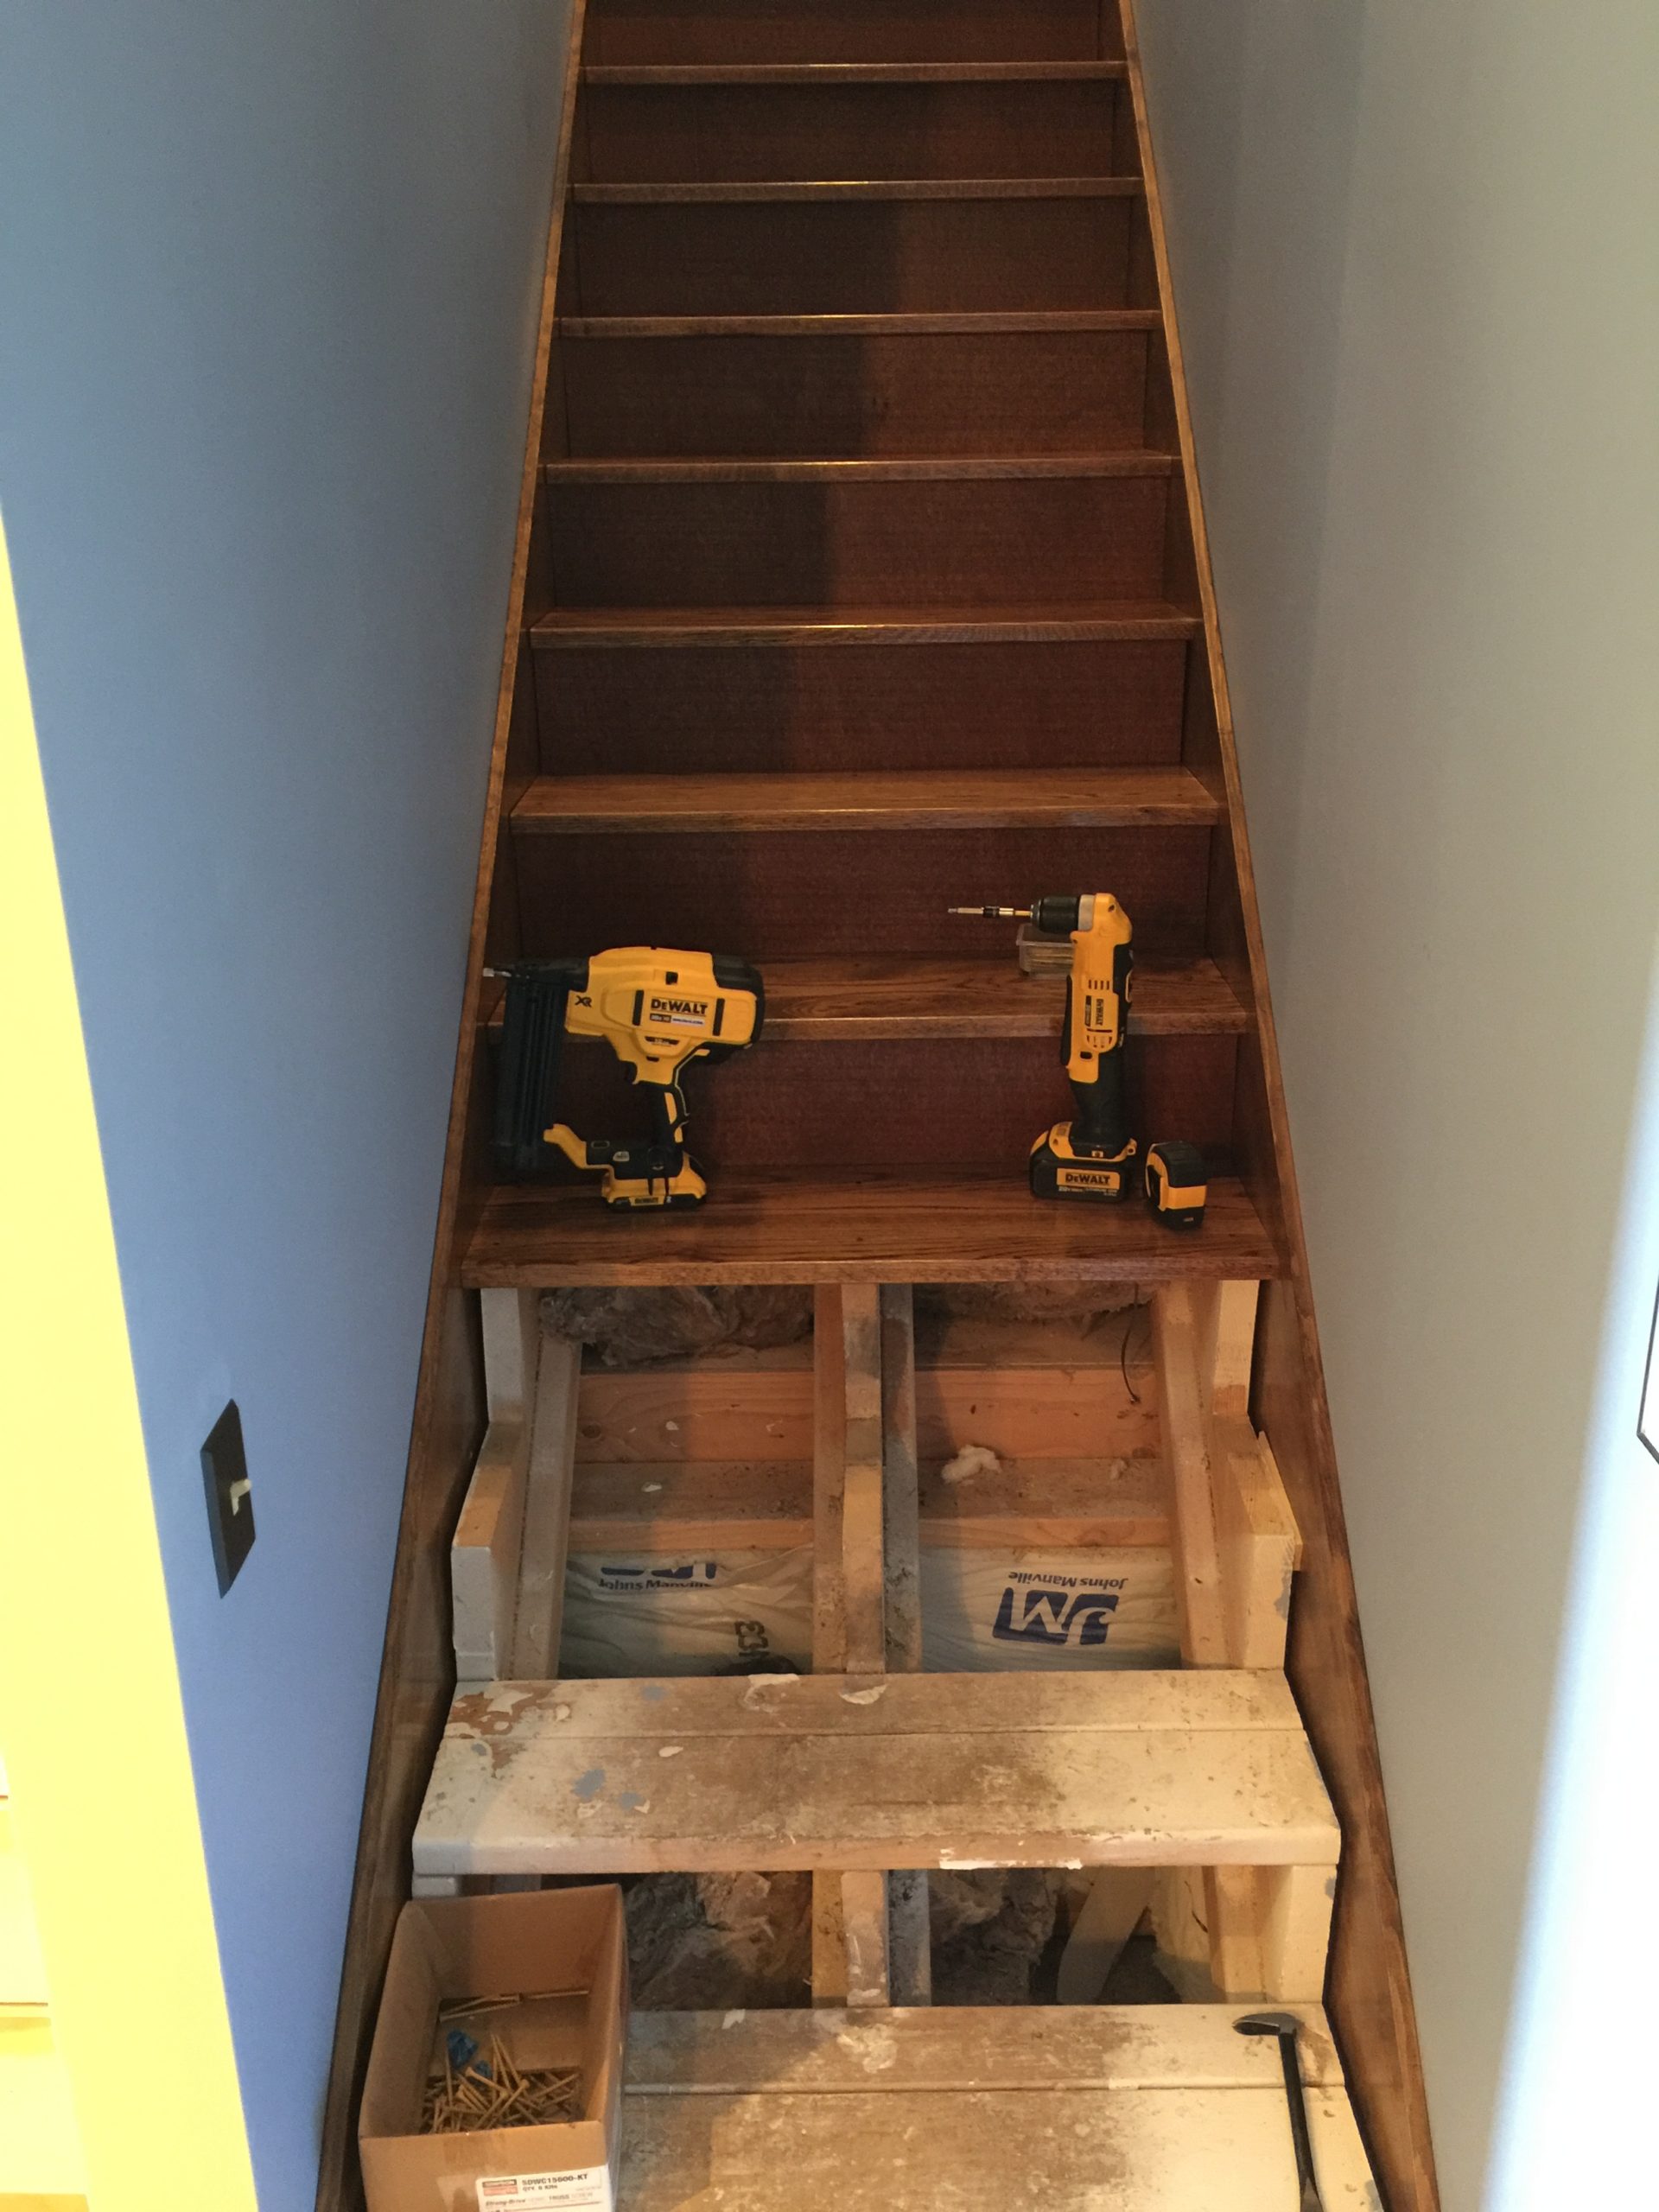
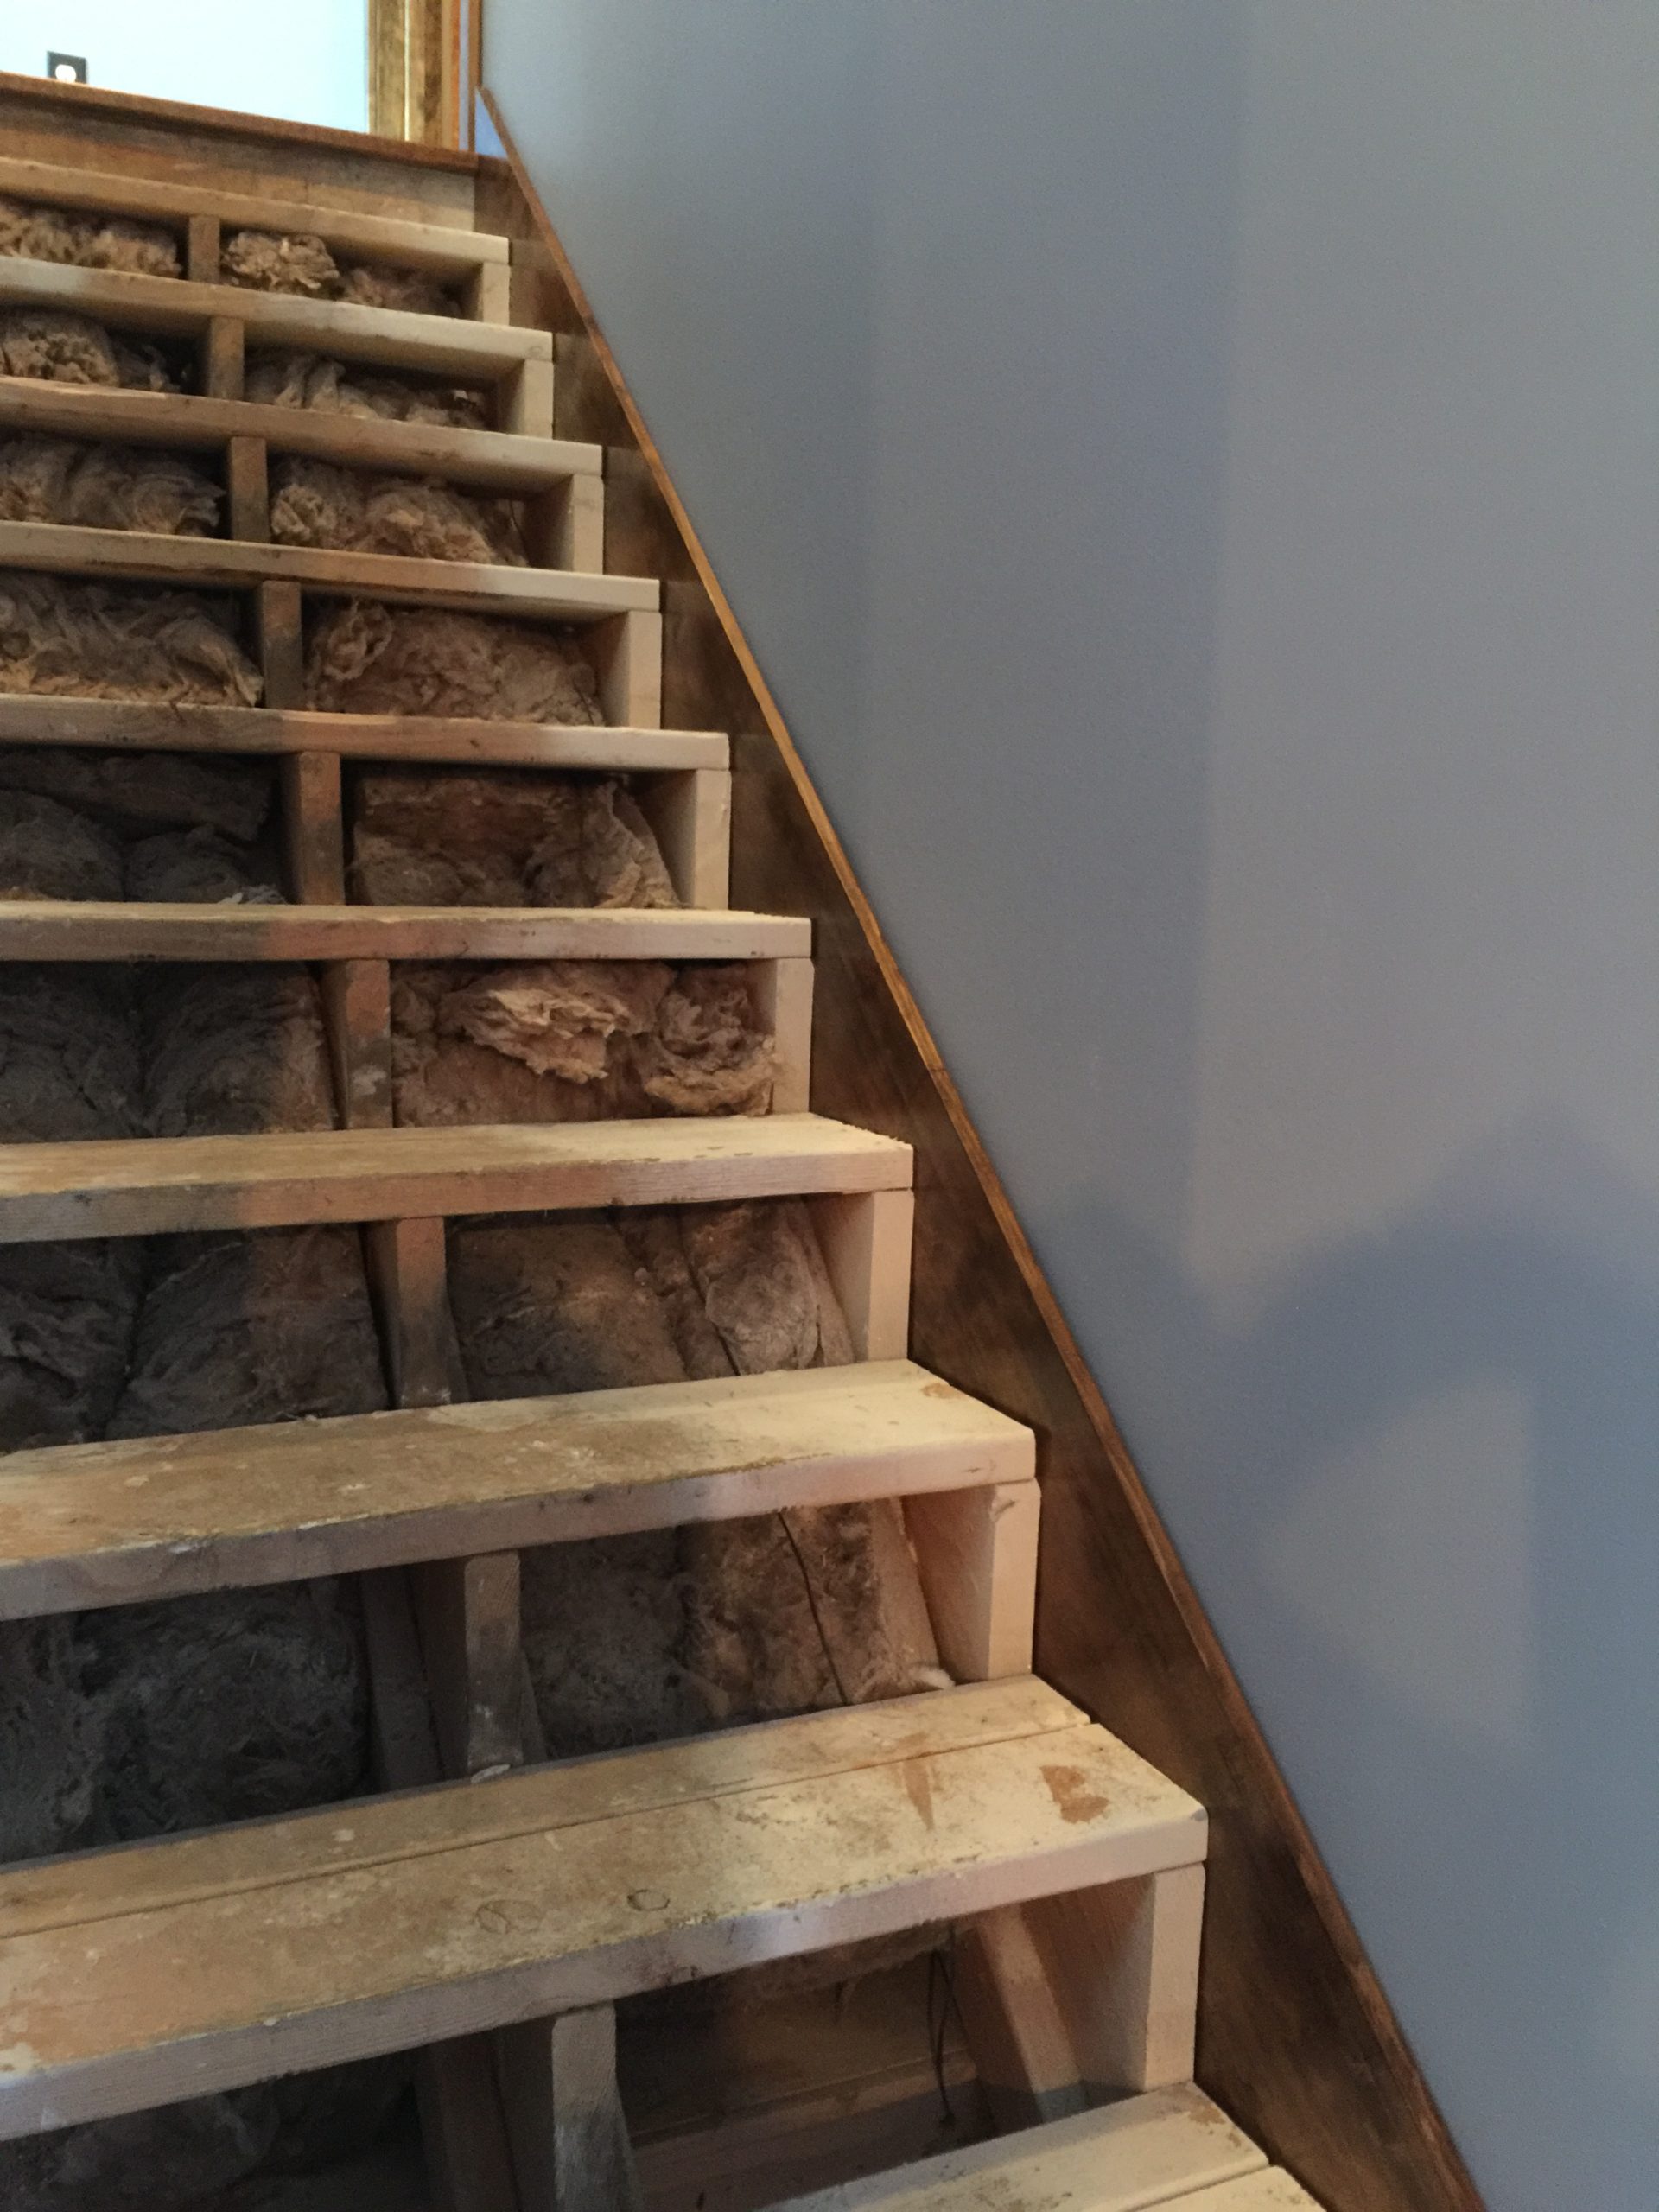
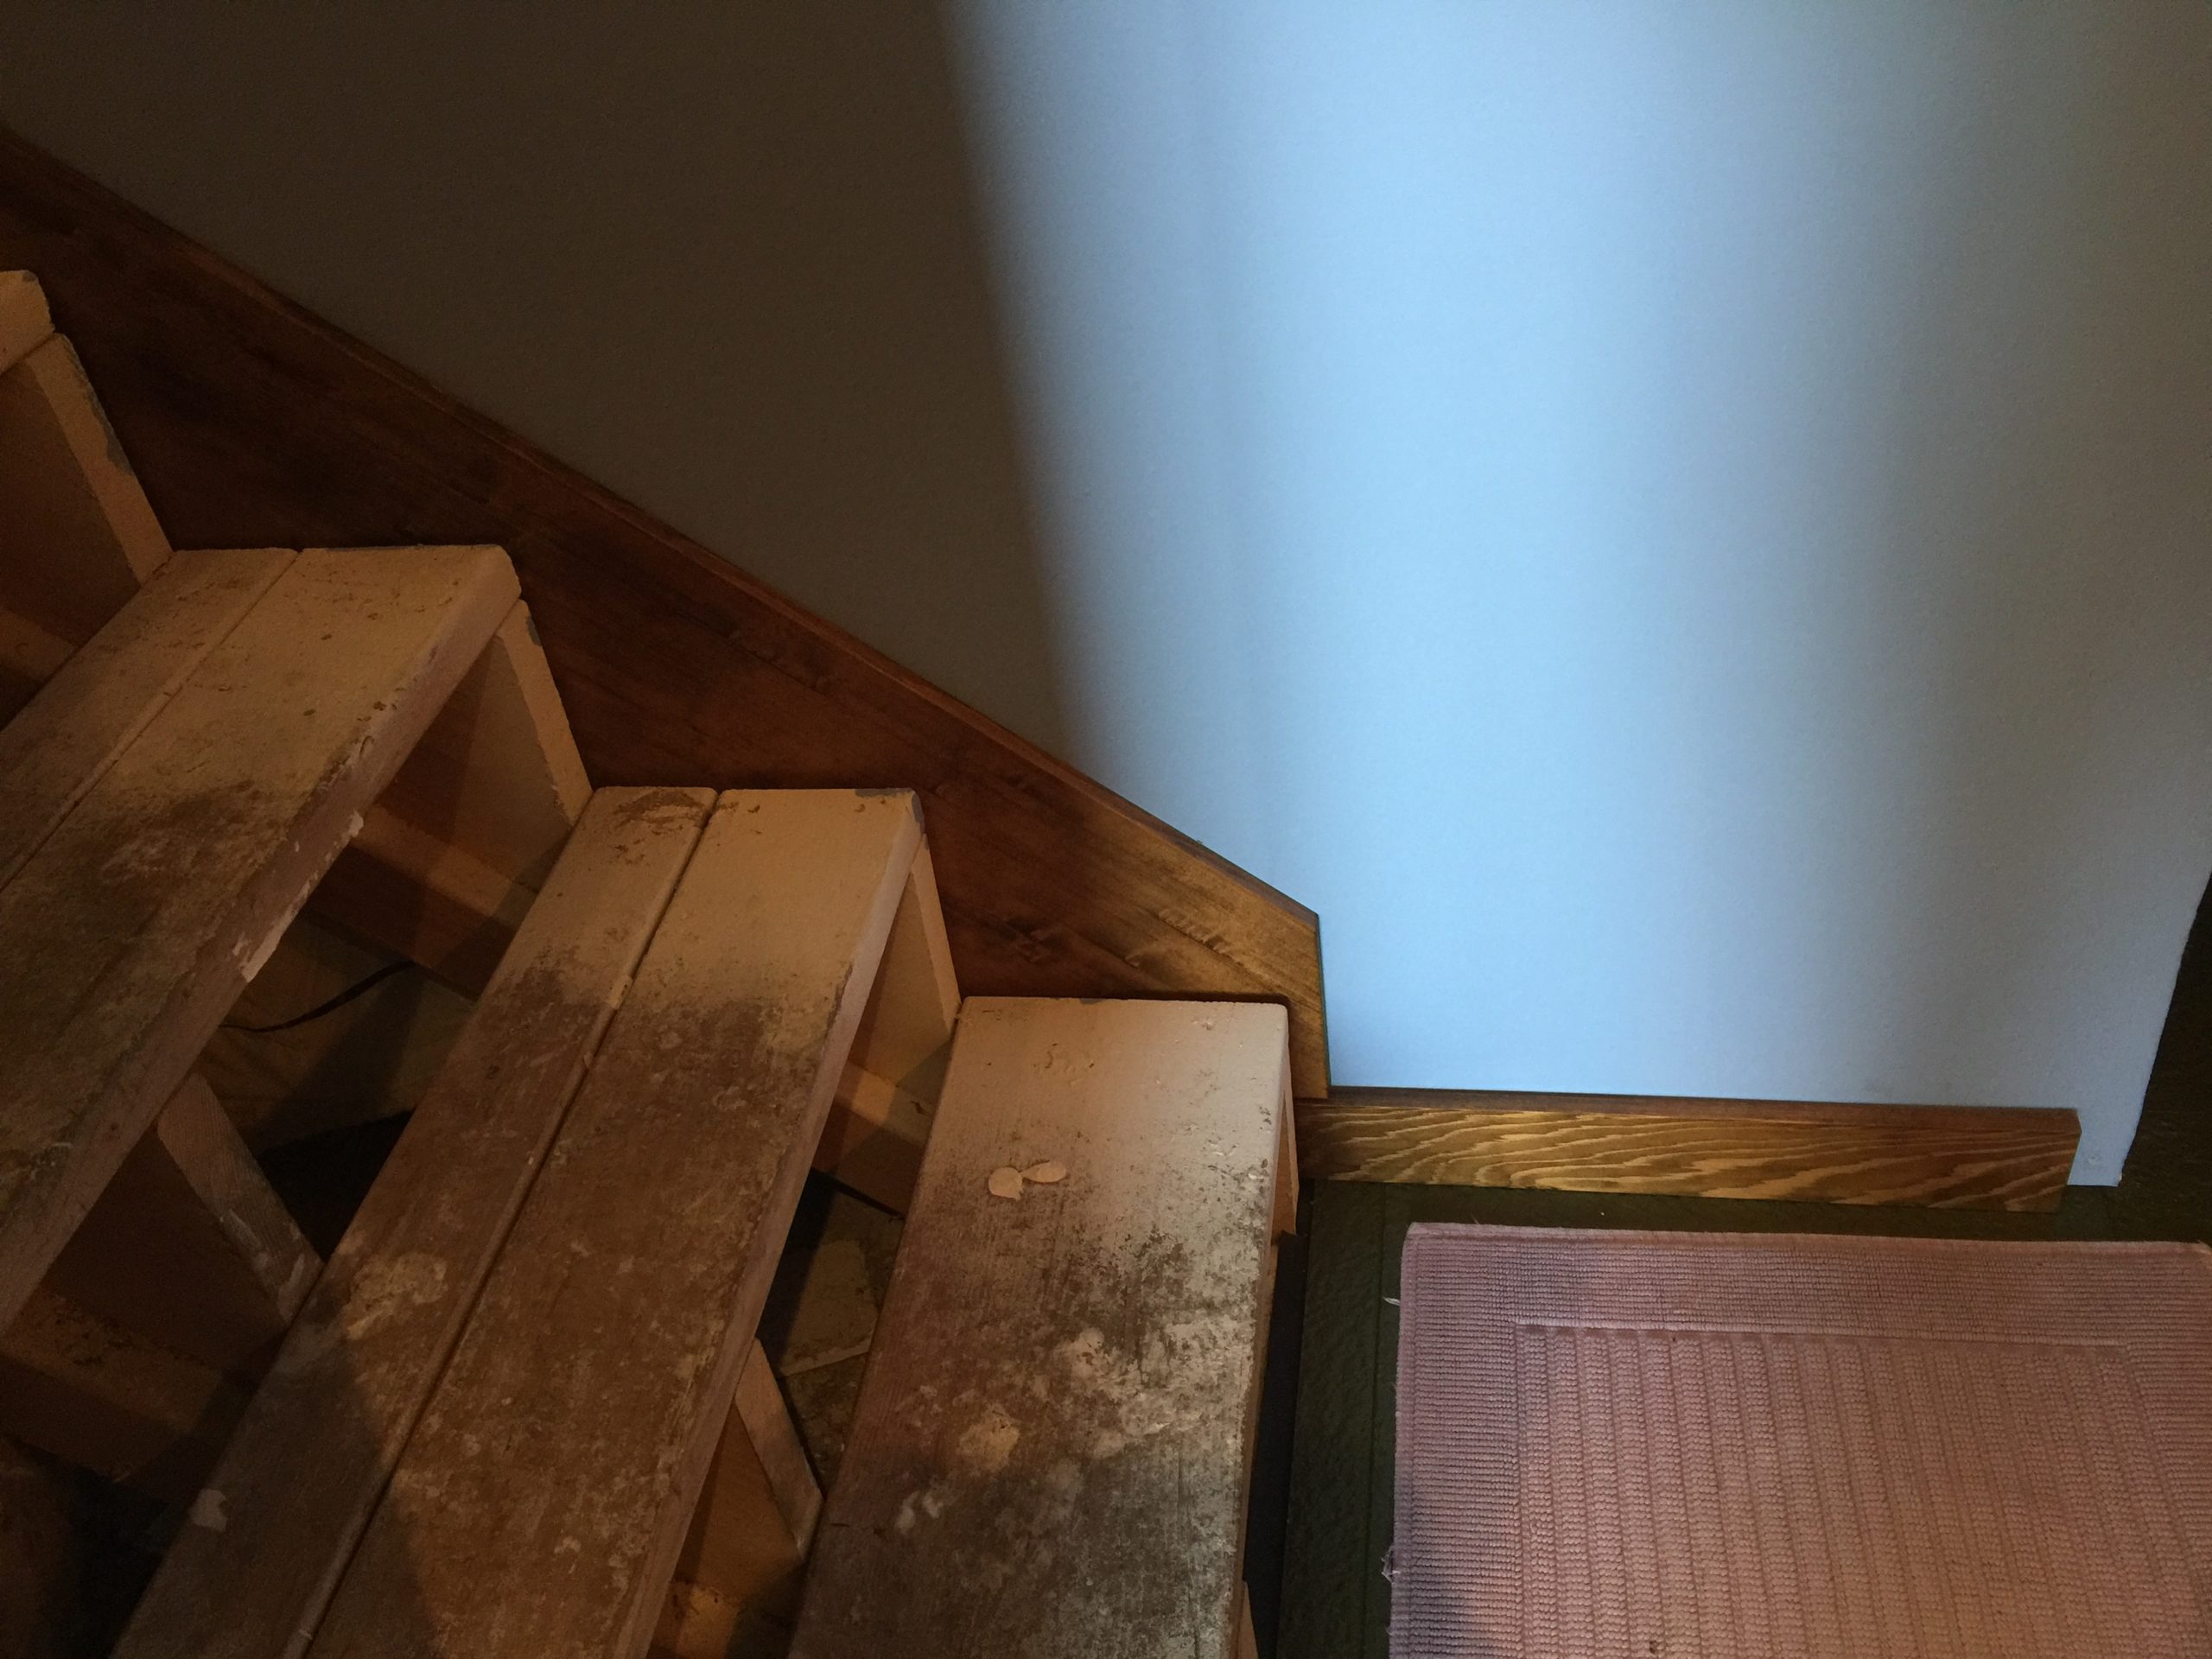
After a while, you stop looking at them. The temporary treads, covered in drywall dust and joint compound and overspray from the primer, become invisible to you, while creaking and wobbling as every step weakens the fastener securing that softwood down. You stop hearing the hollow thump your footfalls make, echoing in the hallway. You cease noticing the exposed insulation, covered in filth that can never be cleaned, like a rat nest condominium. You no longer pay heed when the tip of your flip-flop catches on a step. It’s all just part of living with temporary treads.
Looks simple when all put together but a lot of work goes into these things.
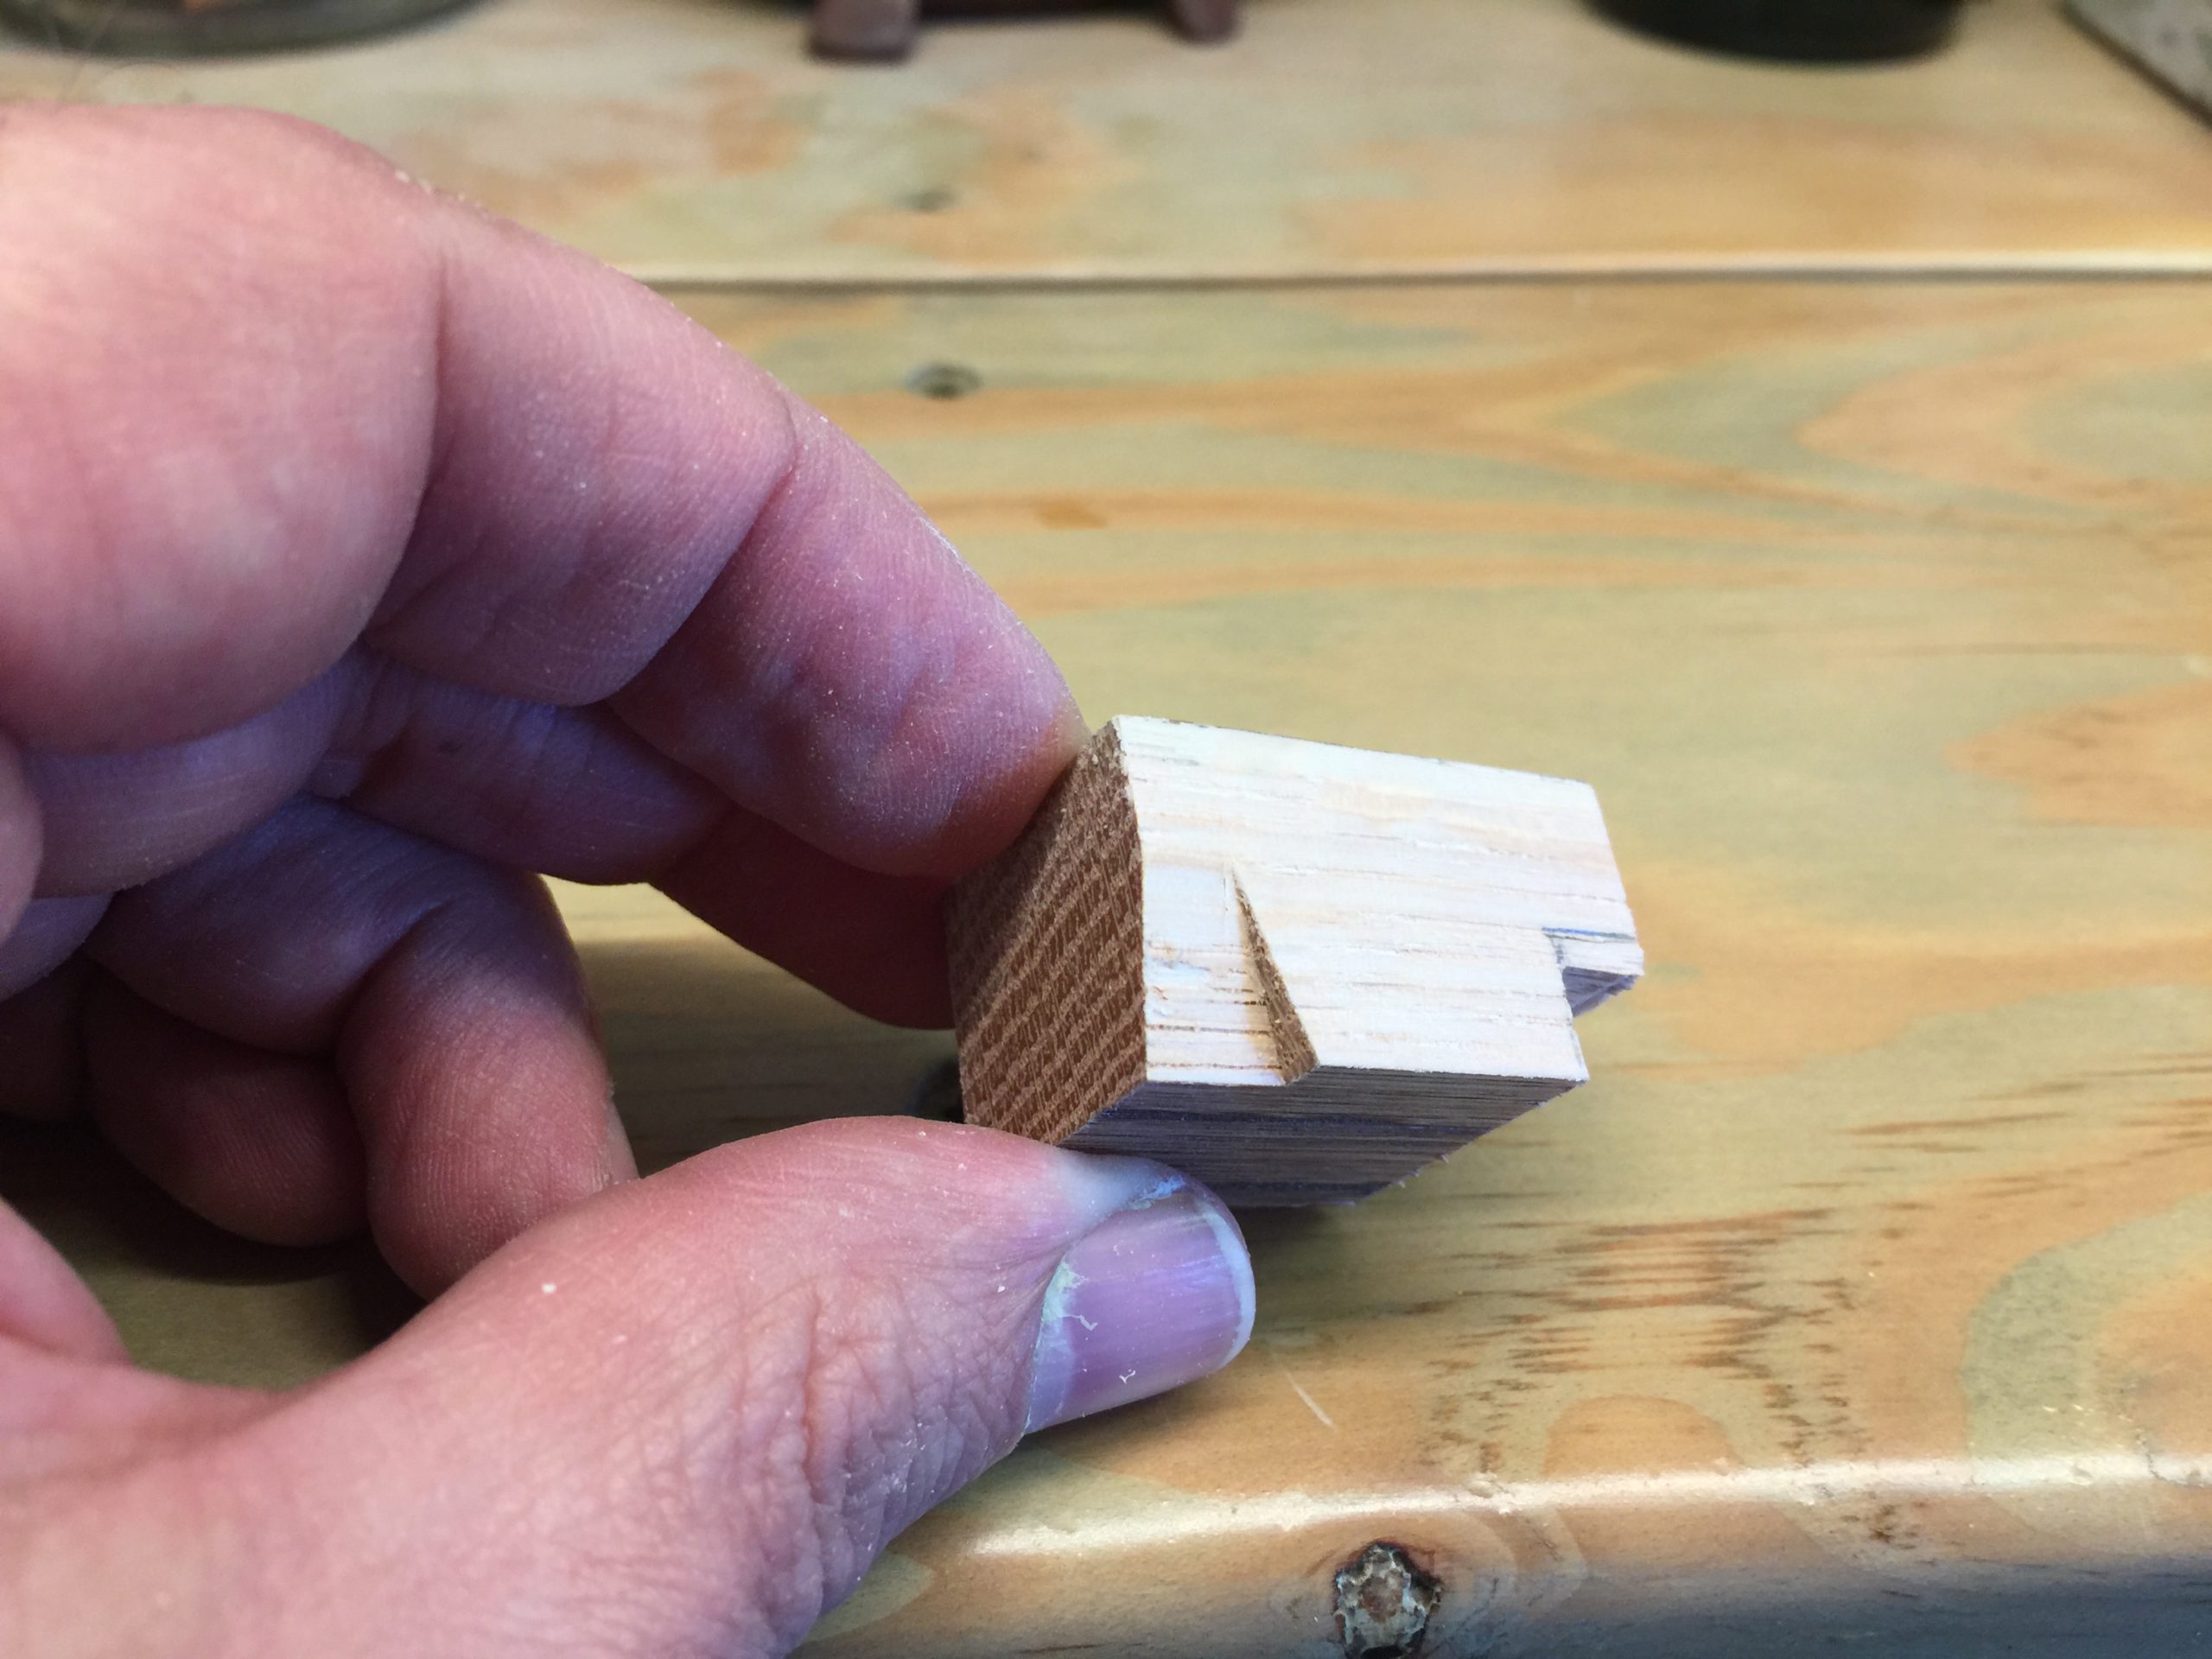
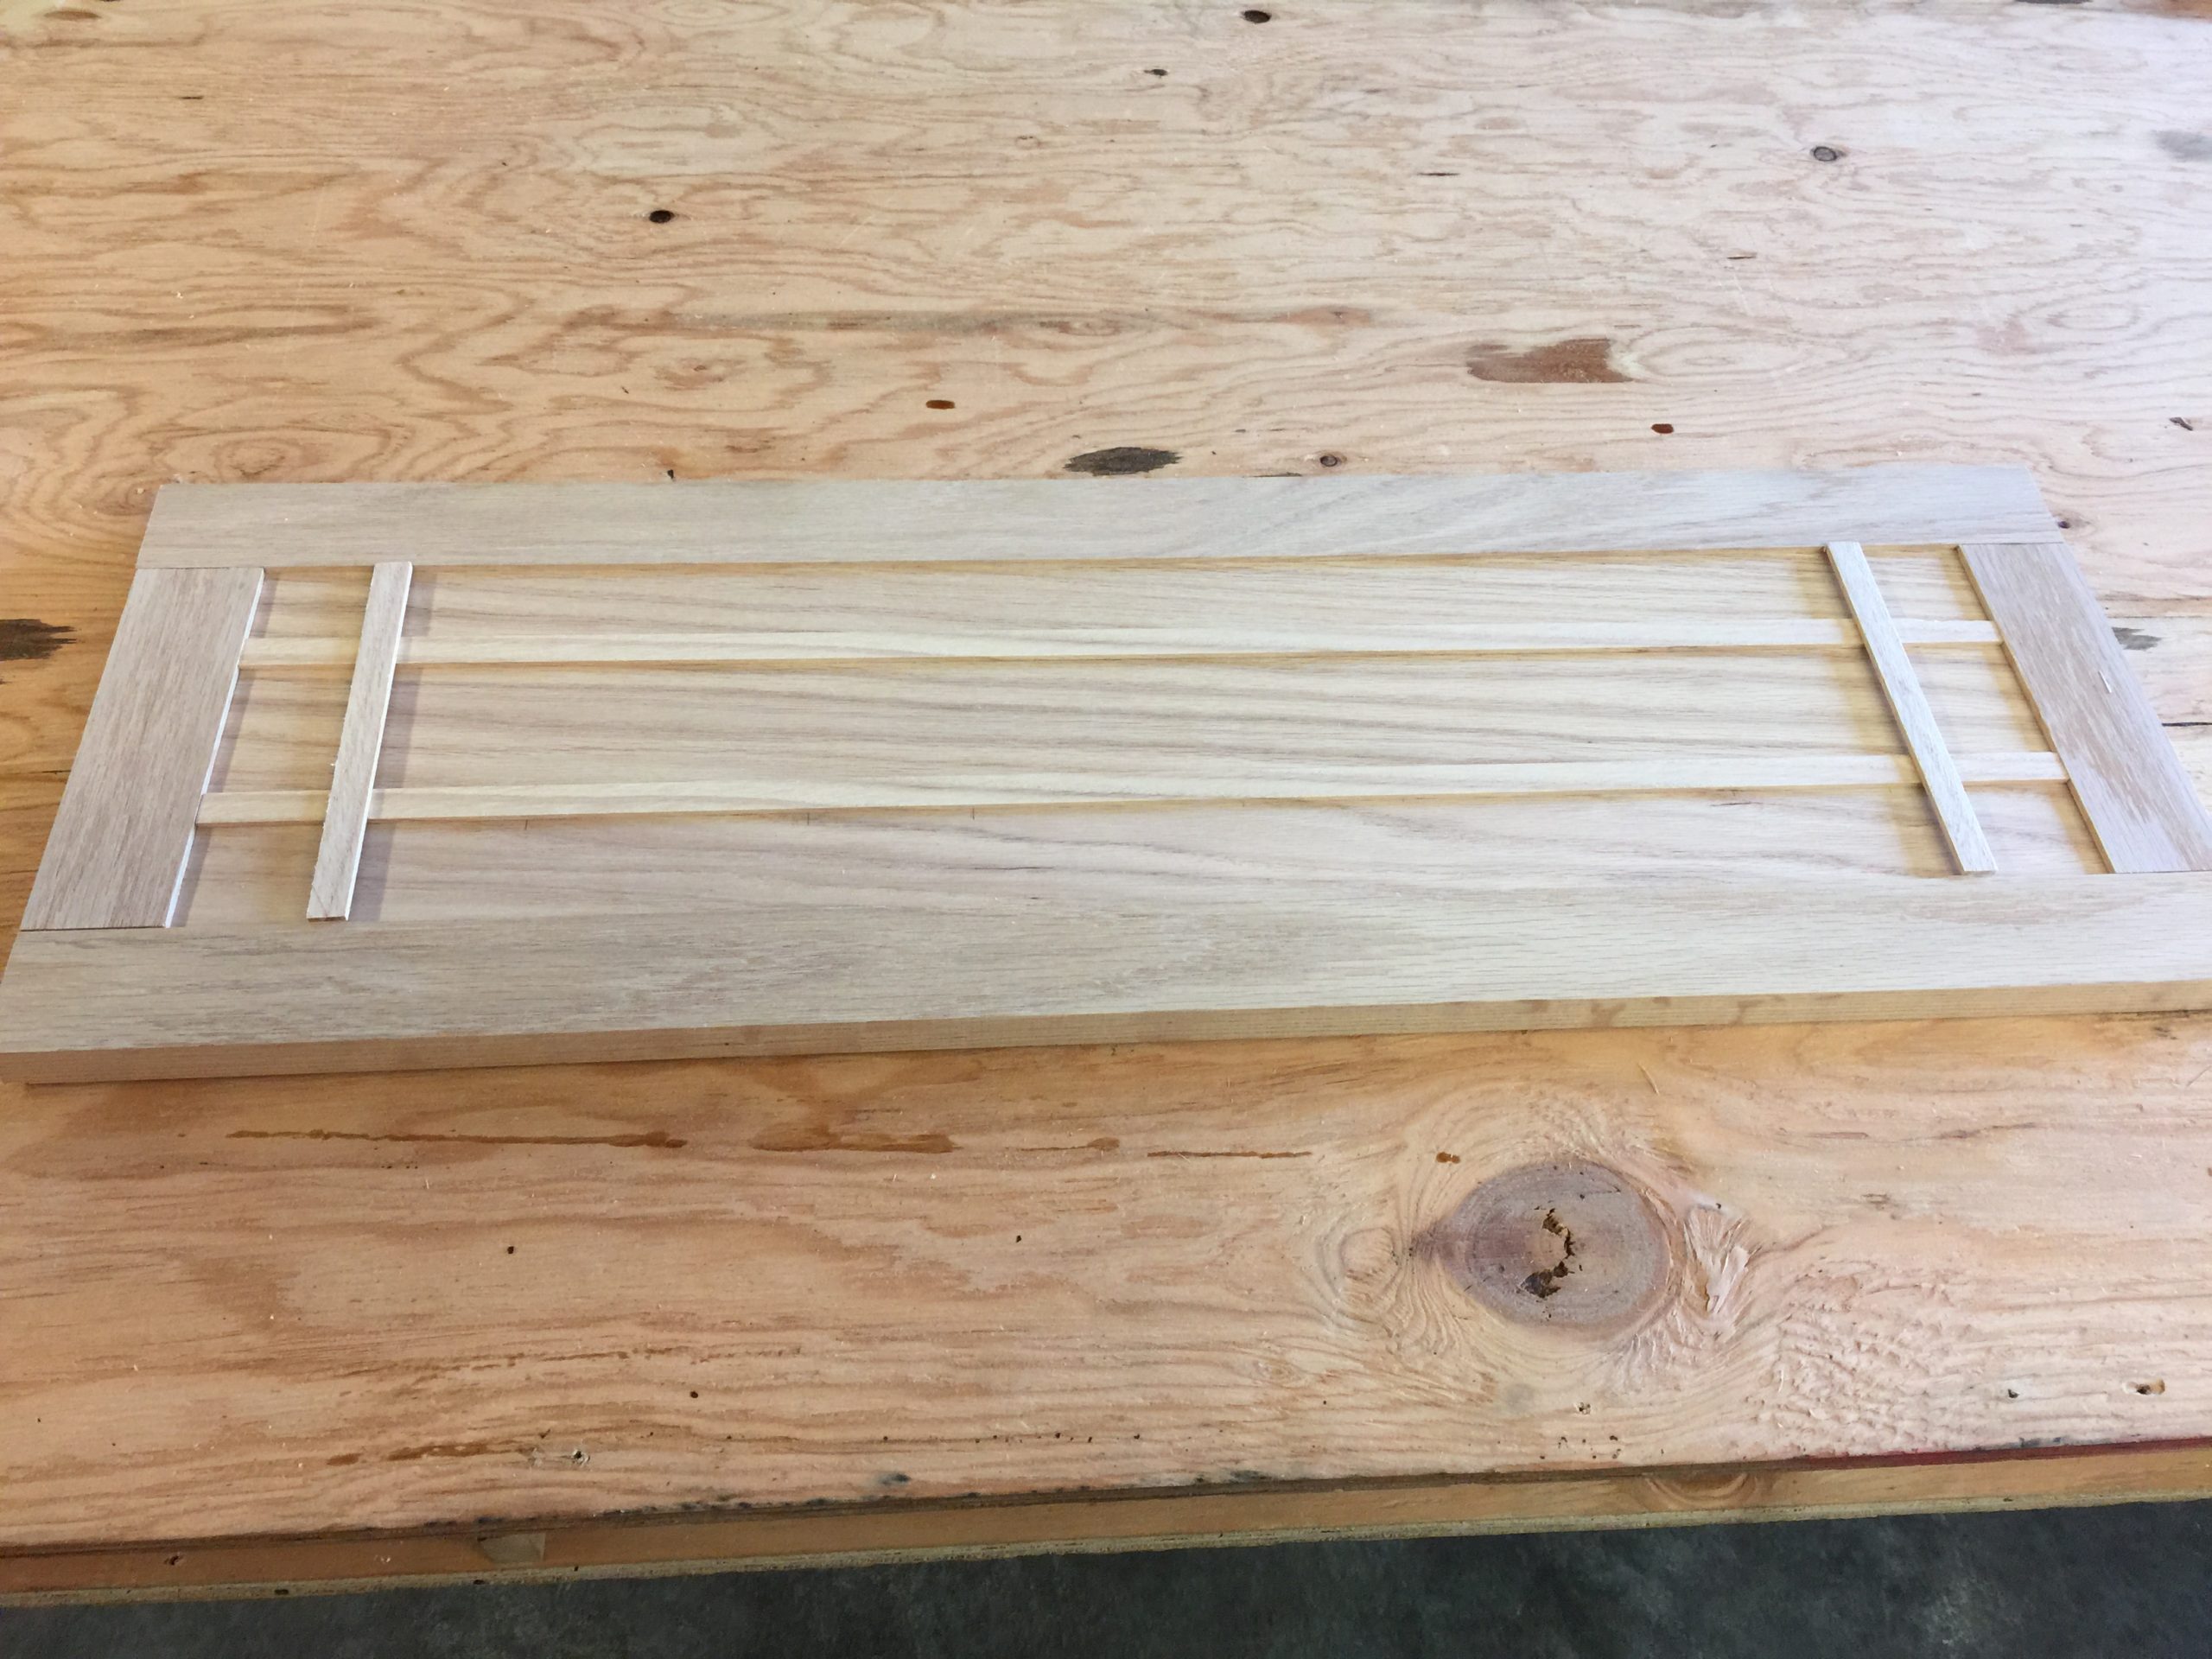
This is a trim piece. It’s part of the oak band that goes atop the wainscot in the bathroom. It needs to be tapered at 14 degrees for 7/32 of an inch, and have a 1/4 inch cut on its interior end. Without this little piece, a corner in the bathroom would look unfinished. When you’re doing custom trim work, little pieces like this come up all the time.

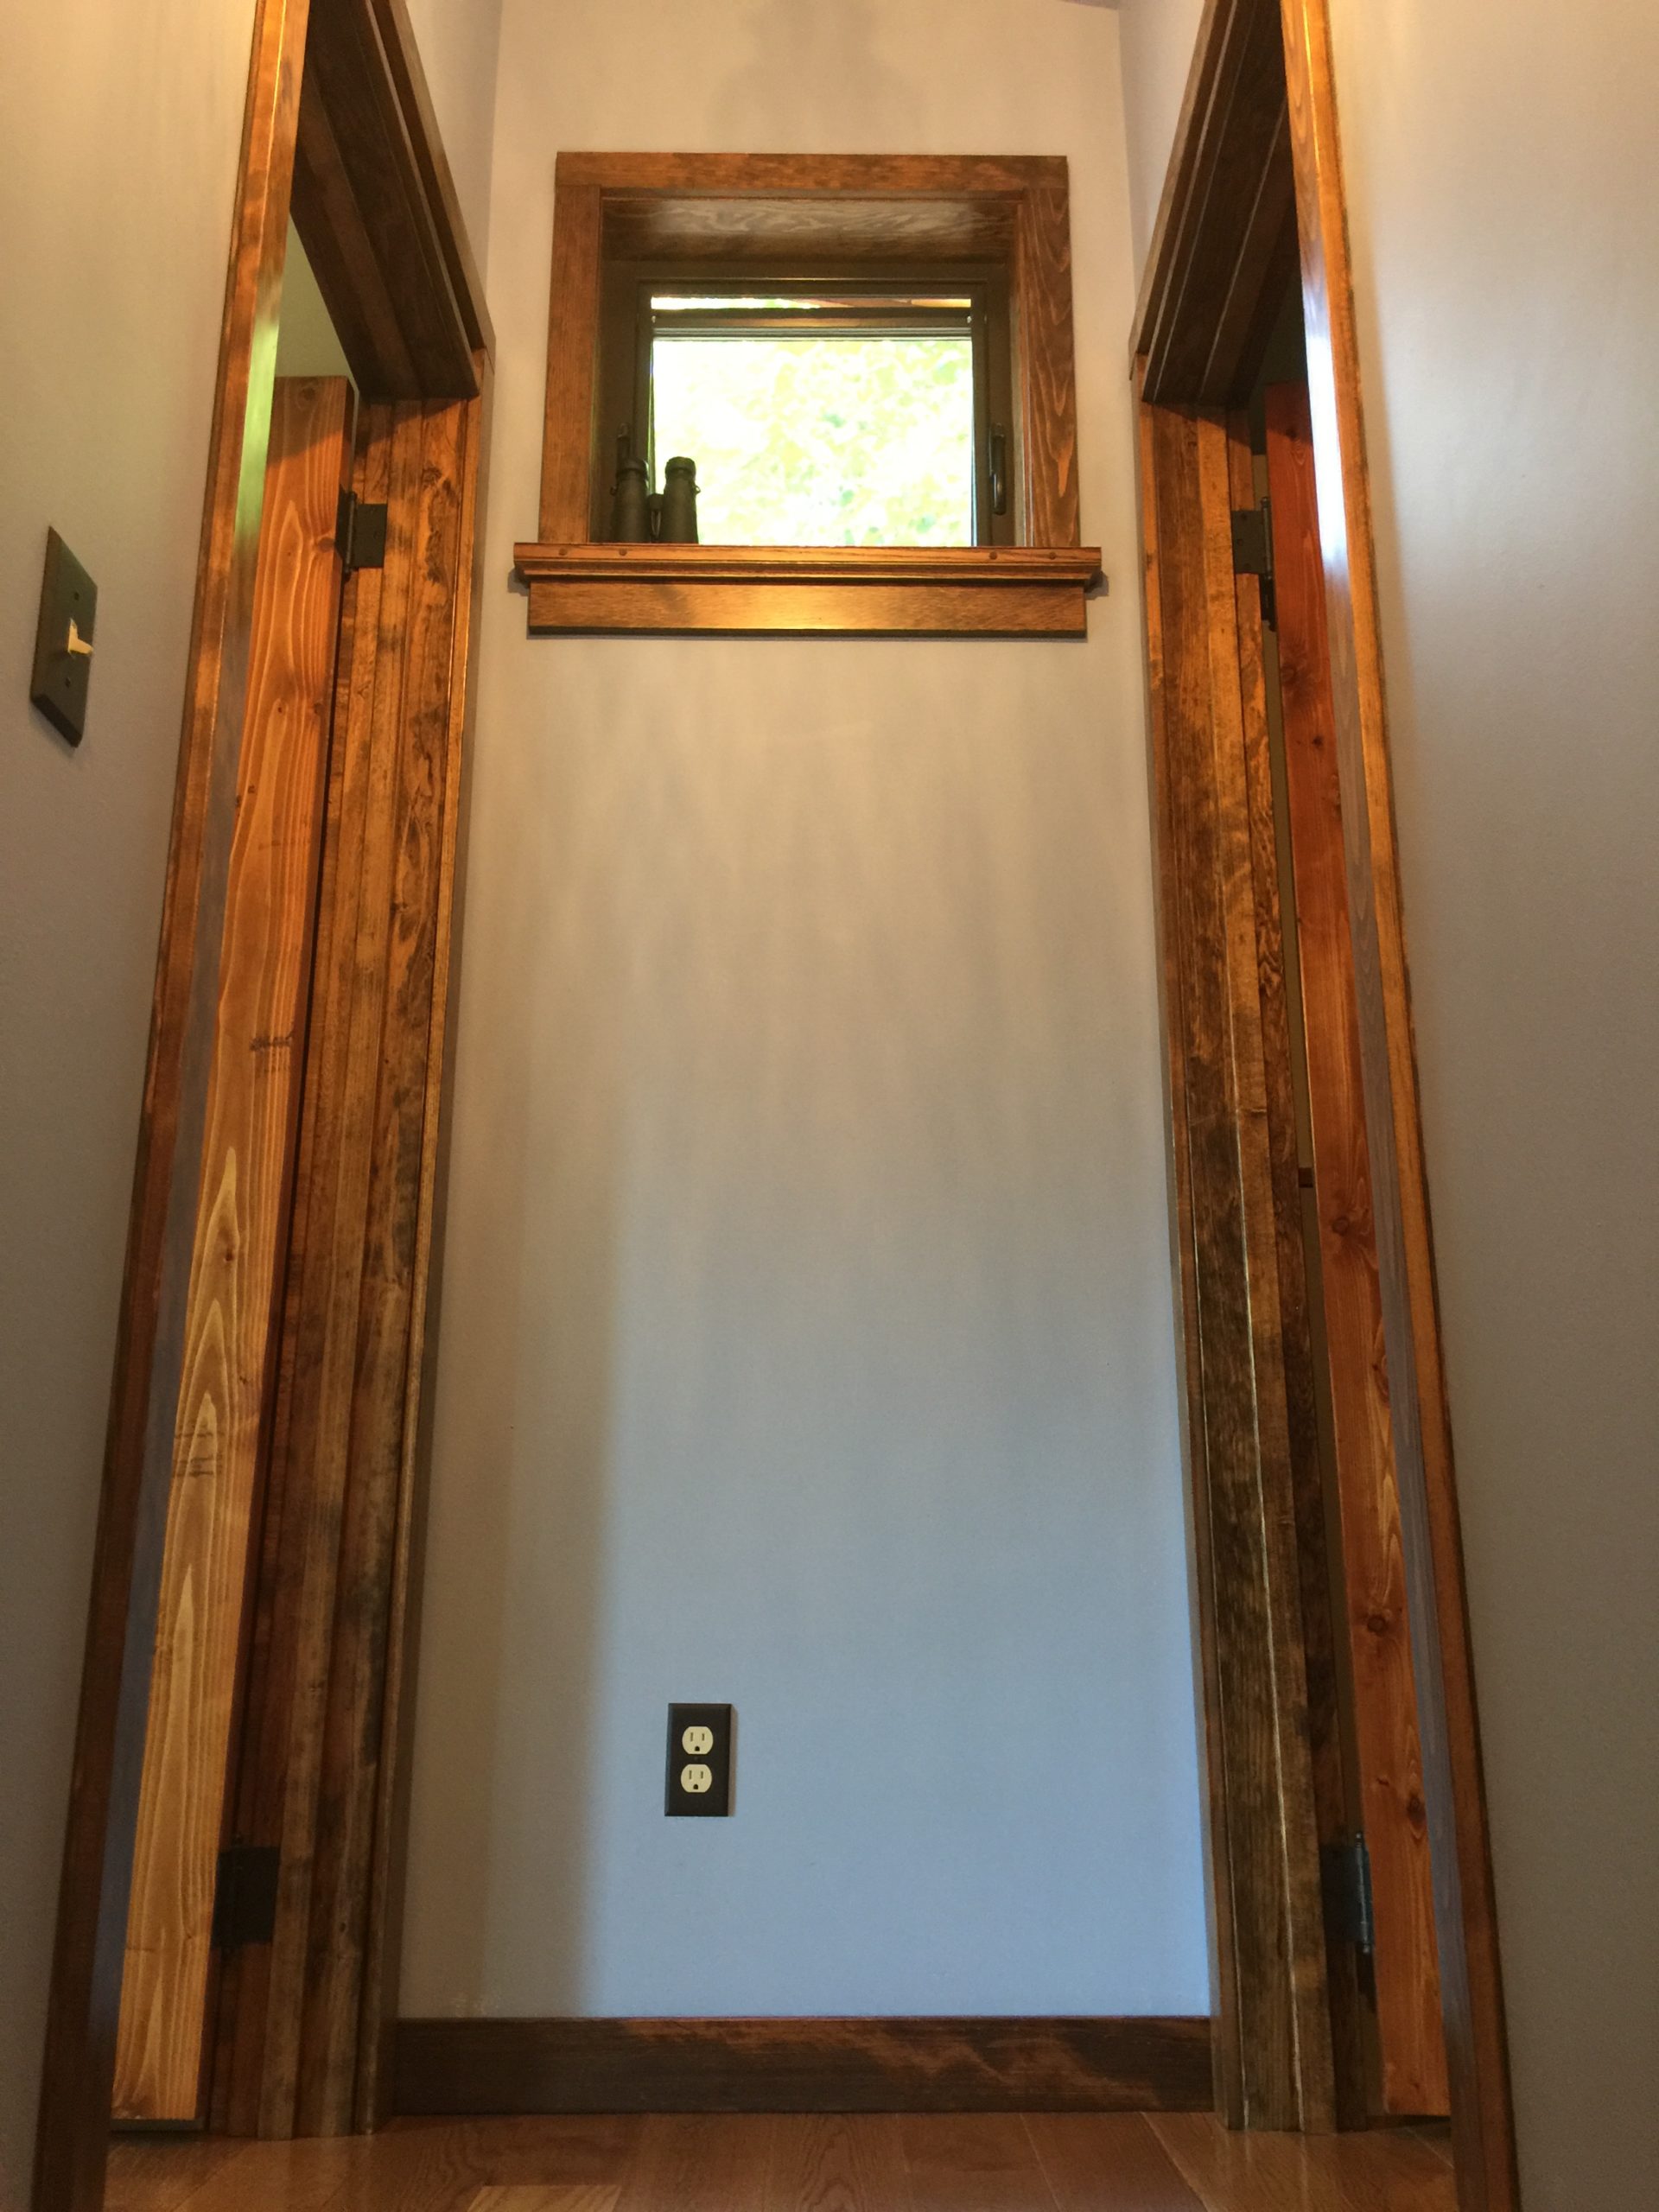
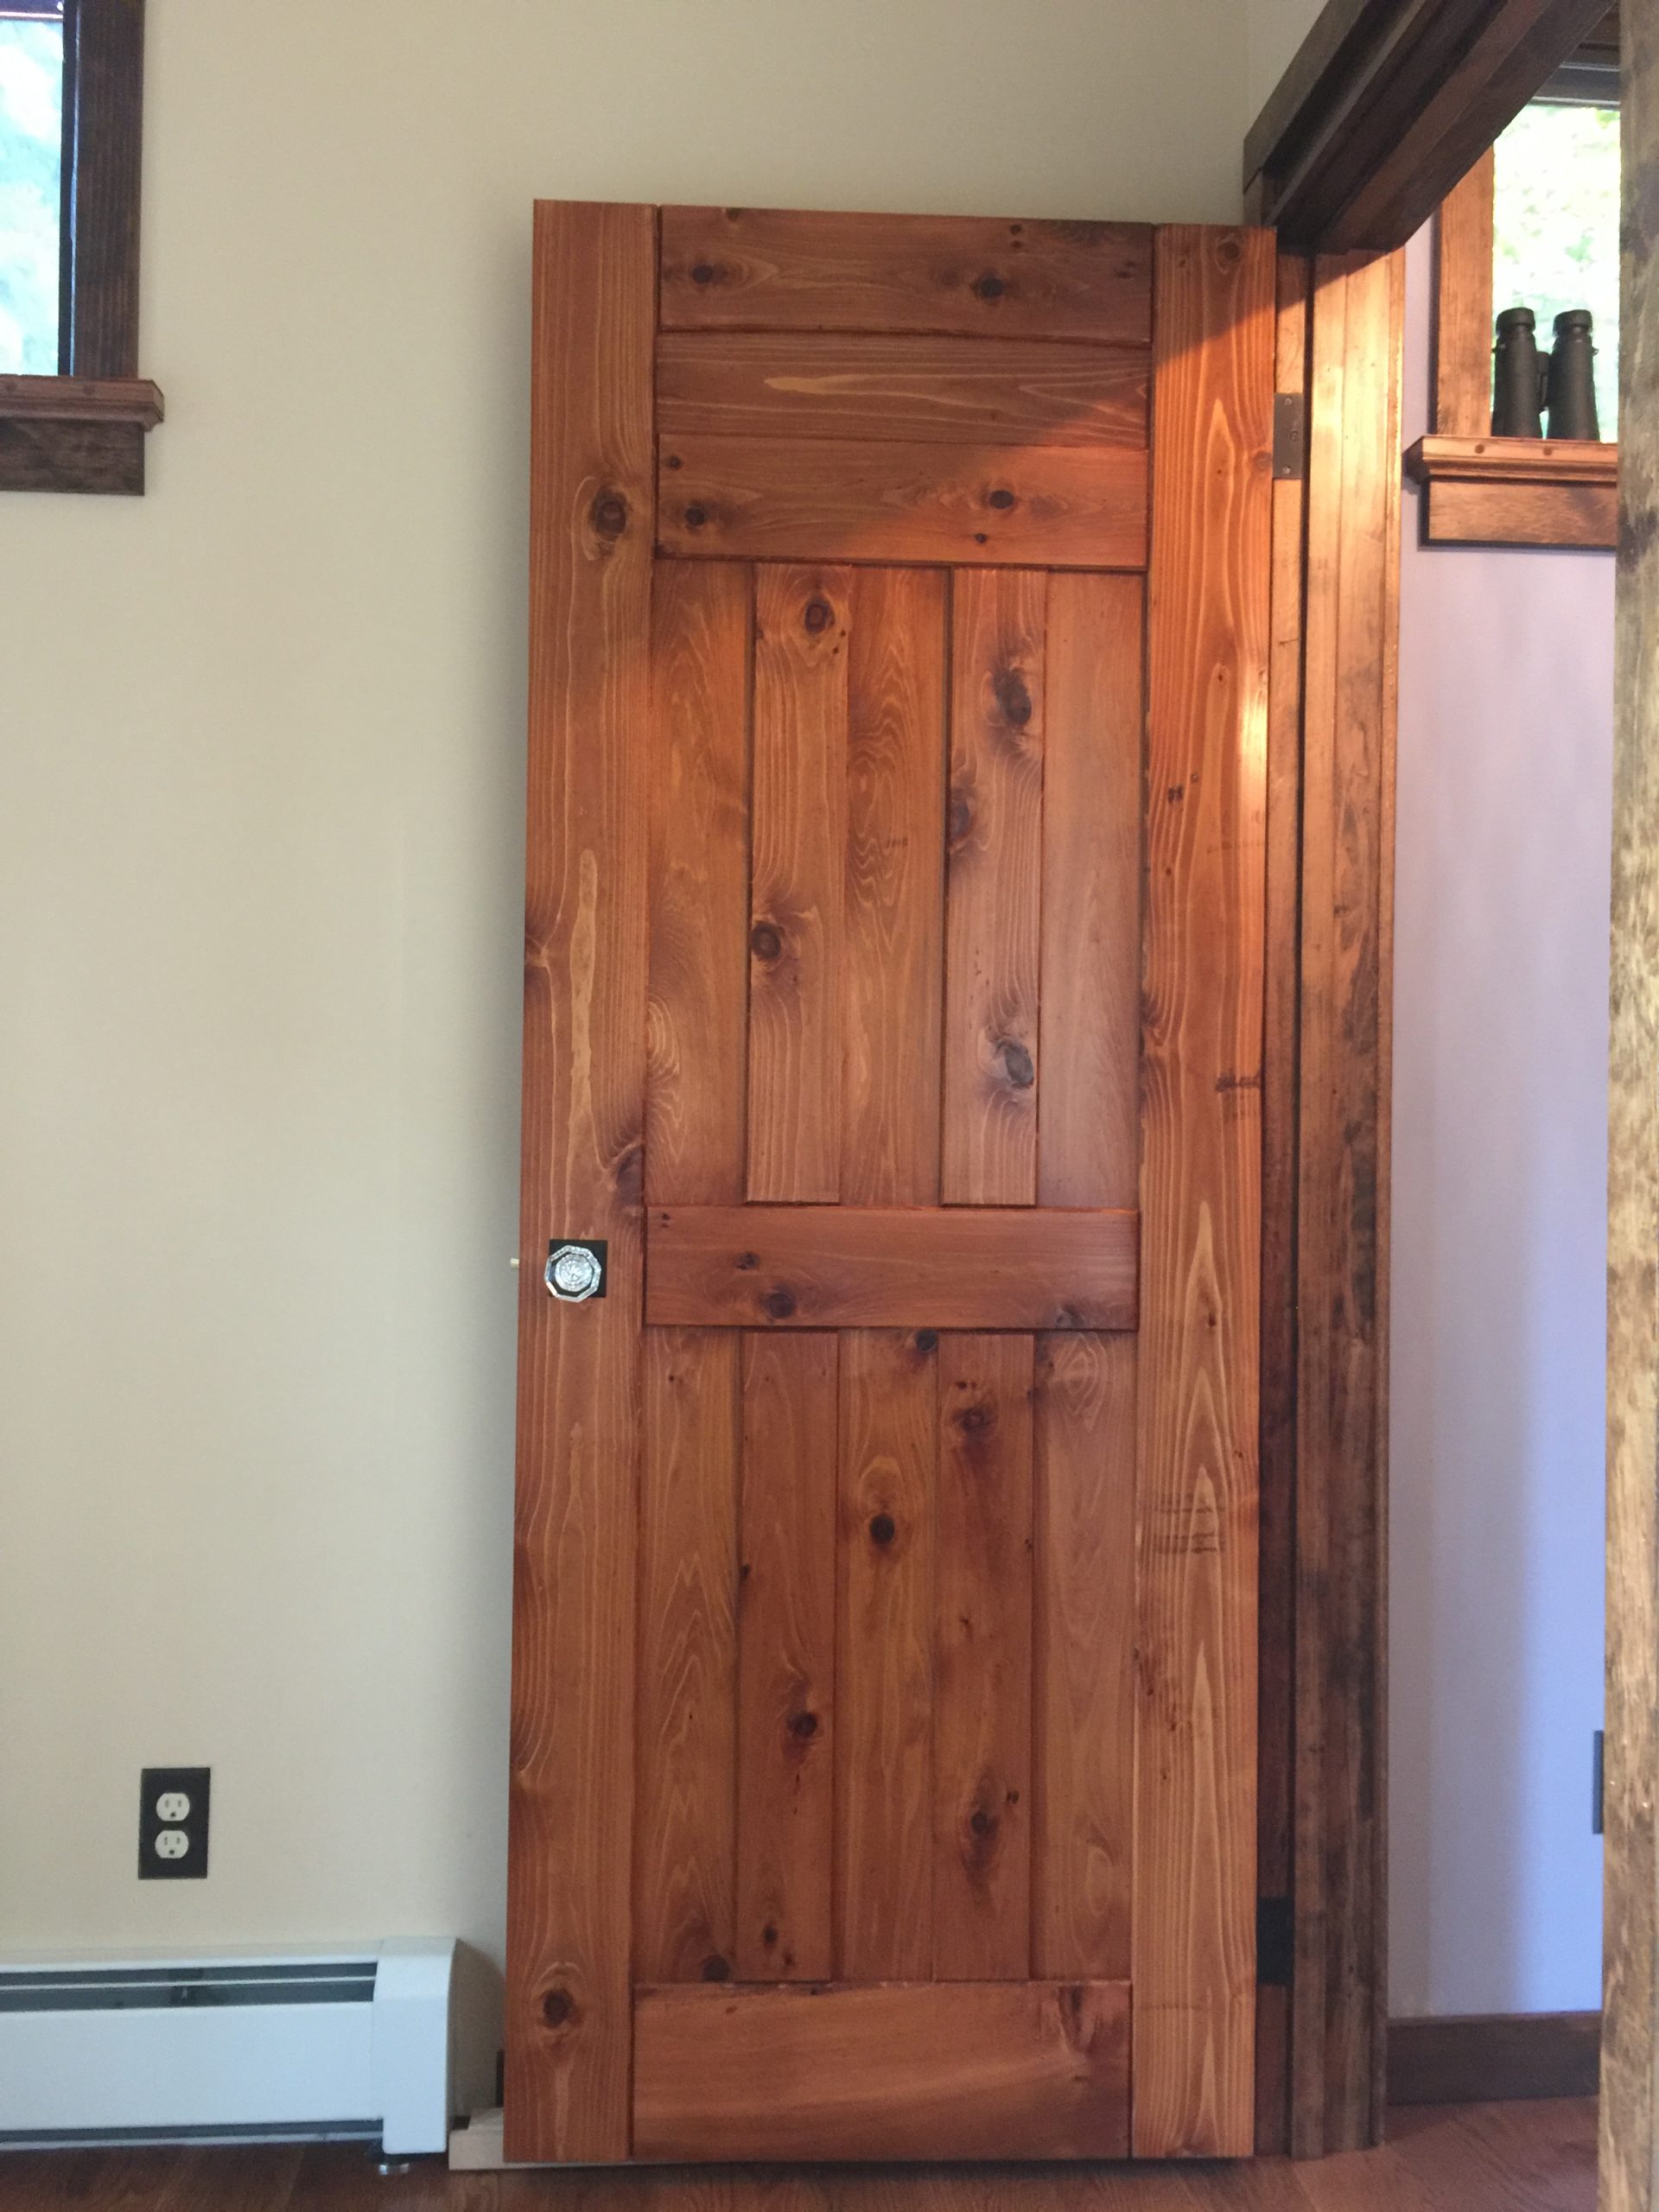
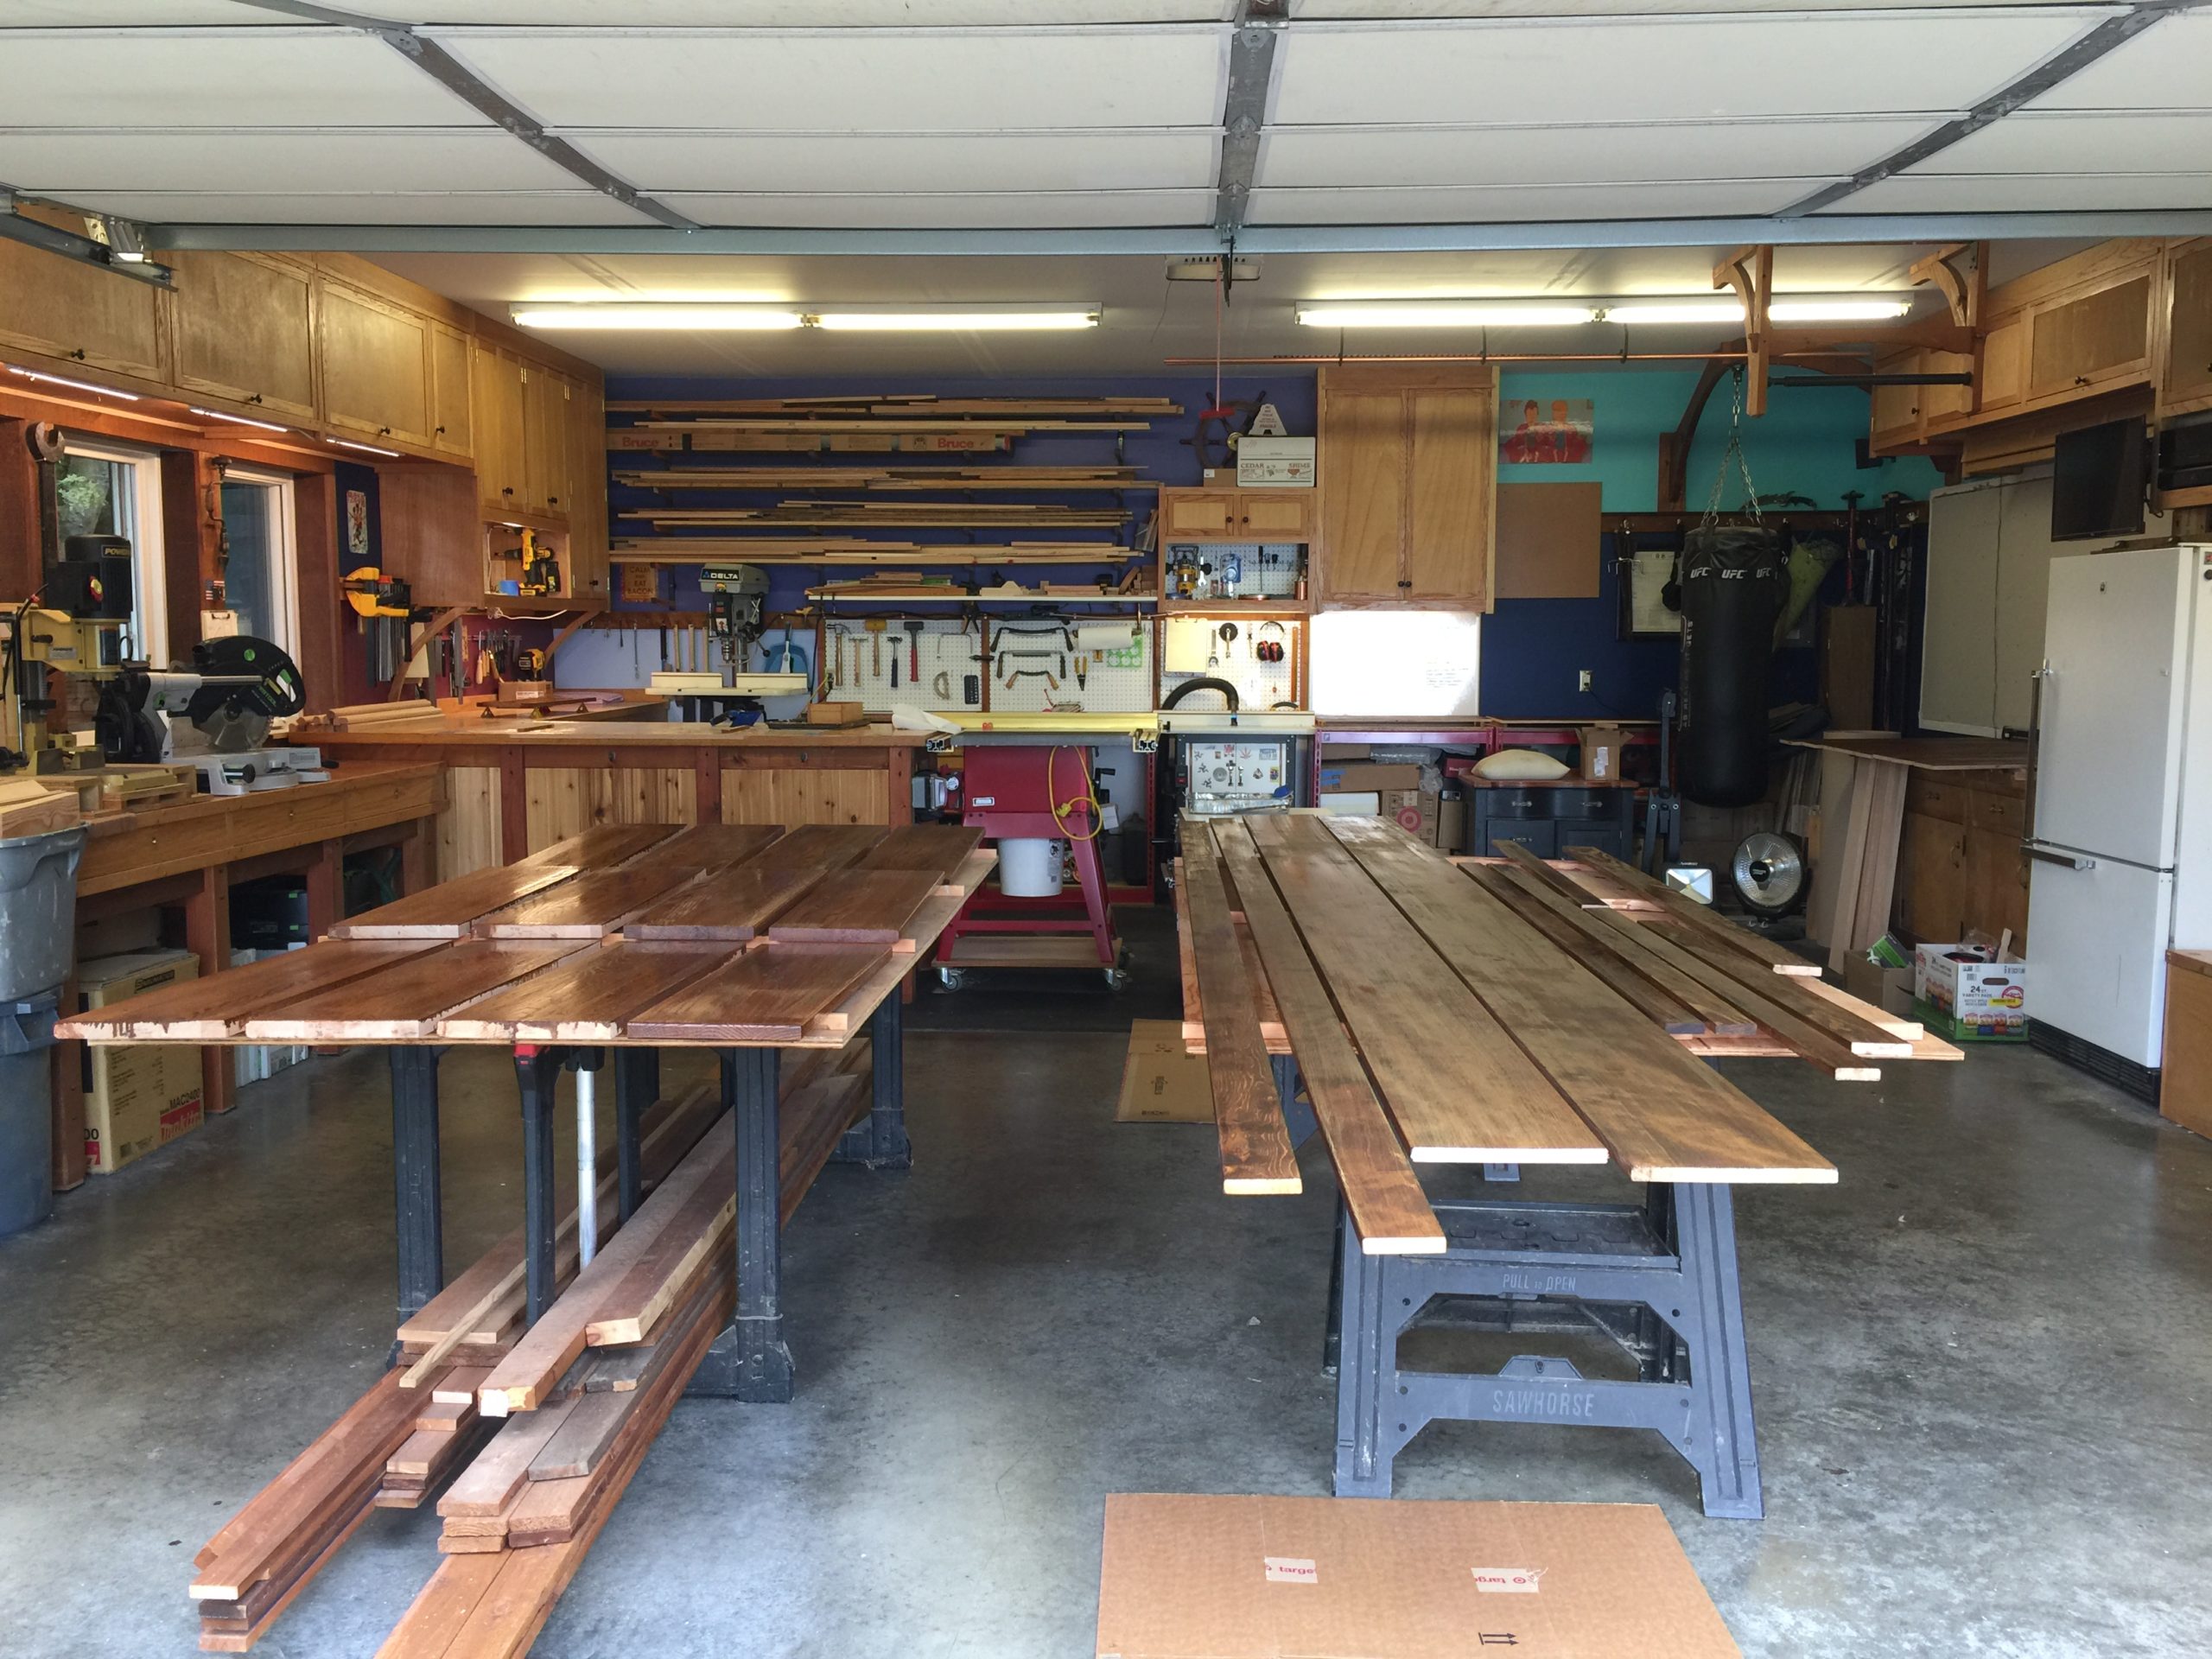
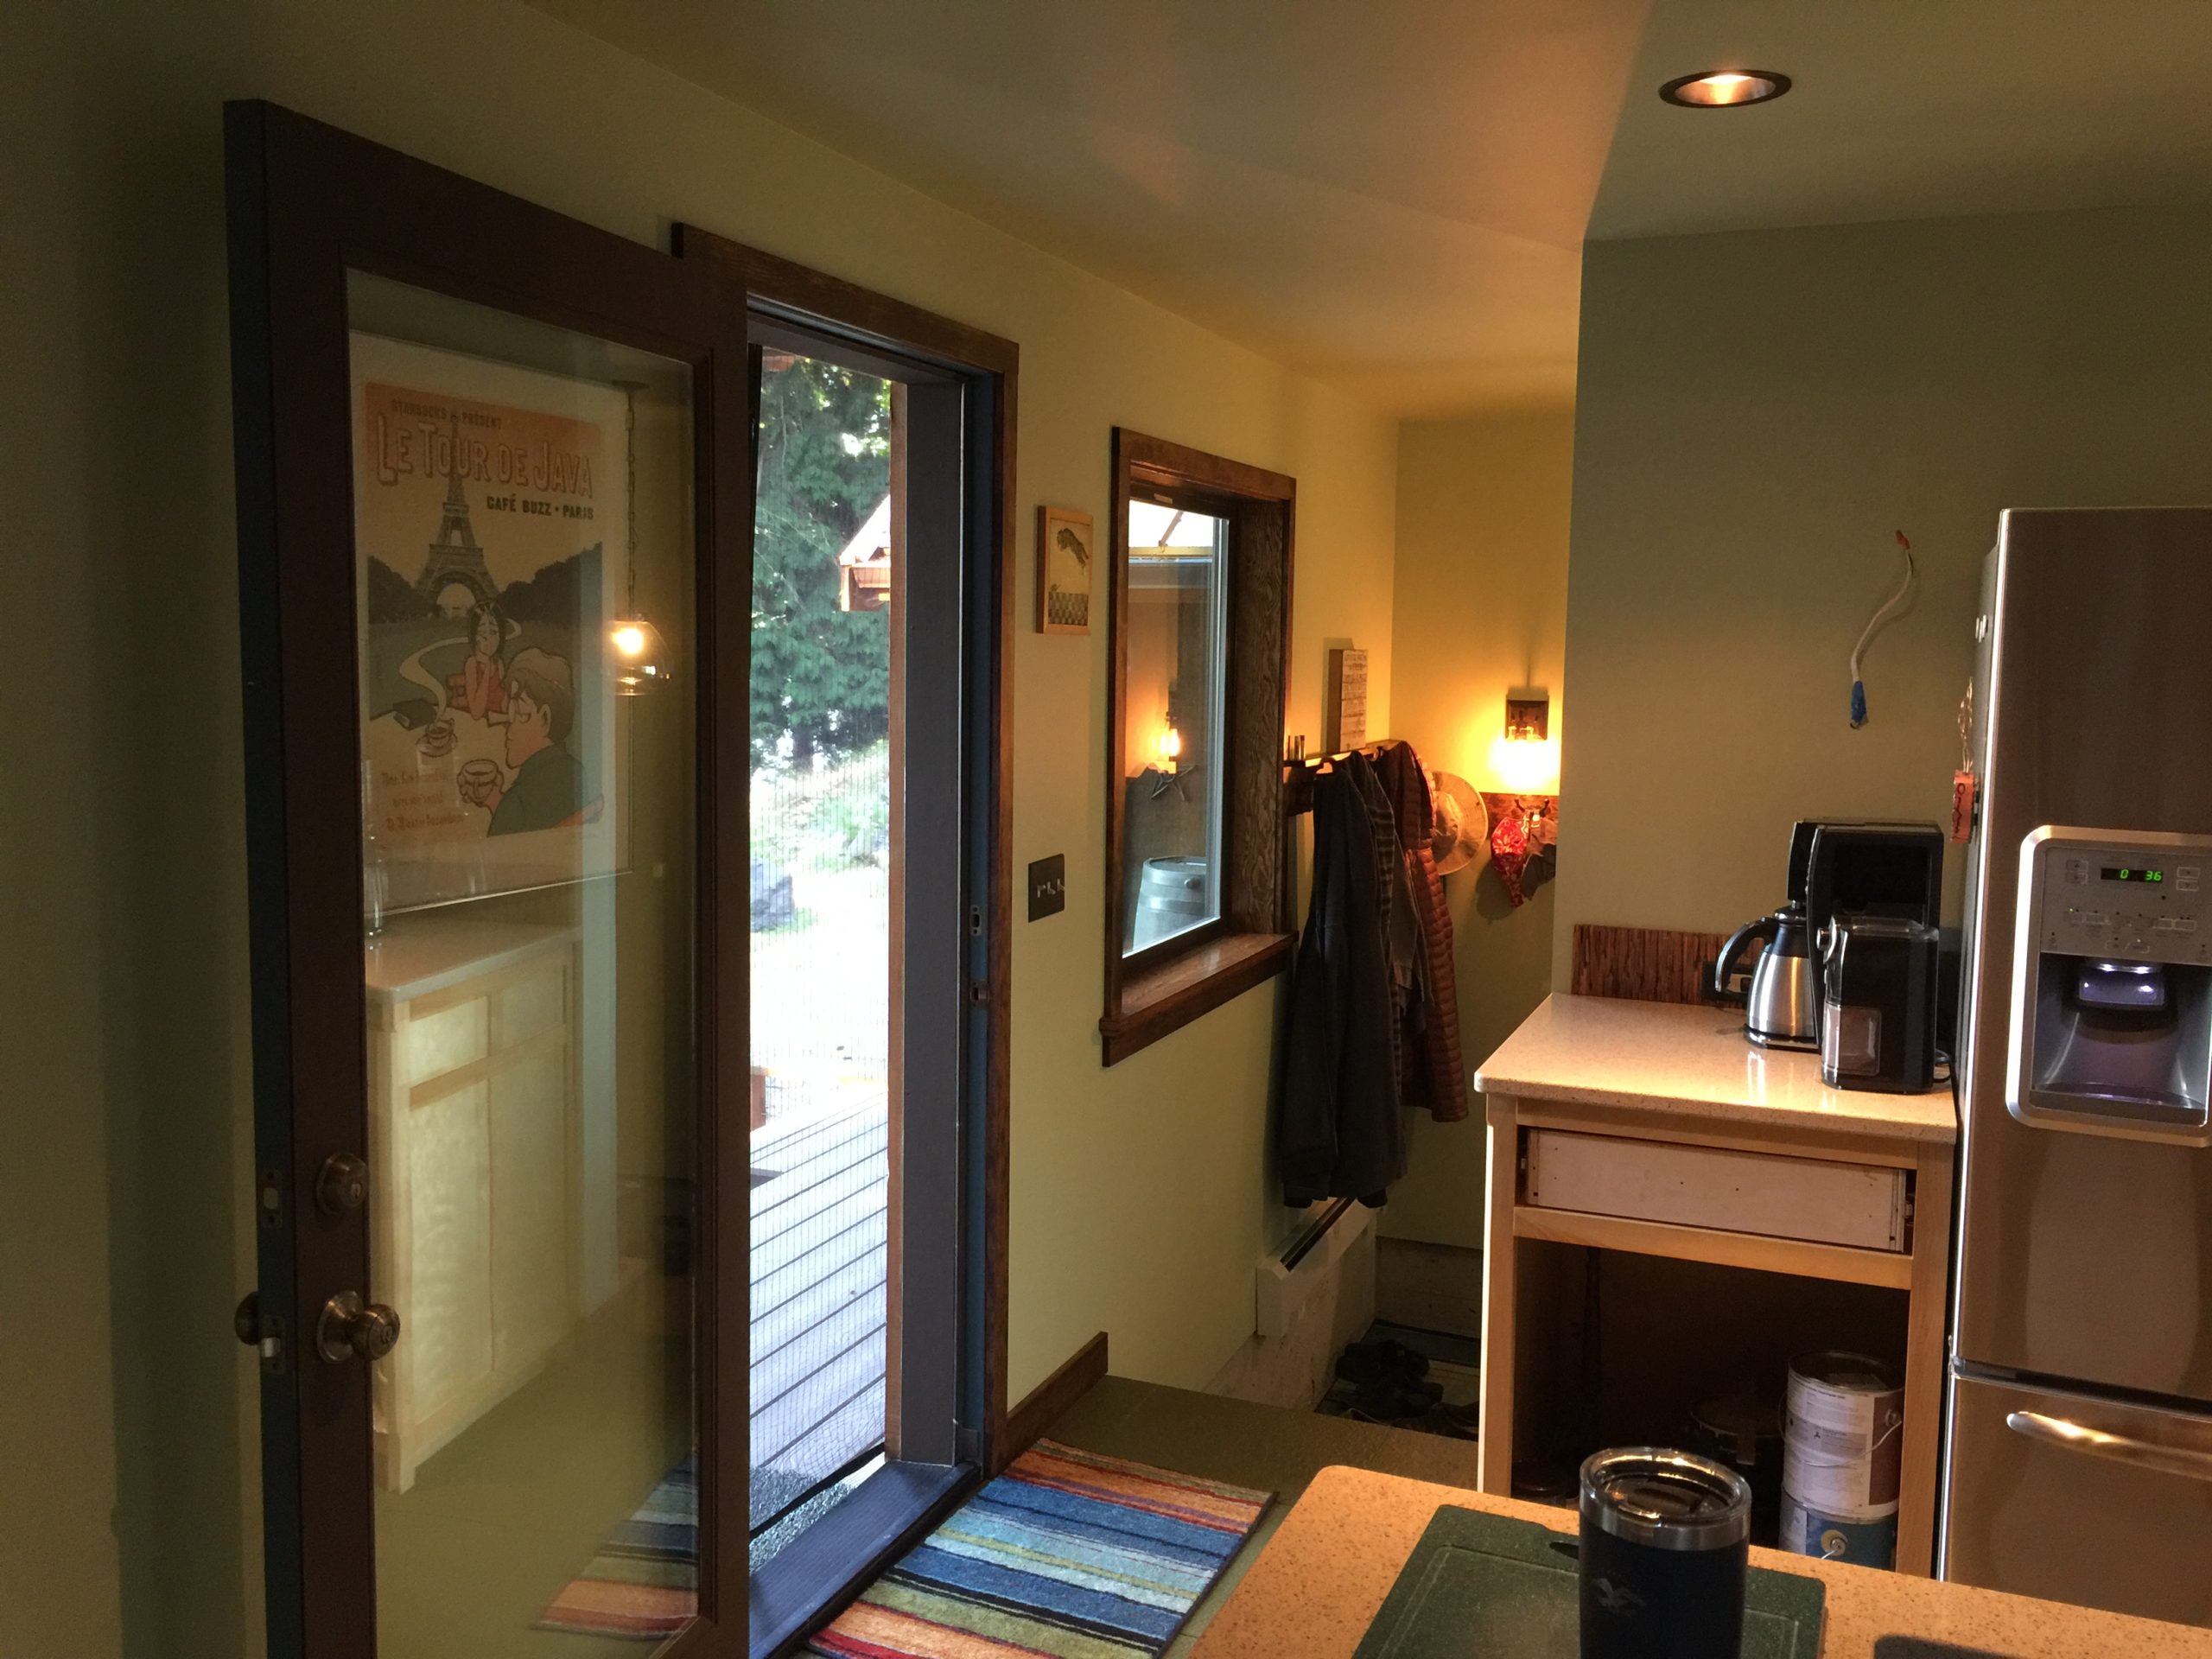
I made these doors about a year ago. And they have been sitting in my shop beneath an accumulated 15 sheets of plywood and drywall and whatever else I stacked on top of them. I finally got around to building frames and getting them installed, which was a bit of a magic trick but eventually it worked out. I marked the doors with symbols: mountains for the one closest to the mountain behind us (bathroom) and water for the one closest to the sea (bedroom).
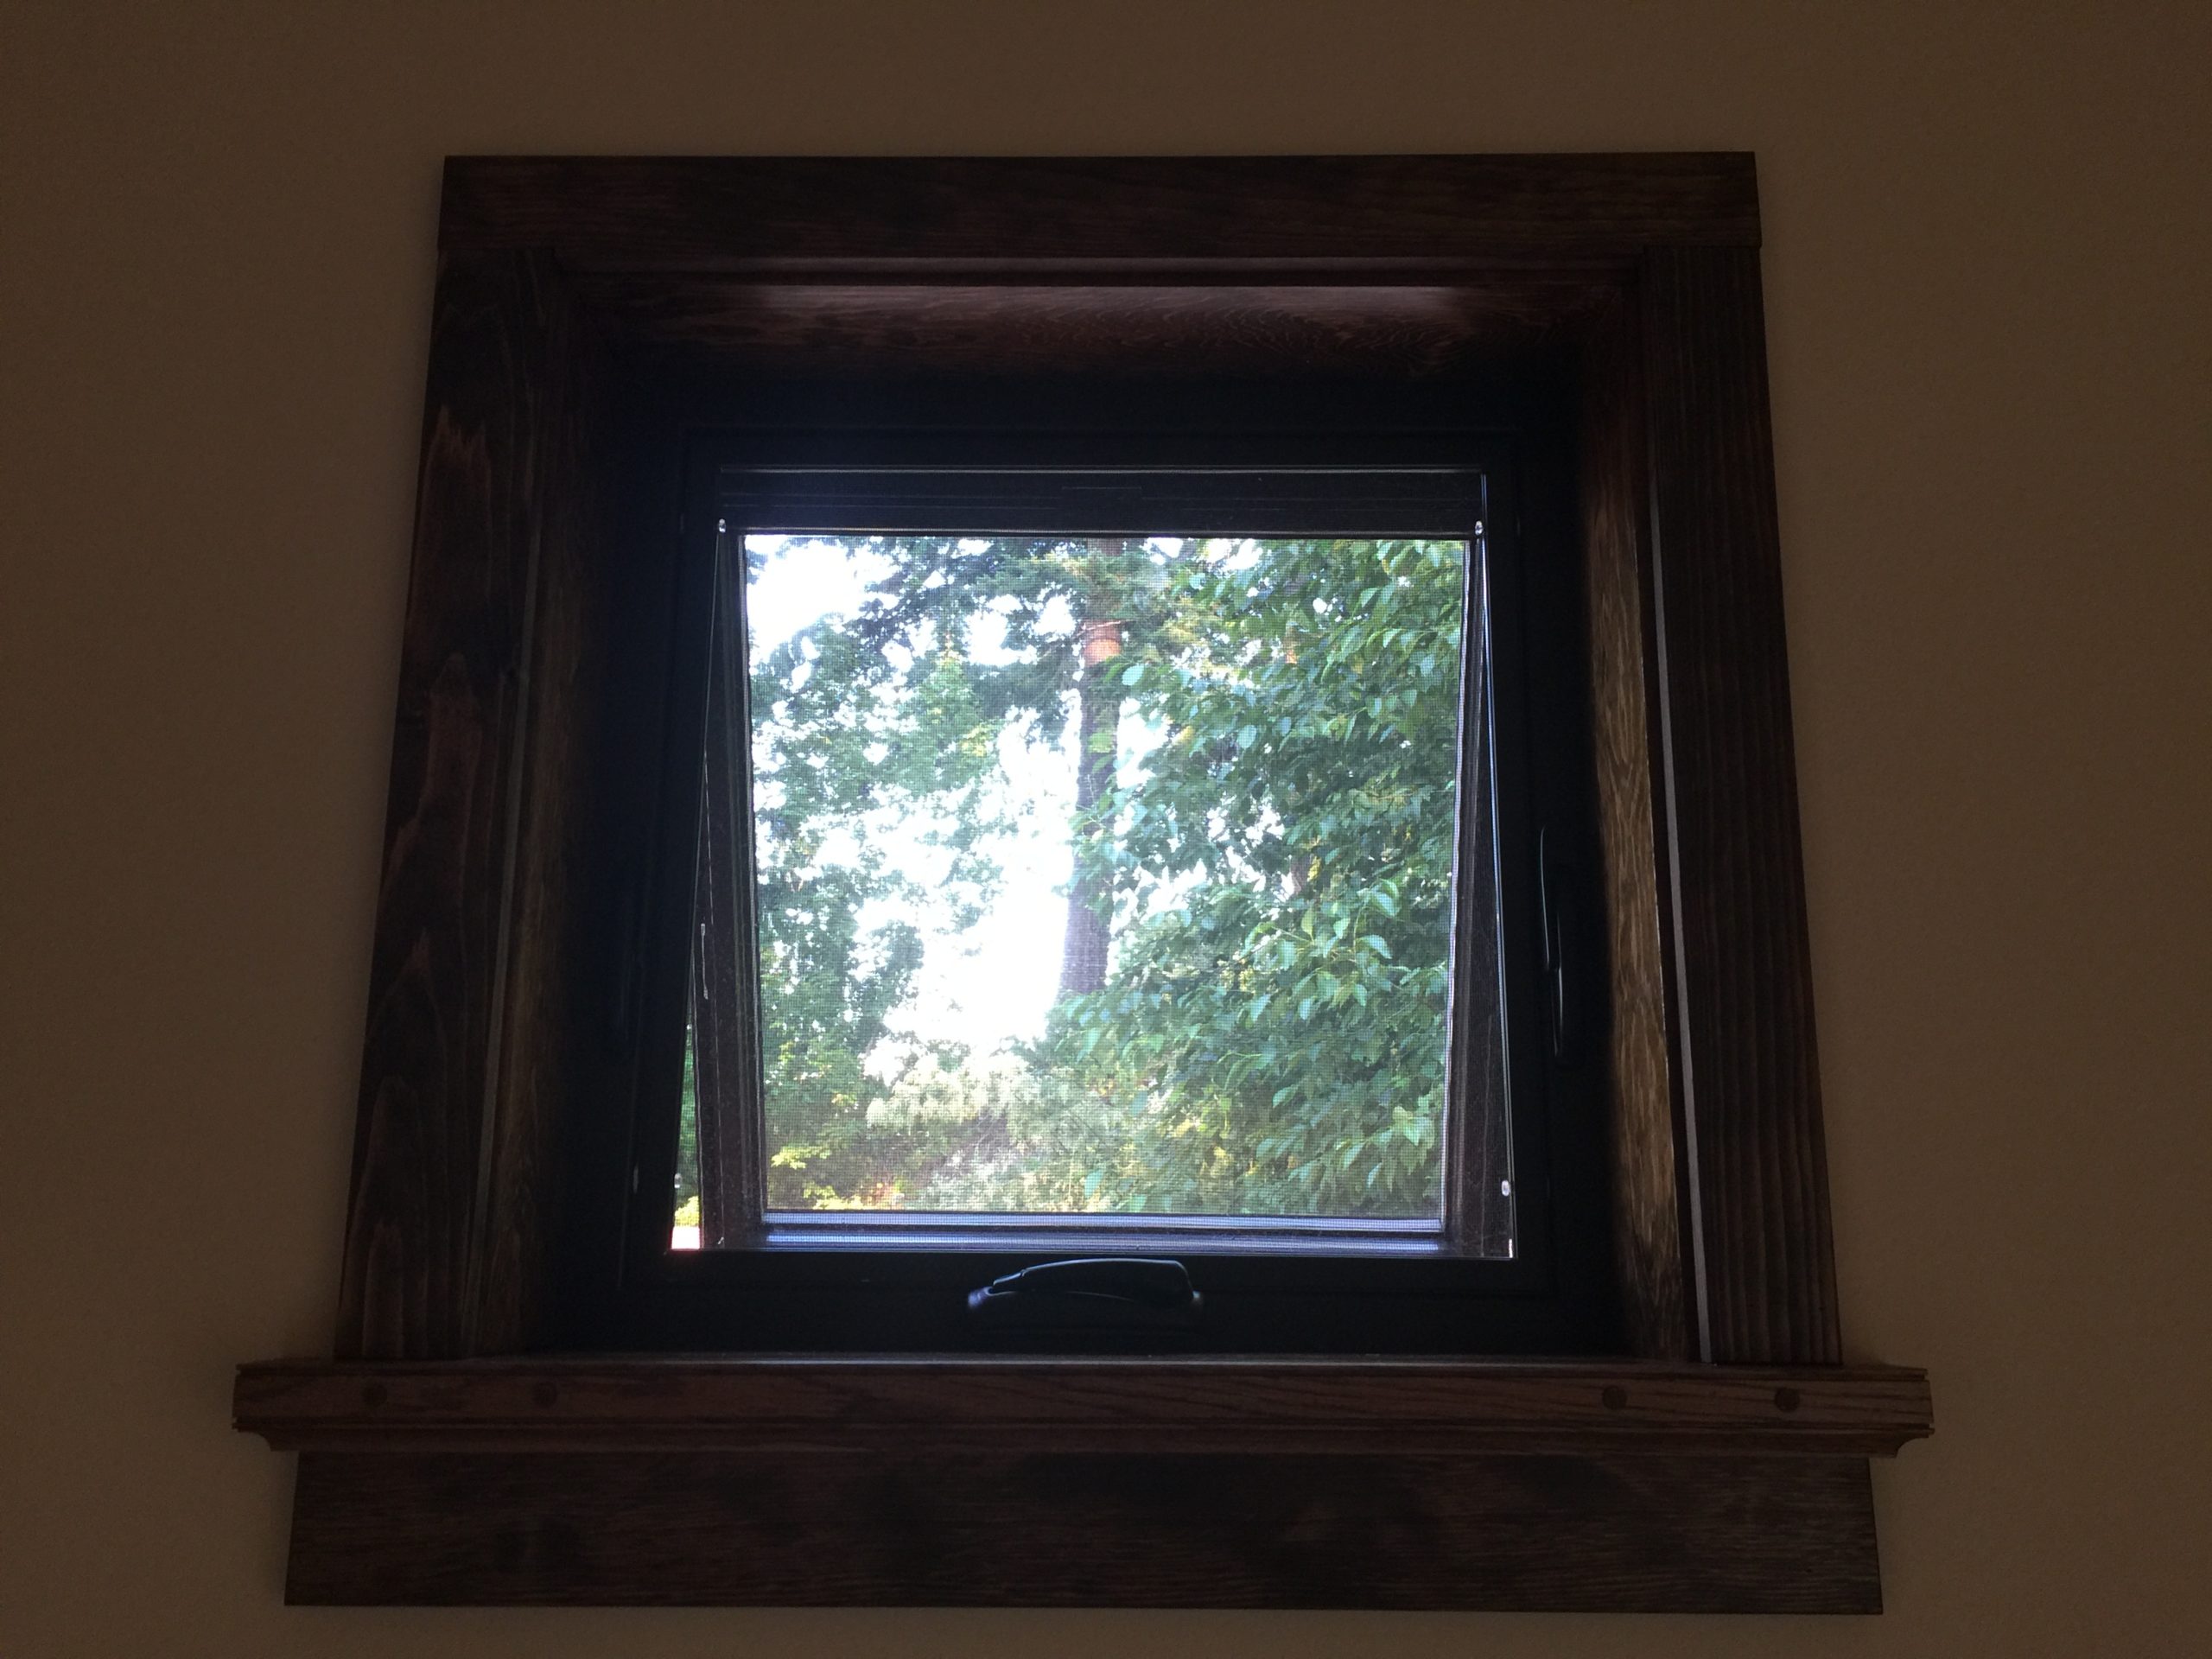
There are parts of the house that are starting to look finished. If you don’t count that 120 volt electrical wire sticking out of the wall over there.