Pocket Doors, Part 2

There are few things on this dirty, gray planet Earth that I love more than a finished project.  The pocket doors are now done and installed and they will remain there until the End of Days.

closed

They shut.

open

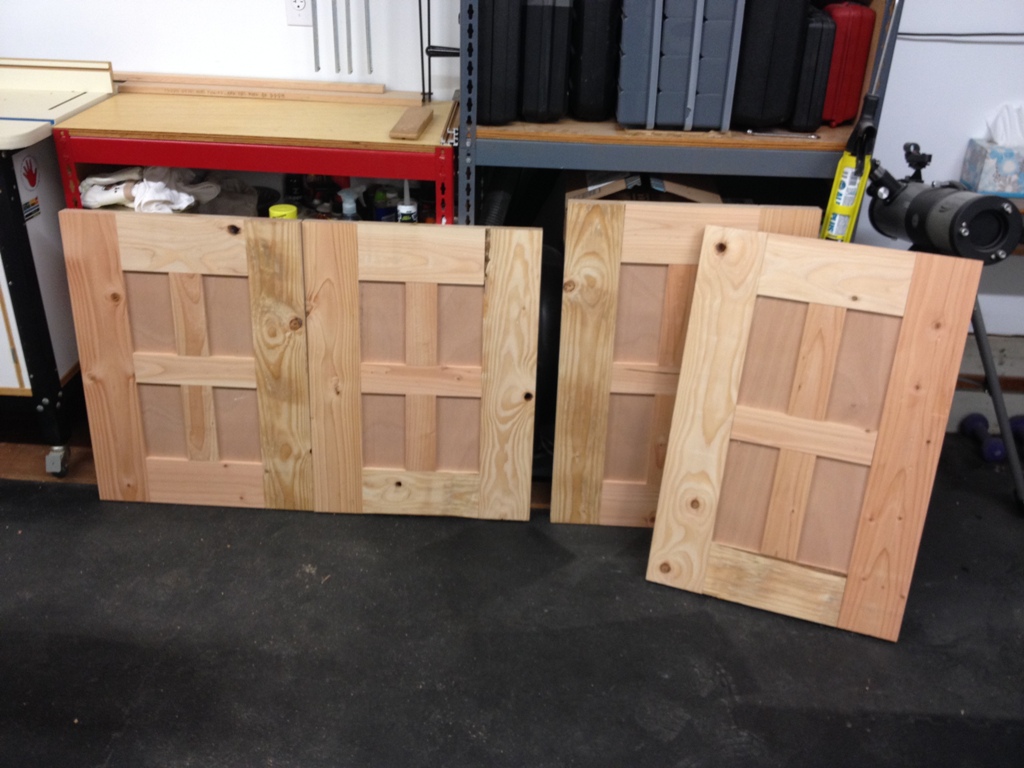
And they open too.  Yay.  All done.  Okay, so I still have to do some little things like polyurethane and setting stops and making some adjustments so they close squarely and levelly, but hey, for all practical purposes they’re done and I can move on to the next thing.

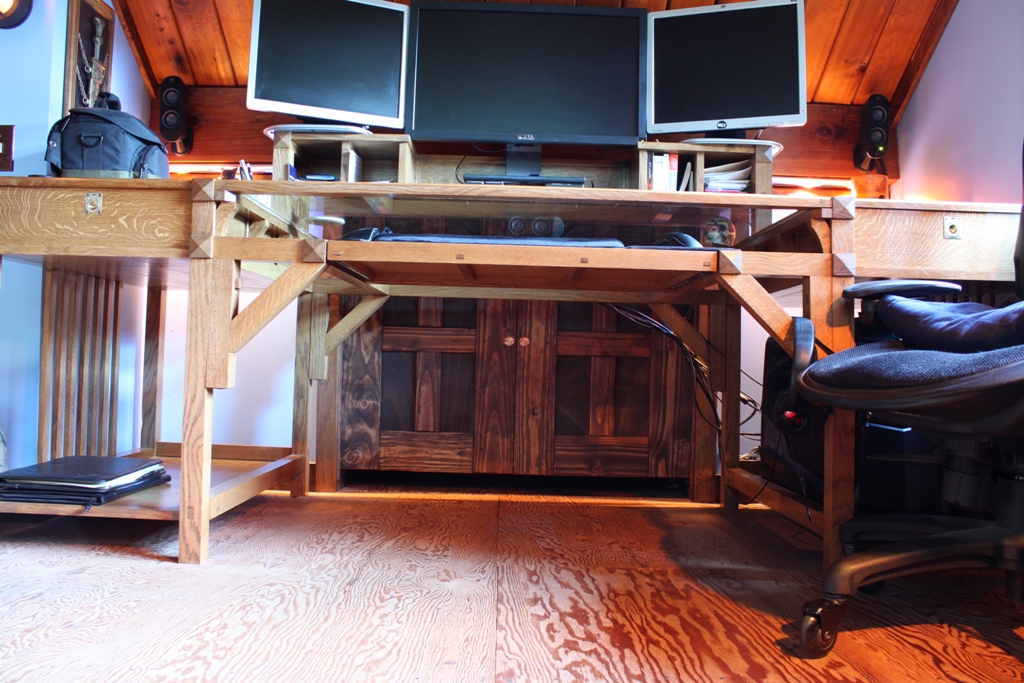
under the desk

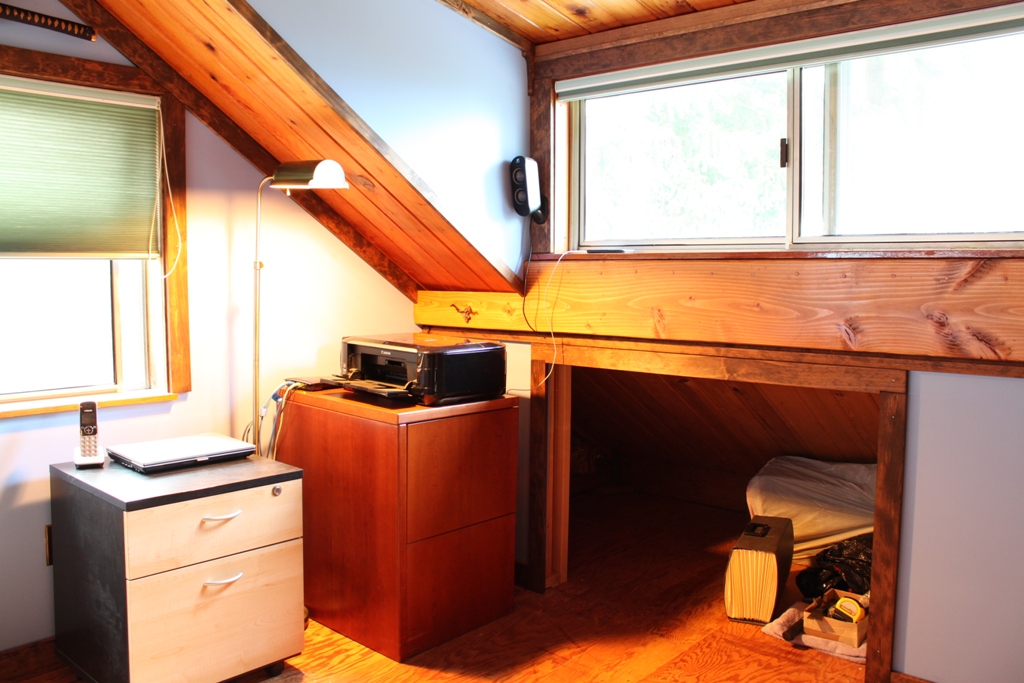
The other pair of doors, depicted above, is on the opposite side of the room and can only be accessed by crawling under the desk.  It may seem like a pain in the ass, and it is, and so was the install for that matter, but these eave storage areas are a pain in the ass no matter where the desk is.  It’s just a good thing my desk is huge enough that you could park a volkswagen under it.

set up

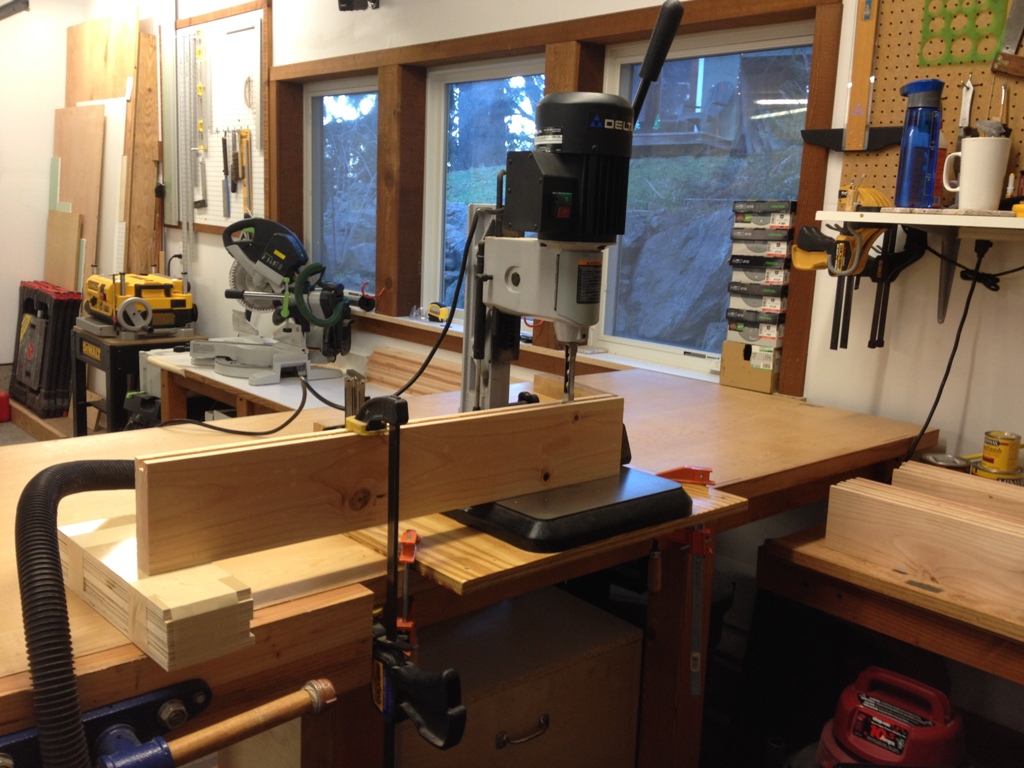
This project was pretty fun but it still takes a lot of time, and there were a lot of cuts to make and grooves to rout and holes to drill.  Working with imperfect wood has its ups and downs.  On the plus side, you get a raw and rustic look, which can fit in well in a little house on a small, remote island.  And you can cheat a little, things don’t need to be dead flat and dead square and perfectly level.  On the downside, it takes a bit more of an effort just to make sure it’s square enough and flat enough to work.

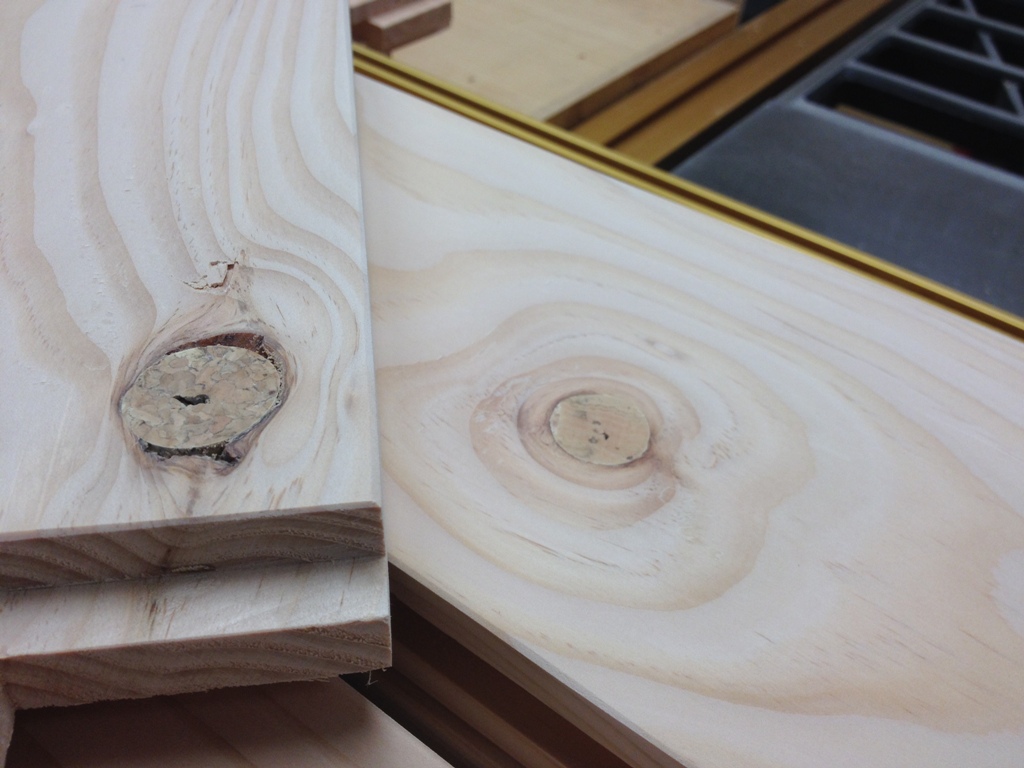
hole

I was at first going to leave these holes open.  They’re just storage area doors, I figured the ventilation would be beneficent.  And then I had the horrific thought that someone could get their finger stuck in that hole, and if someone were to slam the door shut the result would be catastrophic (though on the bright side, the detached finger would fill the hole).  Anyway, I decided to use wine bottle corks, just for safety reasons.

cork

Cork can fill irregular holes really well because they’ll conform to its shape.  All it takes is a mallet and some wood glue and maybe a little swearing.  The ends can be sawn flush and sanded and they blend in very well.  Not to mention that cork is very resilient and stronger than most people realize.

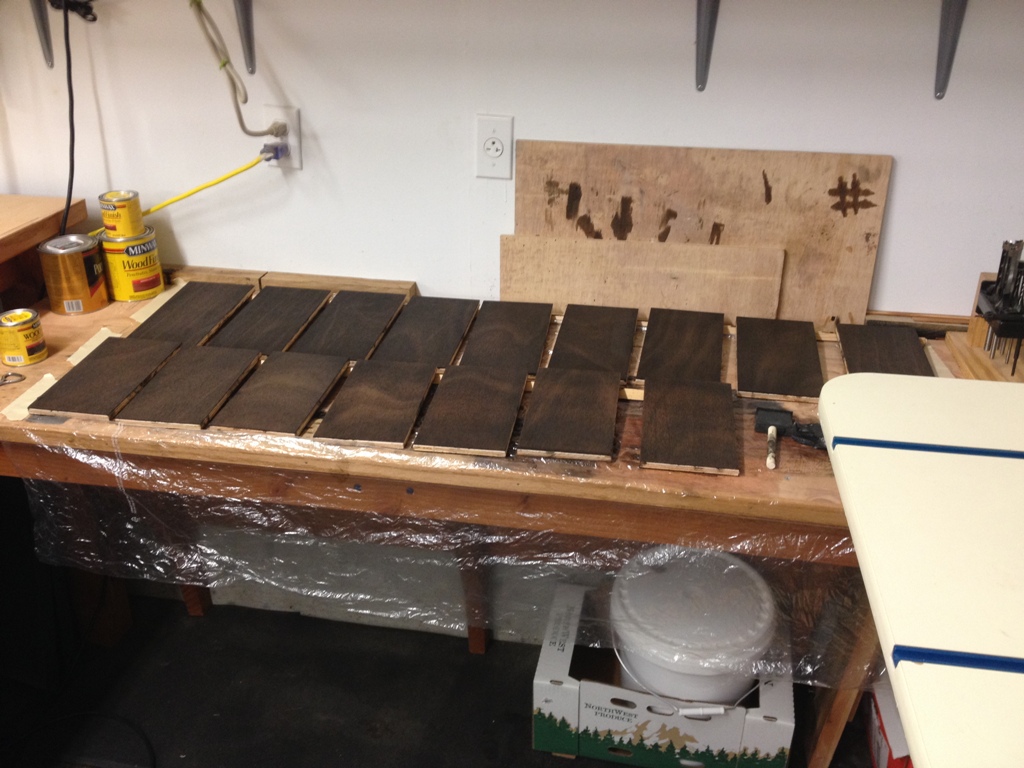
stain

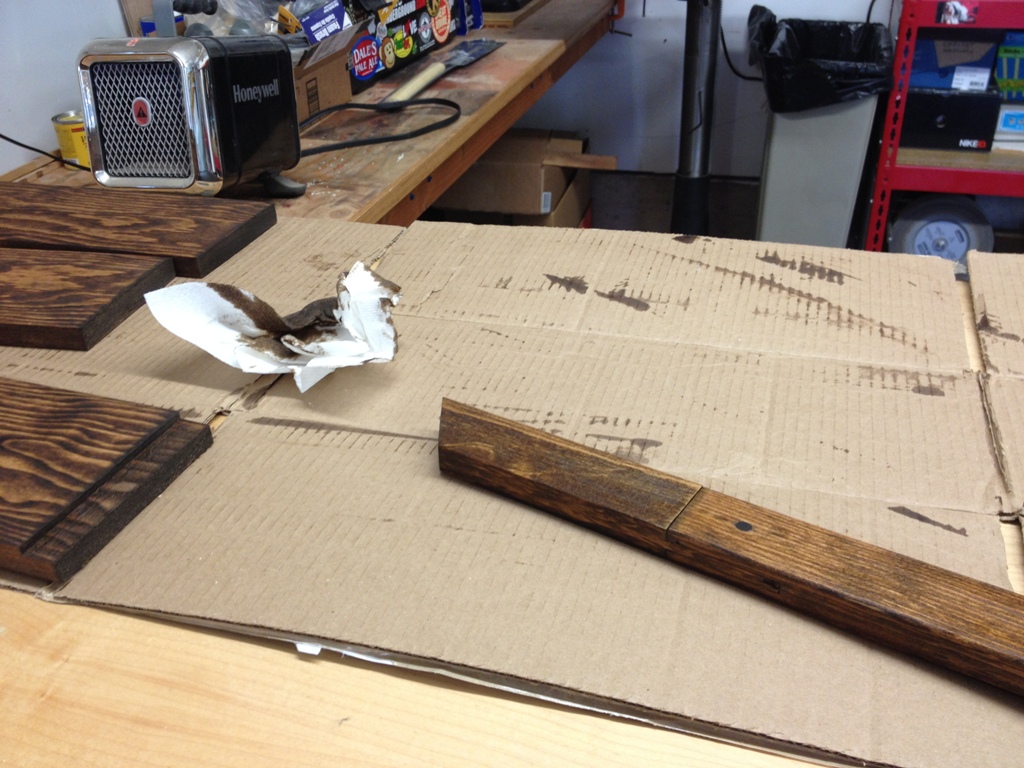
The panels I stained separately.  The grain texture of the plywood panels is very different than the frame, so I deliberately made them a bit darker to give them some contrast.  So it’s an ebony stain on the panels, and a different stain on the frame pieces.

sanded

It took hours to sand all those.  I felt like I had sanded a tree.

Pocket Doors, Part 1

Happy New Year.  Let’s celebrate by making some sawdust.

Hole in the Wall

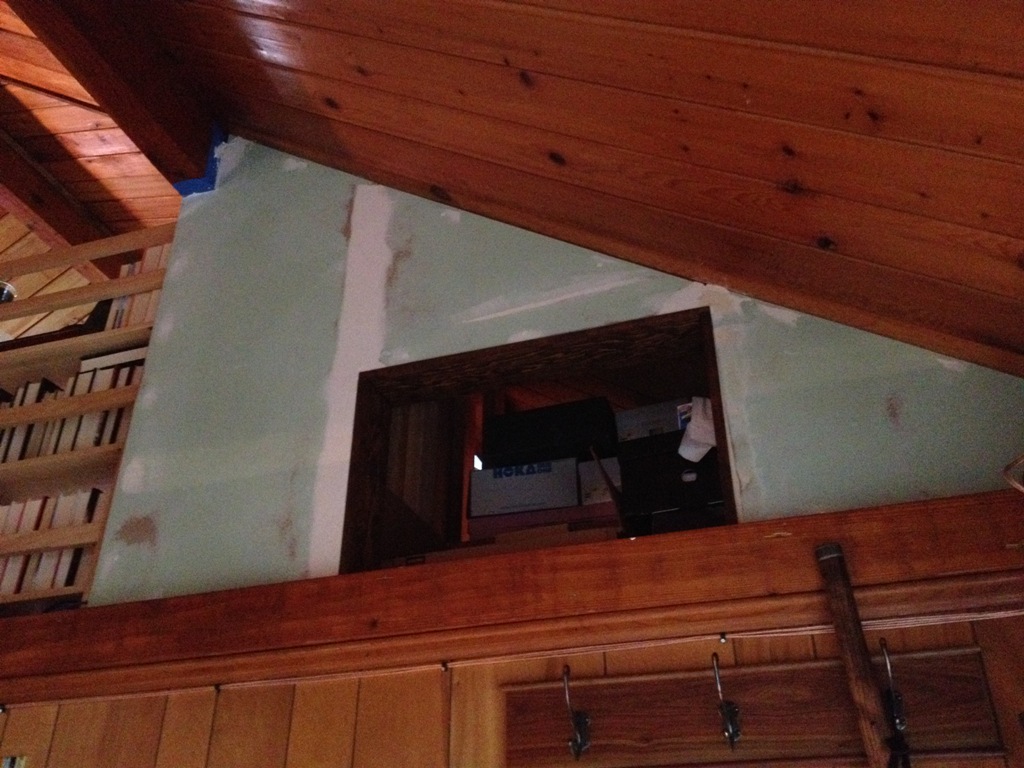
There are still a lot of things I need to do for the loft renovation.  One of them is to make pocket doors to access the little storage area in the eaves, since right now it’s just a hole in the wall that I’m getting sick of looking at.  The doors are not going to be very big but they are in a highly visible part of the room, so I want them to look nice.
Boards

Remember the Hobbit Door I made a couple months ago?  These are going to be made the same way:  2×6 frames, traditional joinery, and inset panels.
Cuts

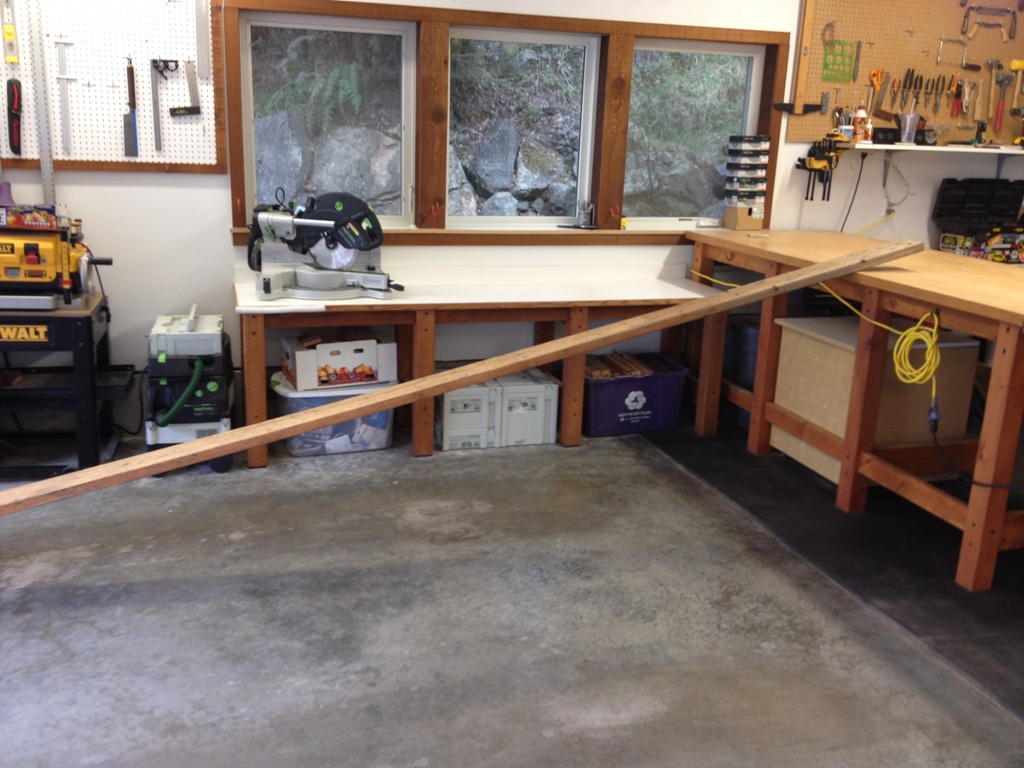
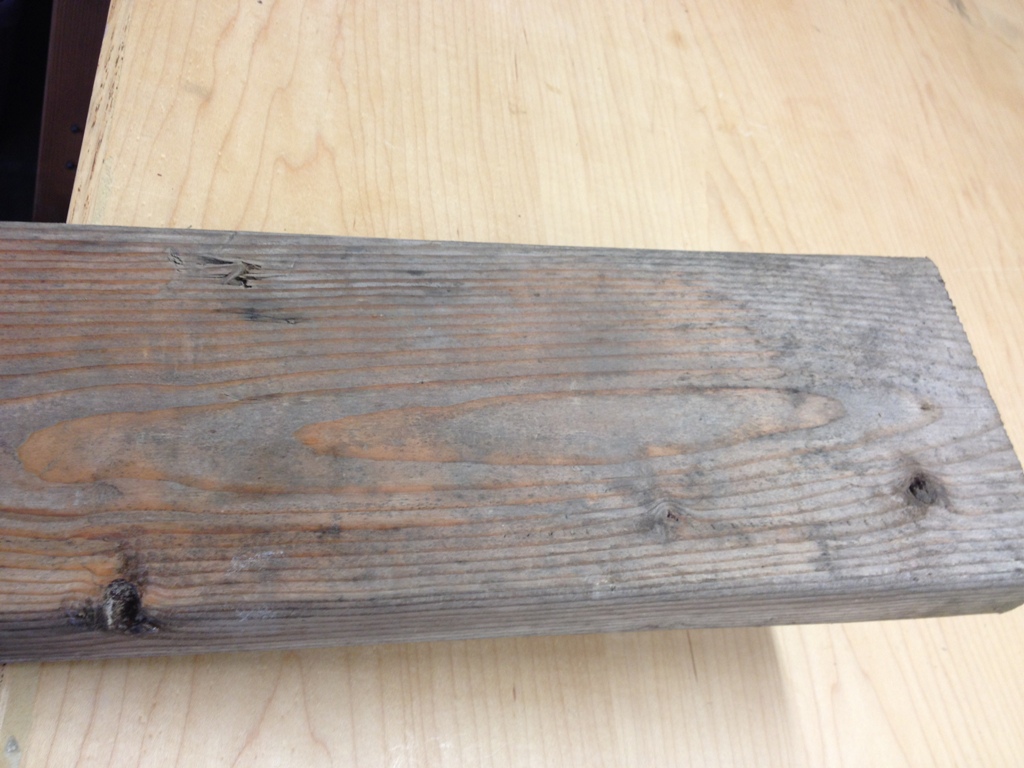
The lumber itself has been sitting out in the weather for a few weeks.  Wish I could let it sit out there longer but these will have to do.  I made sure to beat them up a bit too, to give them a real distressed look.

Sawdust

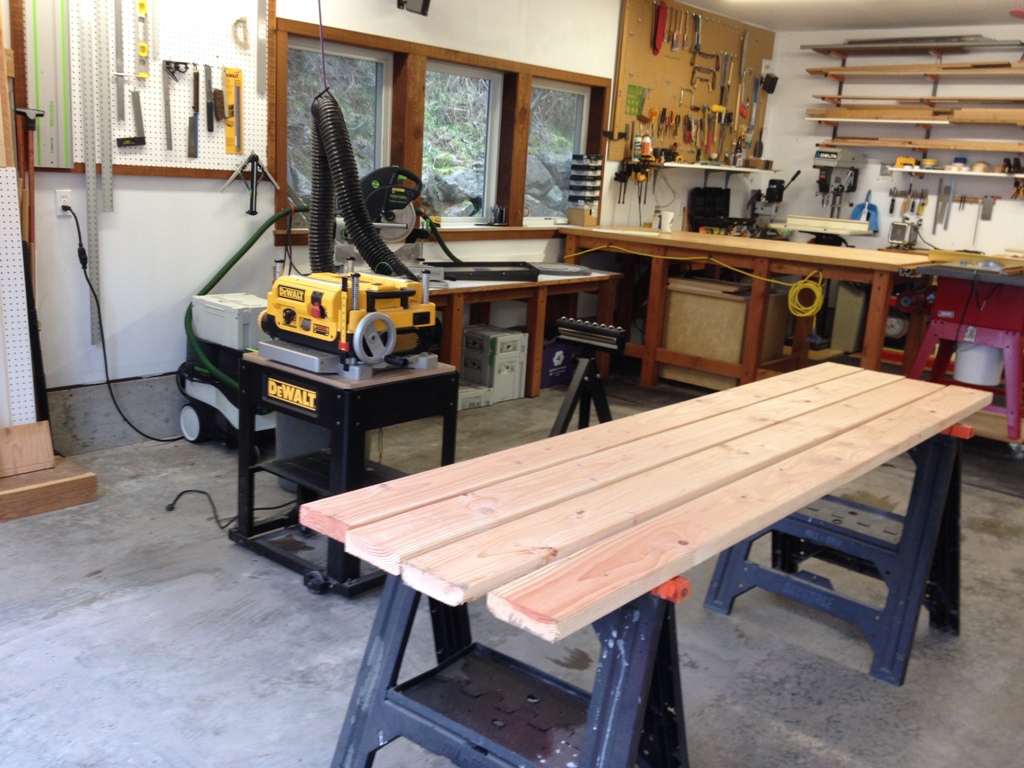
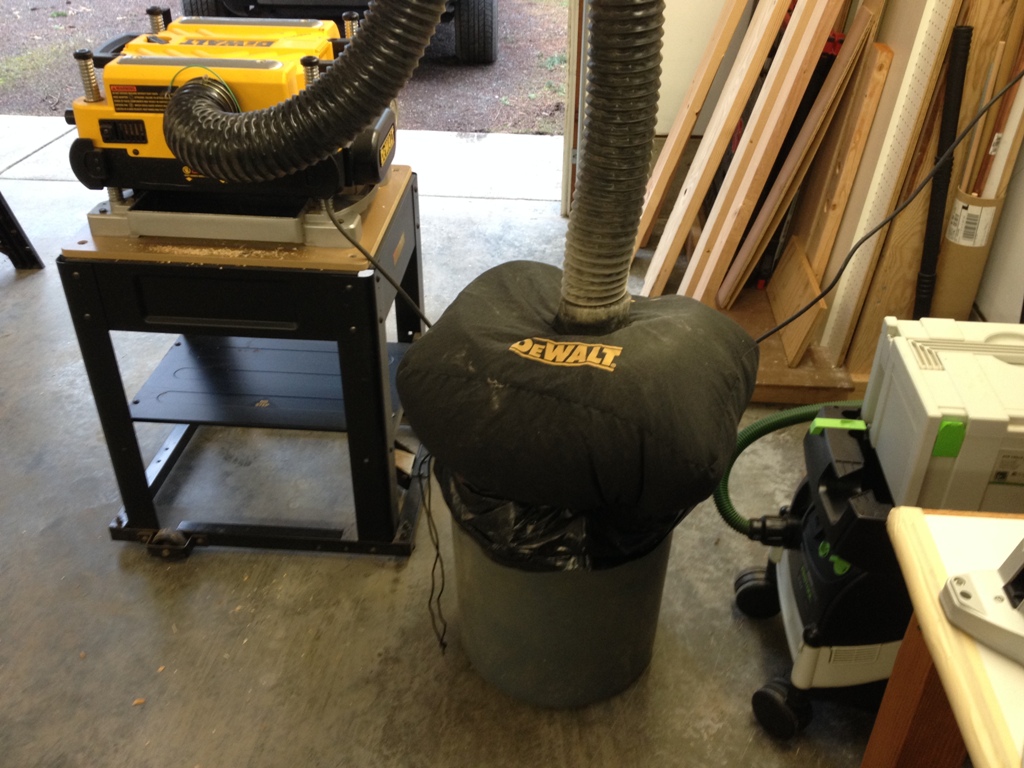
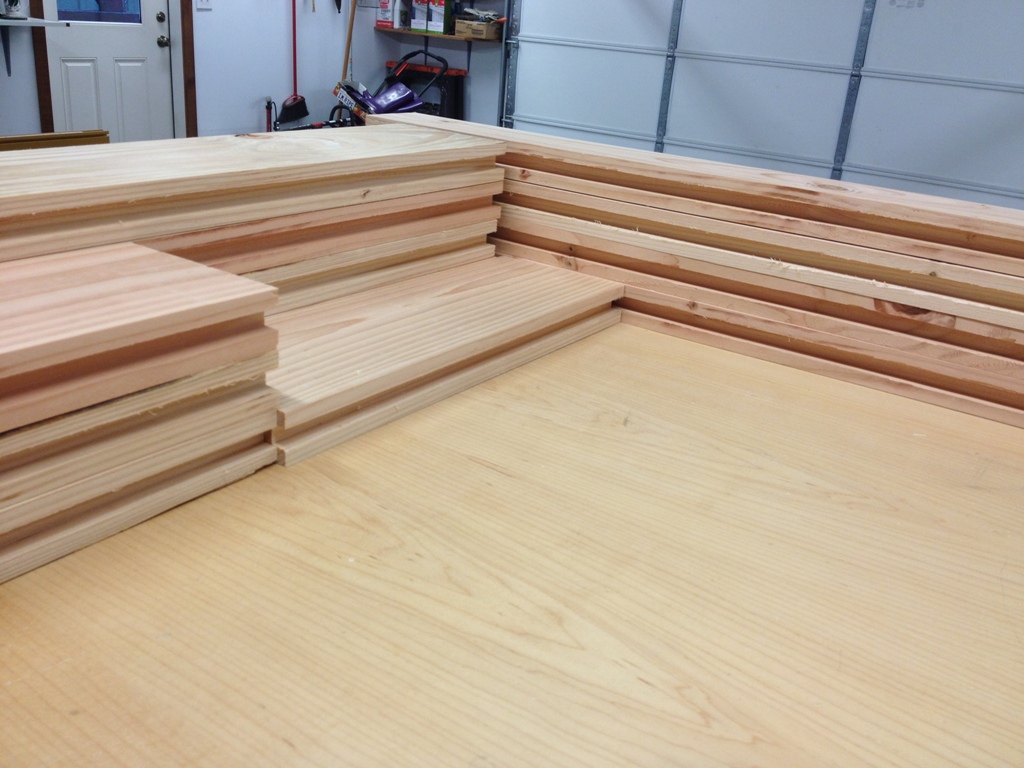
I made about 30 gallons of sawdust planing them down.

Lists

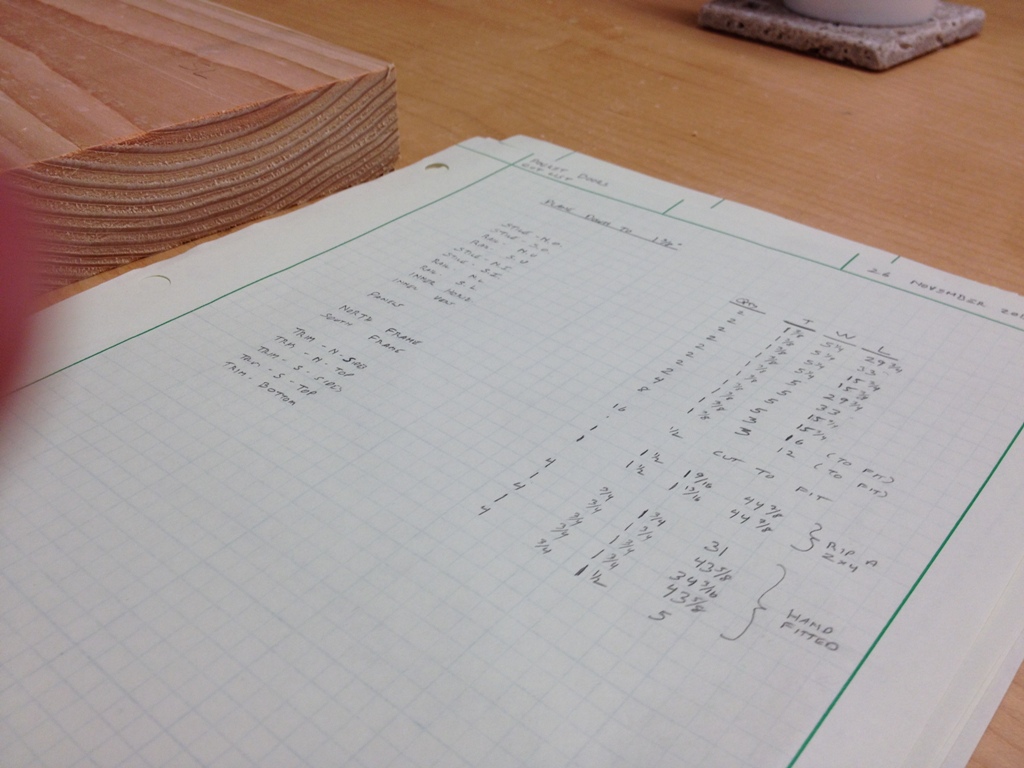
There are two storage areas and each one will have double pocket doors to maximize the size of the opening.  Makes it a little easier to get things in and out or to go looking for something.  The cut list for this project is pretty simple, as the doors are almost identical.

Rips

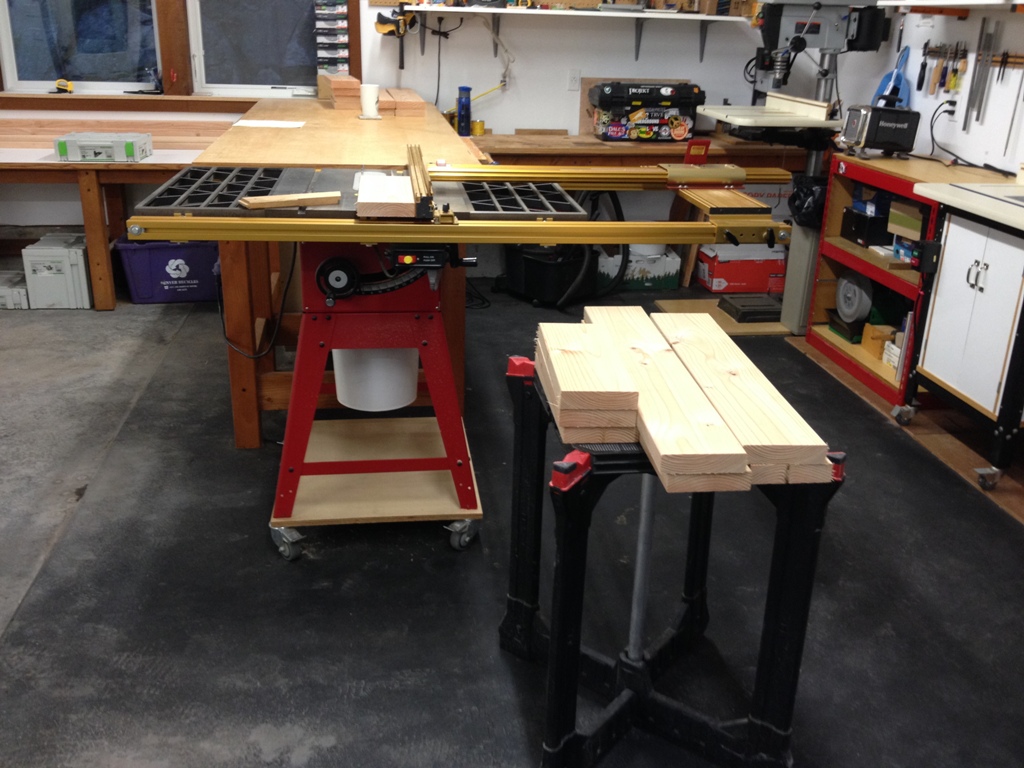
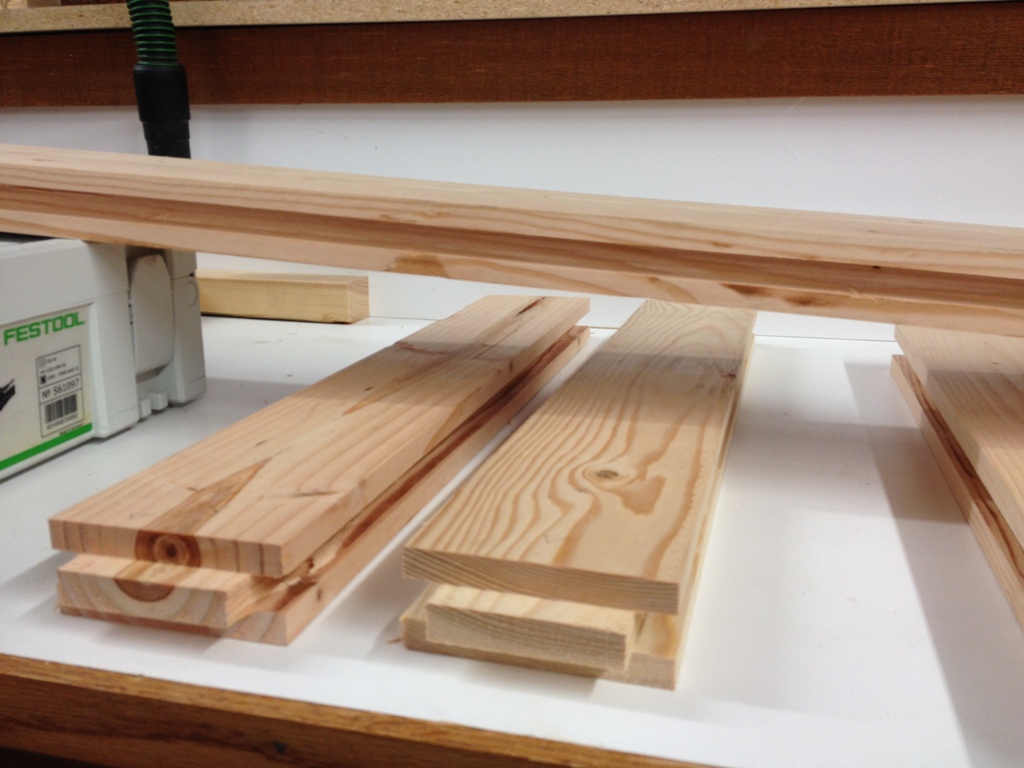
Once planed down they just need to be ripped to size.

Grooving

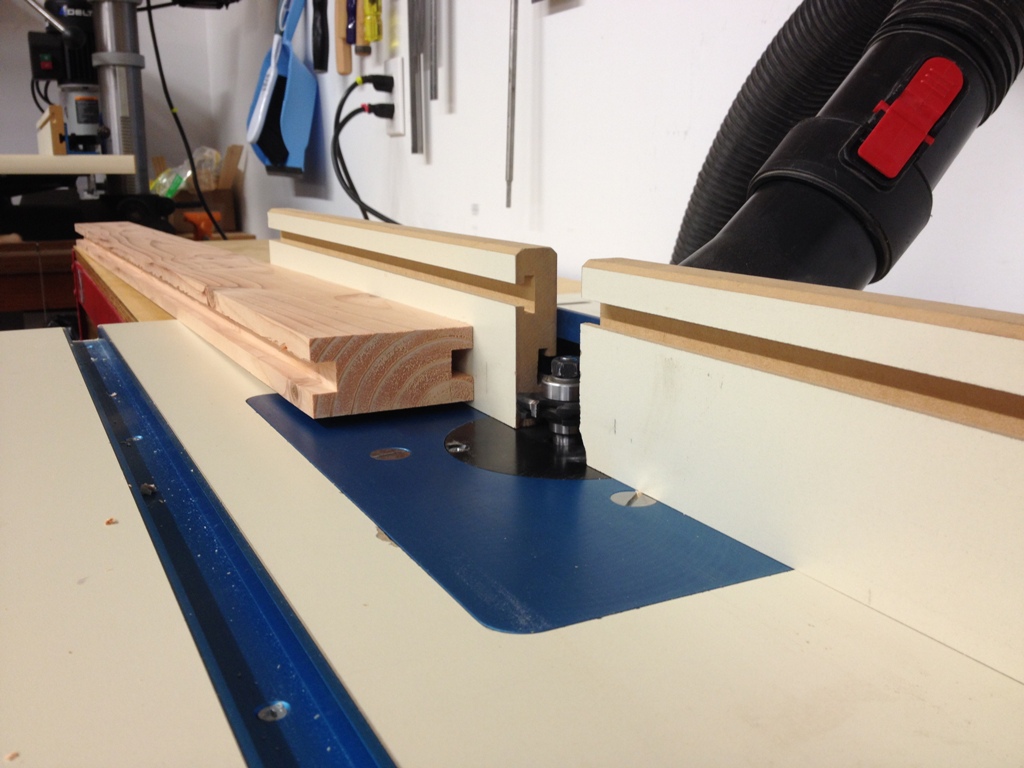
Now that the boards are square, the router cuts a nice groove into it.

Grooved

Groovy!

Tenoning

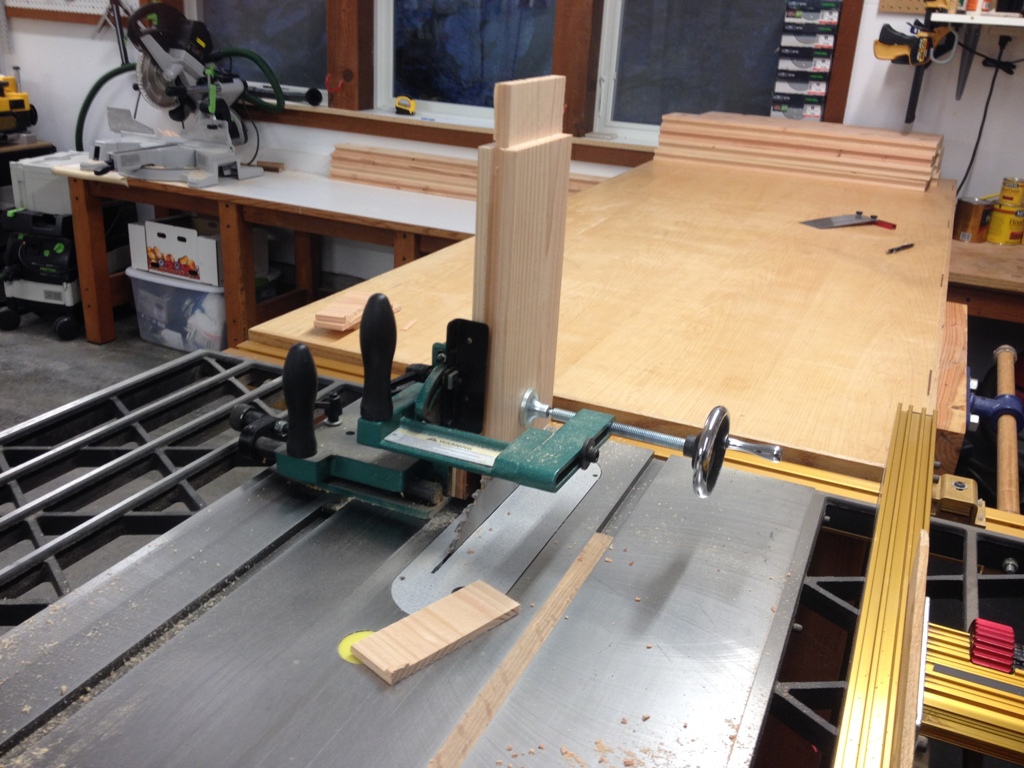
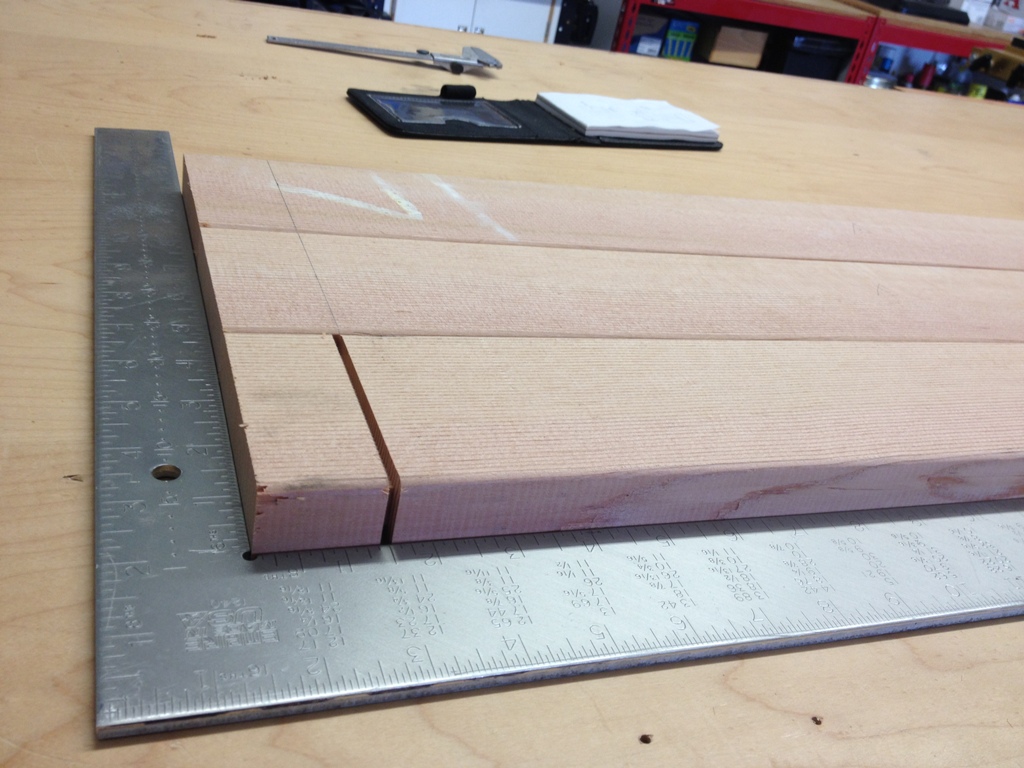
The tenoning jig is great when you need to cut the exact same tenon 48 times.

Tenoned

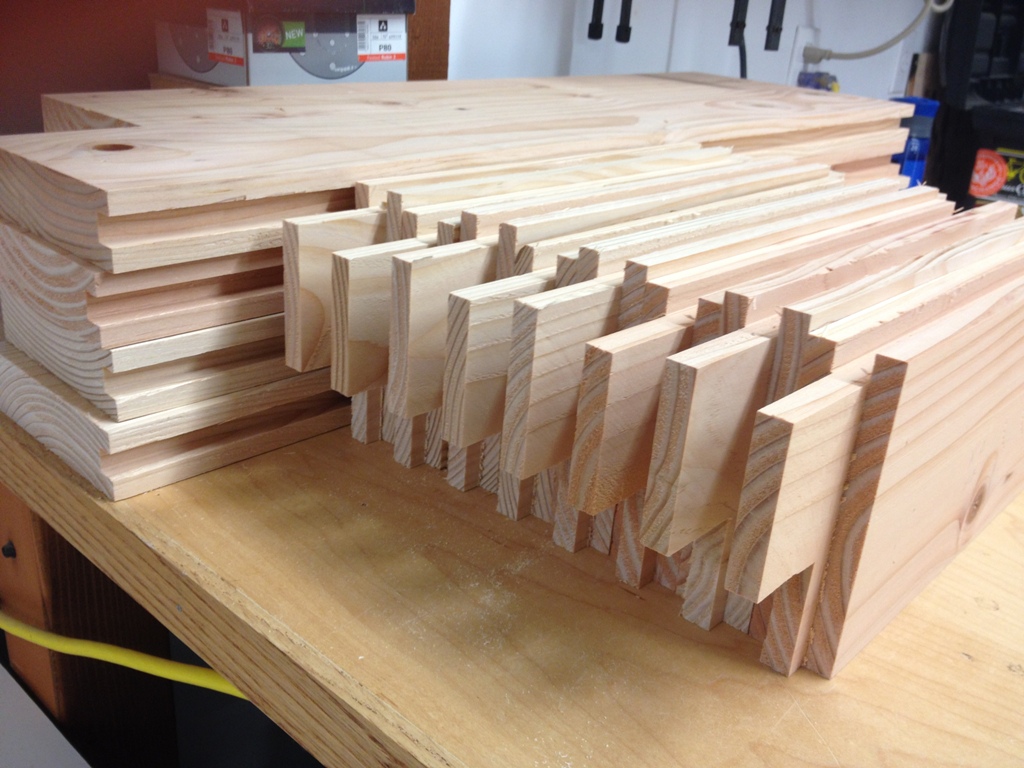
Construction lumber is rough and a little soft, but if you don’t want that Perfect look (which for this project, I do not) then it’s fairly forgiving.

Fitted

It’s weird.  Everything fit together very well on the first try.  Usually I screw something up by now but so far so good.

Assembled

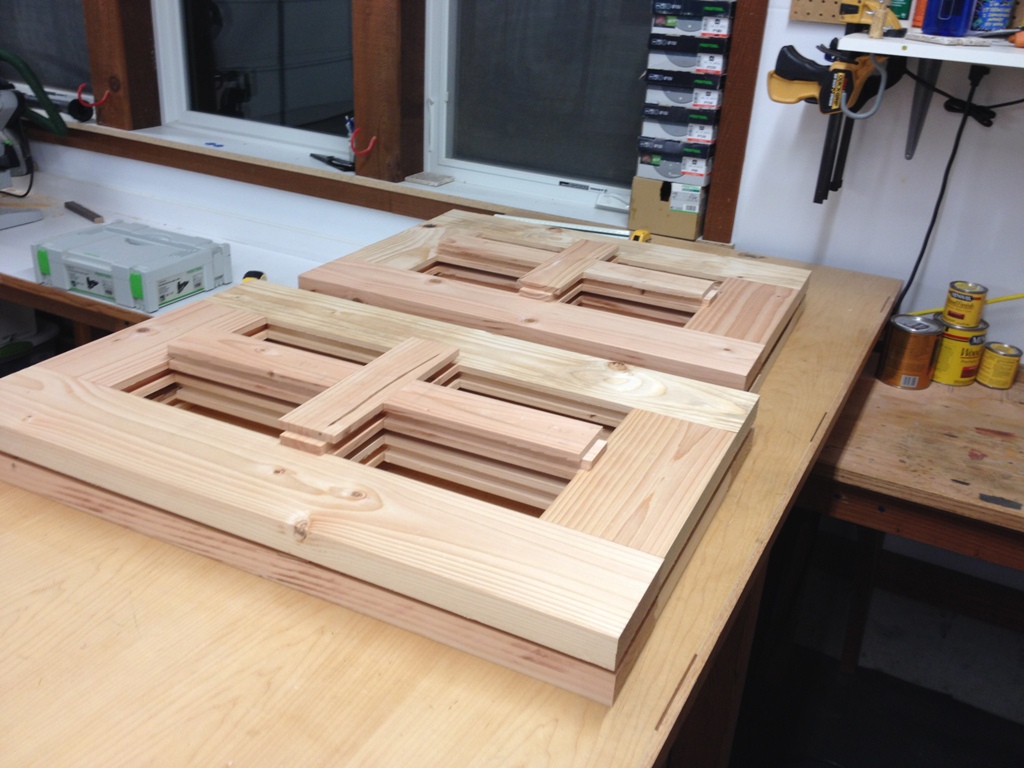
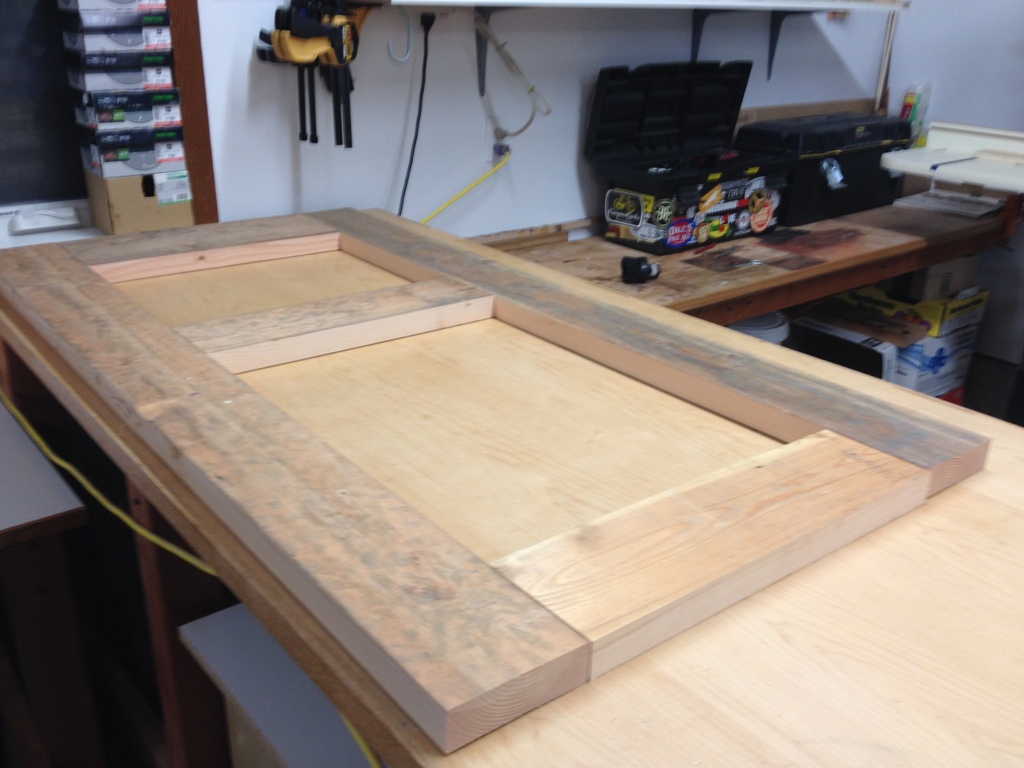
Here they are, all assembled.  There’s a little hardware that needs to be installed but other than that they just need to be sanded and glued and stained and finished.  And installed.

The Art of Being A Cheap Bastard

So, I had this trim piece that was about 6″ too short.  It’s in a semi-visible area so I didn’t want to do a butt-end joint or even a mitered joint.  Well, I can always just go and buy a new trim piece.  Let’s see, 6 feet at $0.83 per foot…

too_lazy_to_name_photo

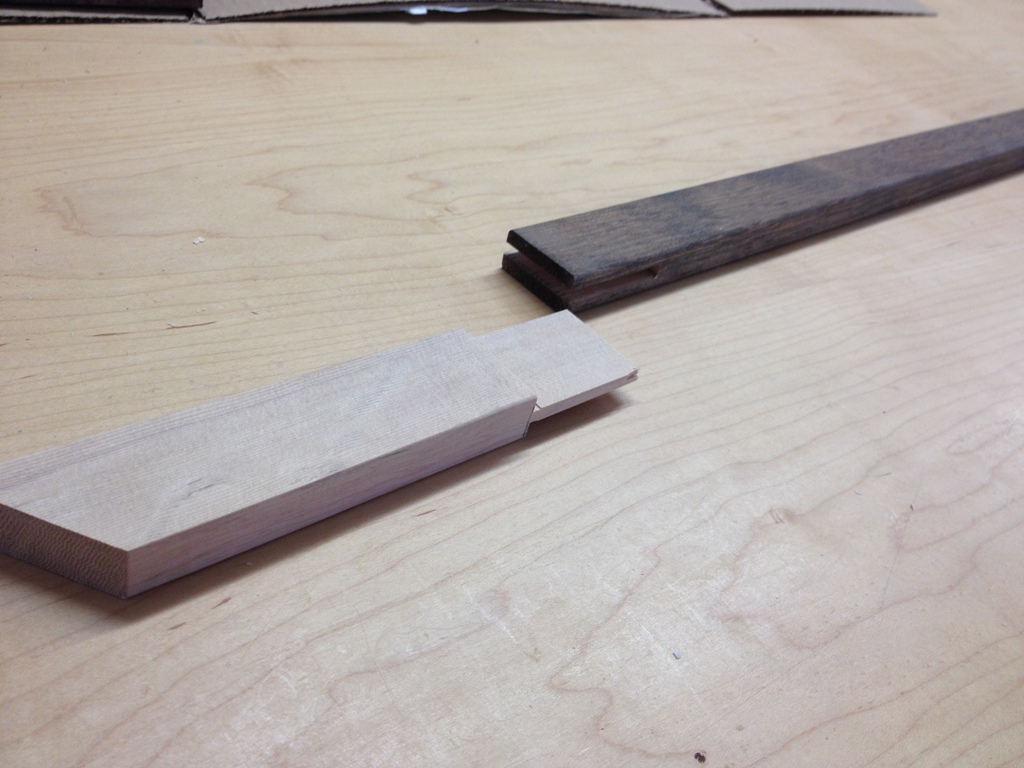
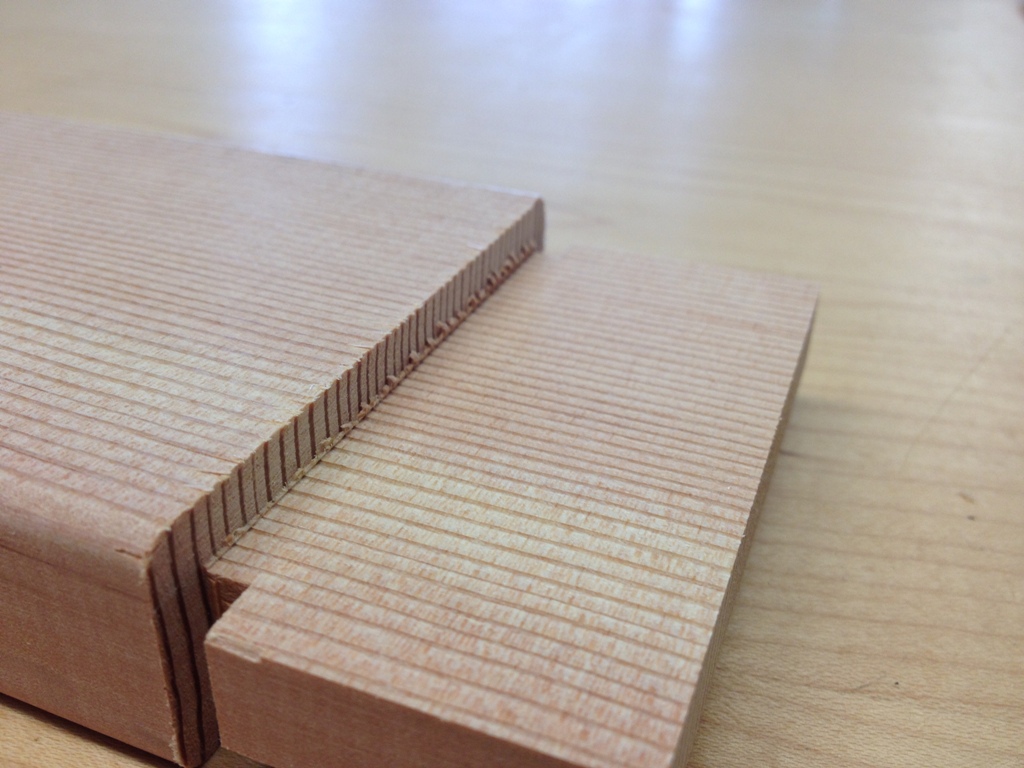
No way.  Why spend *that* kind of money when I can do a little tongue and groove instead?  That would make the trim piece exactly the length I want, and it would be perfectly straight along the edge I’m nailing it into.

too_lazy_to_name_photo_2

Gosh, just a few quick cuts and a little bit of fitting and it pops right into place.

too_lazy_to_name_photo_3

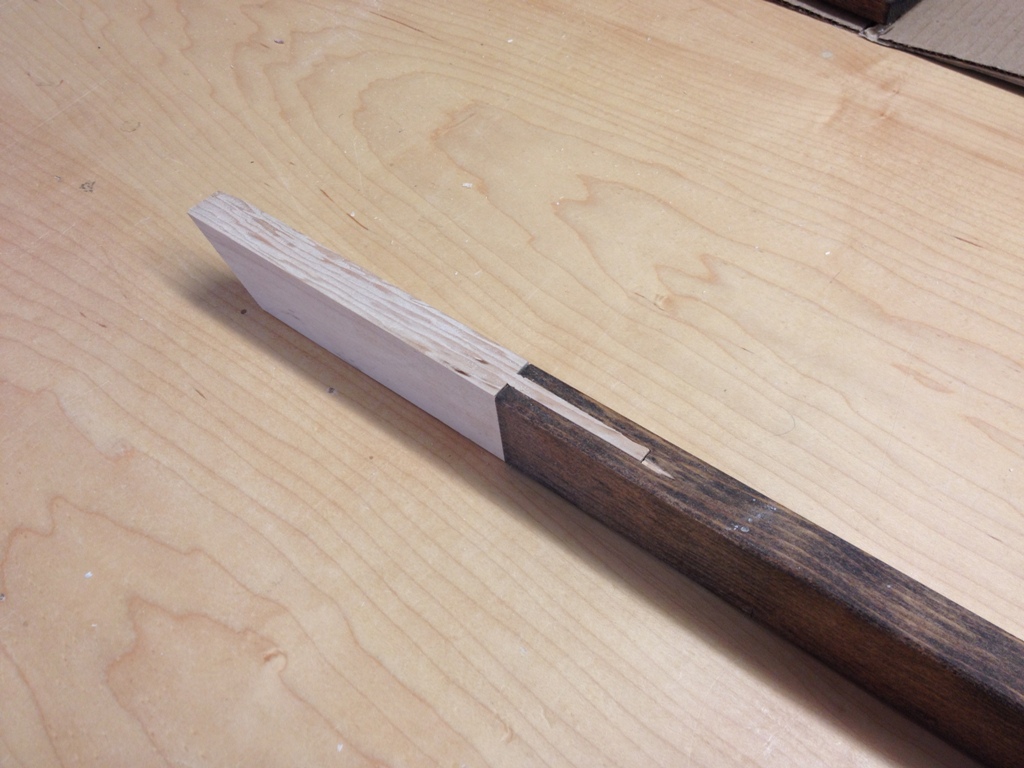
Put a little pin in there with some wood glue and it’s never coming apart now.

too_lazy_to_name_photo_4

I just saved myself $4.98!  Woo hoo!

The 2 x 4 Door Project, Part 2

The Before Picture

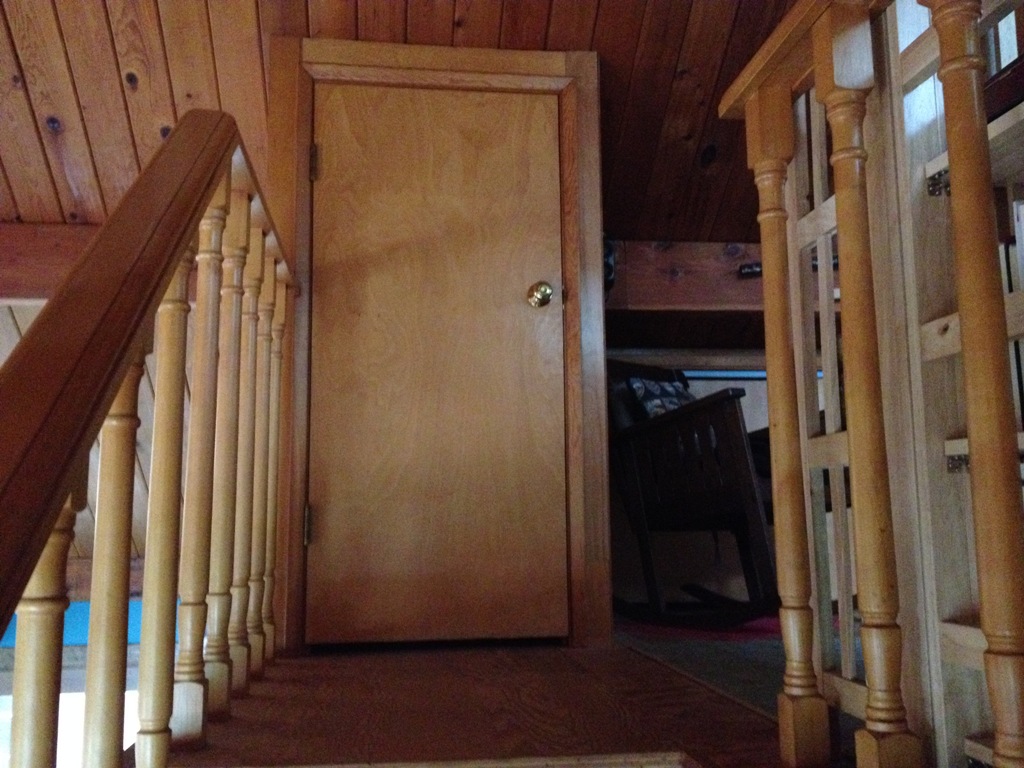
I’ve been remiss.  I forgot to show you a ‘before’ picture.  Above is the door I am replacing.   Simple, hollow, birch plywood, stained to a color somewhere between dog pee yellow and oompa-loompa orange.  It’s was once a standard door but has since been cut to fit this short door frame, and judging by the jagged edge along the bottom they used an ax or a chainsaw or something.

Repurposed

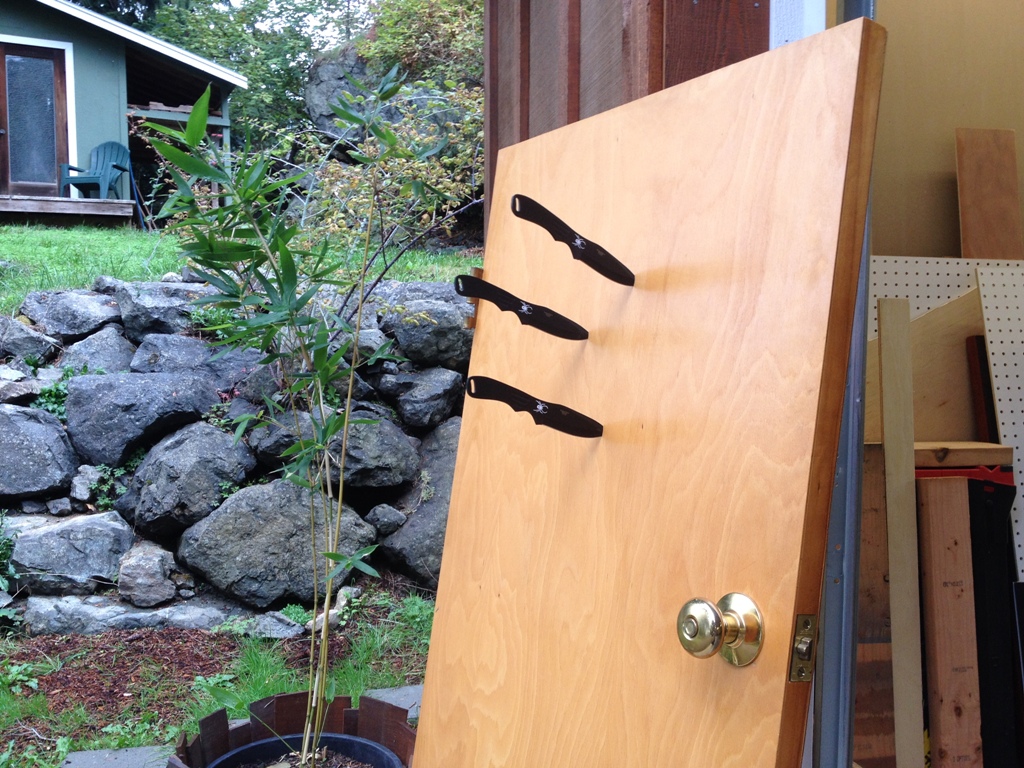
Well, the old door has been re-purposed so as to again be useful.  I use it now for target practice.  Let’s get on with its replacement.

Marked for Removal

I’ve got all the boards cut and squared and (mostly) flattened and planed down to their final thickness.  Now I must cut grooves.  A 1/2 inch groove down the inside of each frame piece should be sufficient to hold the panels and the other frame pieces together.

Groovy

Groovy.  And the mullions are nicely cut.

Tennony

Full tenons where the rails join the frame.

Mortissey

Now to cut some square holes.  I had to modify my mortising machine so it could accommodate a 6″ plank of wood underneath it.

Square Holes

I own one of the world’s cheapest and most neglected mortise machines, but it still makes short work of this soft wood.  This is 2×4 and 2×6 construction lumber, some of which has sat outside for three years.  And it’s still good enough to make a door.

Frame

The frame fit together very well.  Now it just needs some panels.  I thought I might try to carve some more 2x4s down into slightly thinner sheets with tapered edges but in the interests of time and economy (translation:  I’m a cheap bastard and occasionally lazy), I’m just using plywood.

Panels

The panels fit in the frames great.

Arc

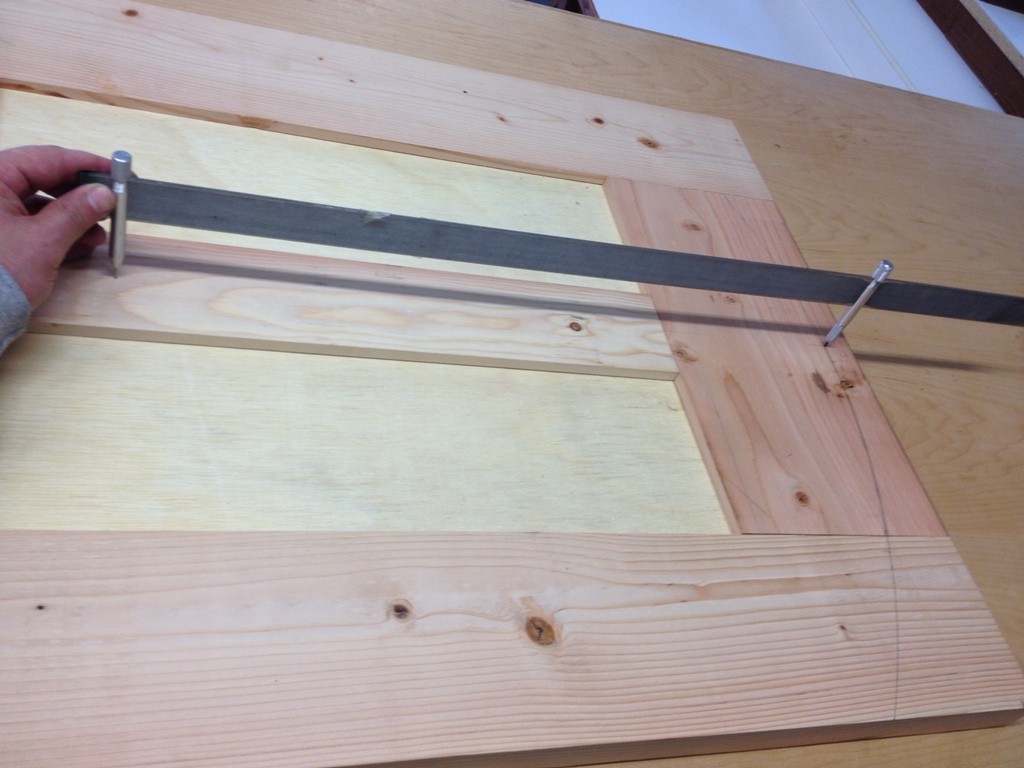
I want a curved top to this door so it’s time to scribe a line.  For a compass I use a strip of metal with a pin at one end and pencil lead at the other.

Curved Top

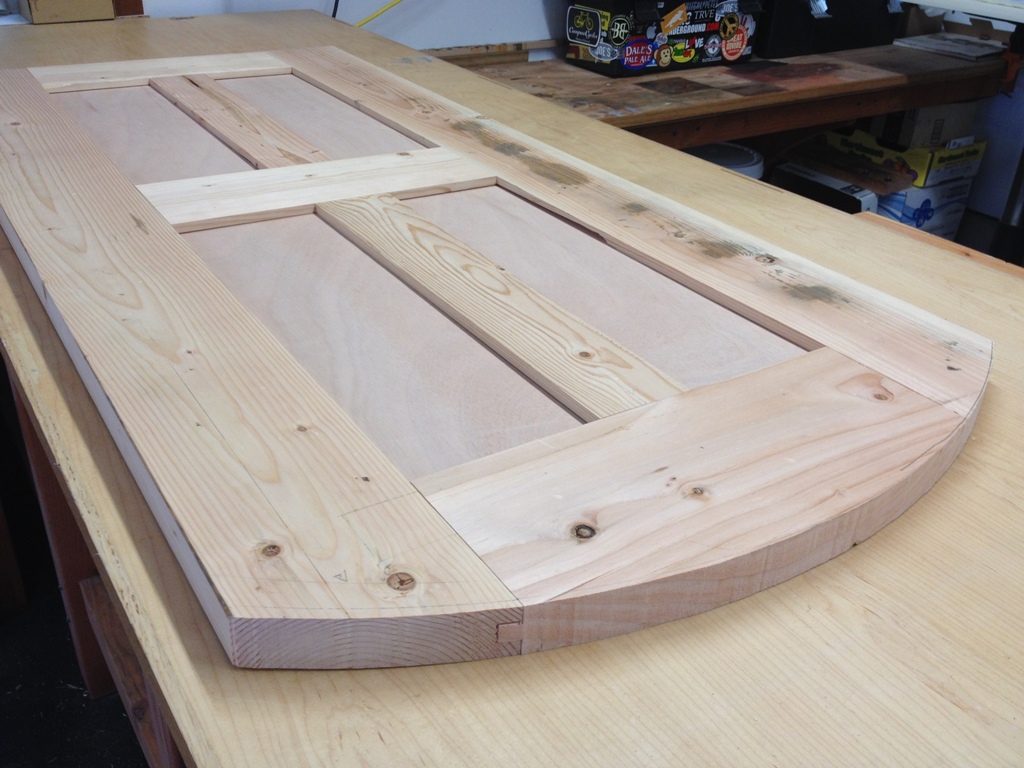
I just used a reciprocating saw to cut this arc.  I considered making some forms and using a router to make a nice perfect, smooth edge but this door really has no intention of being all that perfect.

Knotty

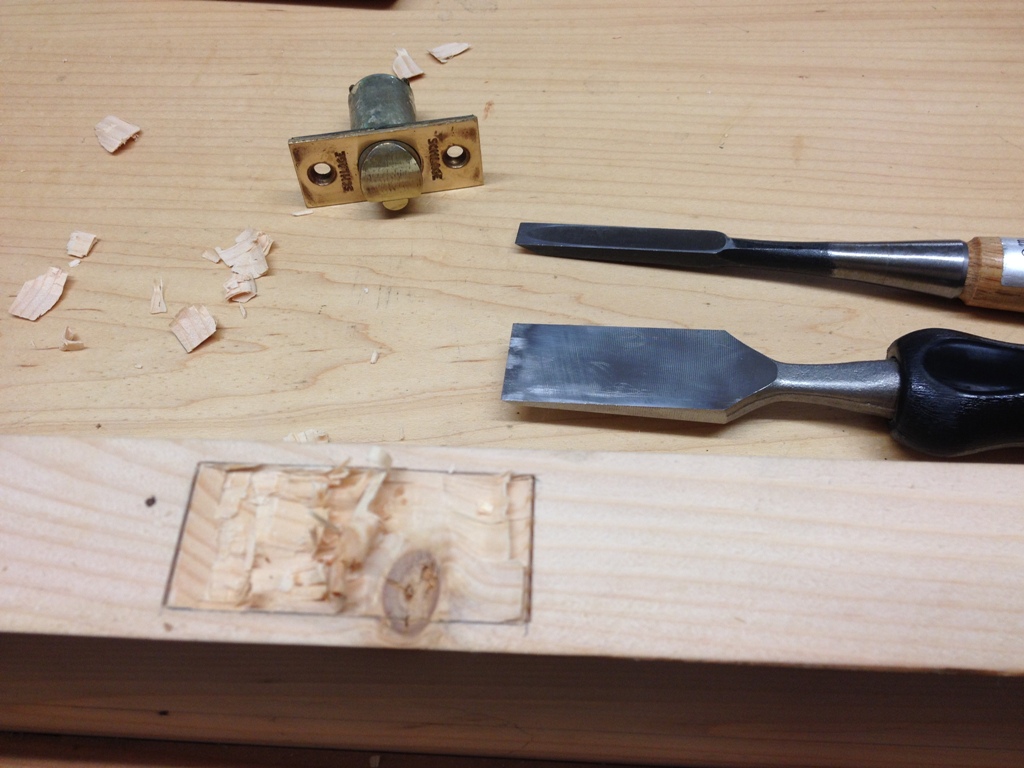
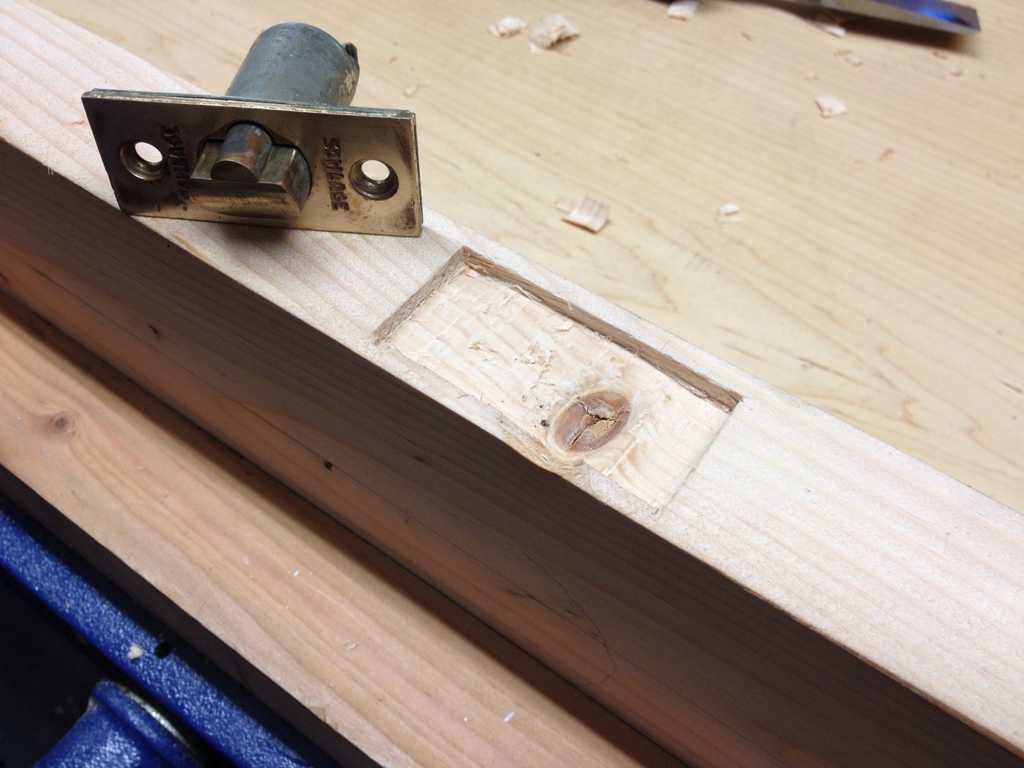
So, I ran into a bit of a snag because the location I had to put the doorknob had a tight little knot right where the latch had to be carved out.  This was not an easy task.  The wood grain really works against any attempt at carving this neatly.

Challenge

I think I did fairly well, despite the knot.

Doorknob

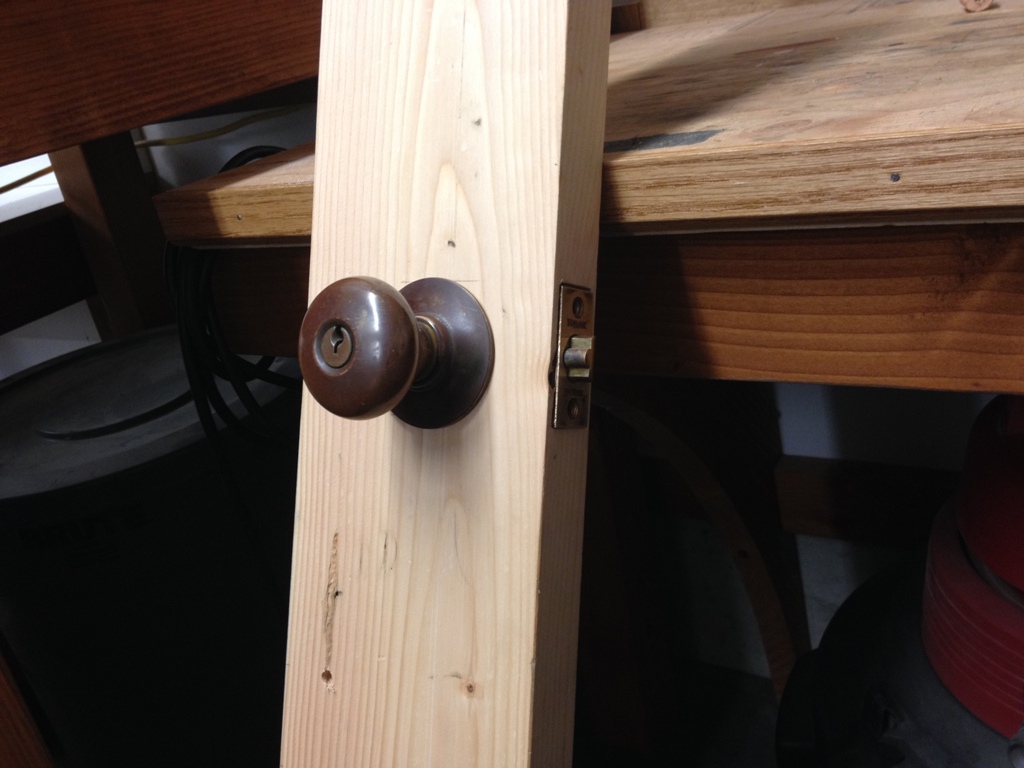
That’s an antique doorknob (a Schlage M45 probably from the 60s) with a beautiful mocha colored patina on a rather coppery brass.  I may play around with the fit a little bit more but it works well .

Door

There it is dry fit.  I’m pleasantly surprised by how well this project has gone so far.  Seems like I haven’t managed to screw up anything yet!  But there’s still time, I still need to sand it and glue it together and make a custom door frame for that curved part, and I haven’t yet tried to fit it into the door frame.  Any number of calamities can happen before this project is finished.

The 2 x 4 Door Project, Part 1

More Plans

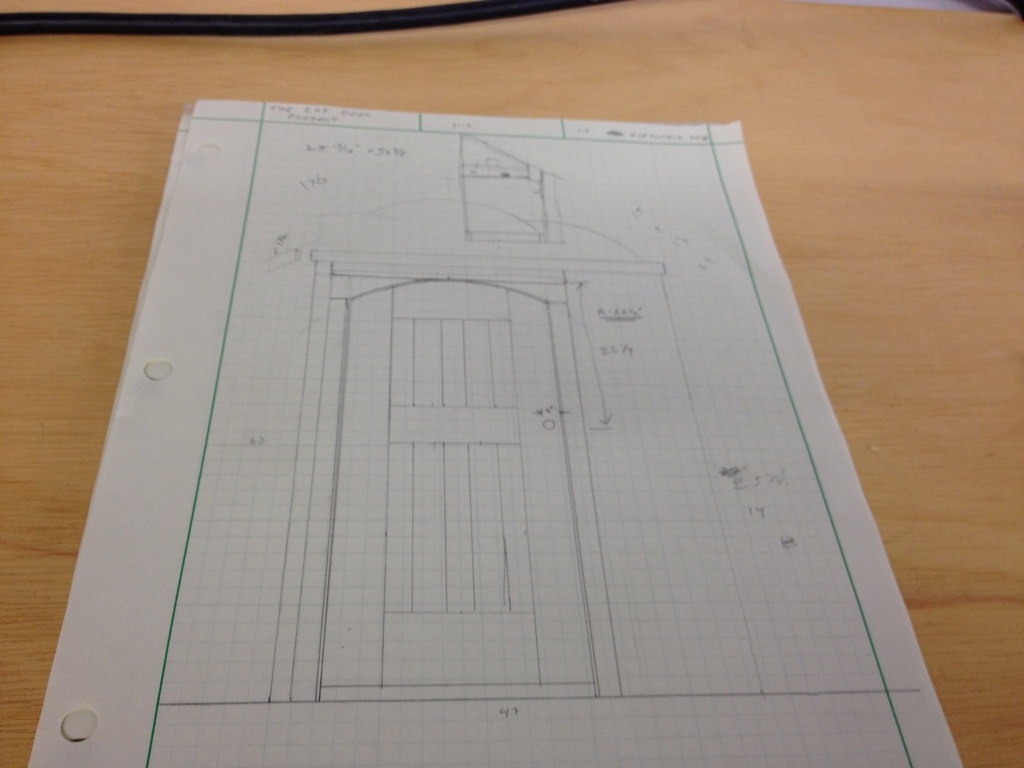
I have this small closet door up in the loft that I completely hate and I would like to replace.  Well, I’d like to throw bladed weapons at it, then burn it down, then replace it.  It’s one of those ugly hollow core doors but this one has been cut down to fit an unusually small door frame, some 25″ x 58″.  I was hoping to find a salvage door that I could saw down and fit but no luck there.  If I want to replace this thing I’m going to have to make it myself.  (I’m acutely aware that non-woodworkers don’t think this way) (and maybe even other woodworkers don’t think this way) (it’s possible that it’s just me).

2 x 6 x 16

I don’t want this to cost a lot of money.  In fact, $0.00 would be a great price, but I’m prepared to spend as much as fifty bucks including hardware.  Well, it just so happens I do have a few spare 2×4 and 2×6 leftover from other projects.  Hey, this one here is like 16 feet long.  If I leave it outside any longer it’s just going to grow mushrooms so I may as well make something out of it.

Weathered

And so, the 2×4 Door Project has now commenced!  The lumber I have has been left outside with the spiders and the salty sea air for longer than it should have been, but it is still solid and durable, and I think all its dings and dents and gouges and wormholes just make it look that much cooler.

Distressed

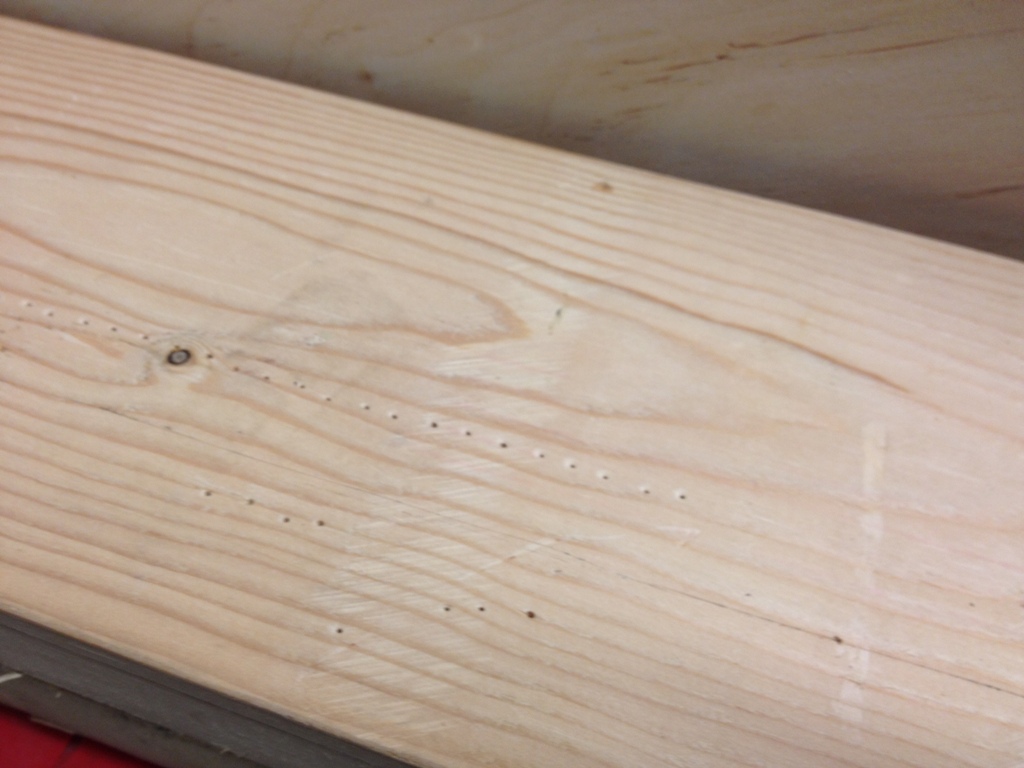
I’ll sand it down and stain it and stuff, but I’ll make no effort to fill or conceal or do anything at all about the nail holes, the saw marks, the boot prints.  This is going to be a traditional door with mortise and tenon joinery and solid wood.

Cut and Jointed

The challenges will be many.  Construction lumber is not usually flat enough to cut into a nice flat door (and doors have to be perfectly 100% flat or they won’t open or close right).  I don’t want to do too much planing or jointing because that takes away from the distressed look that I’m hoping to preserve.  But I think this door is going to be completely awesome when it’s all said and done.

That Hooman Is Crazy

I can’t say that everyone is convinced.

Turn Your Machete Into A Pirate Sword

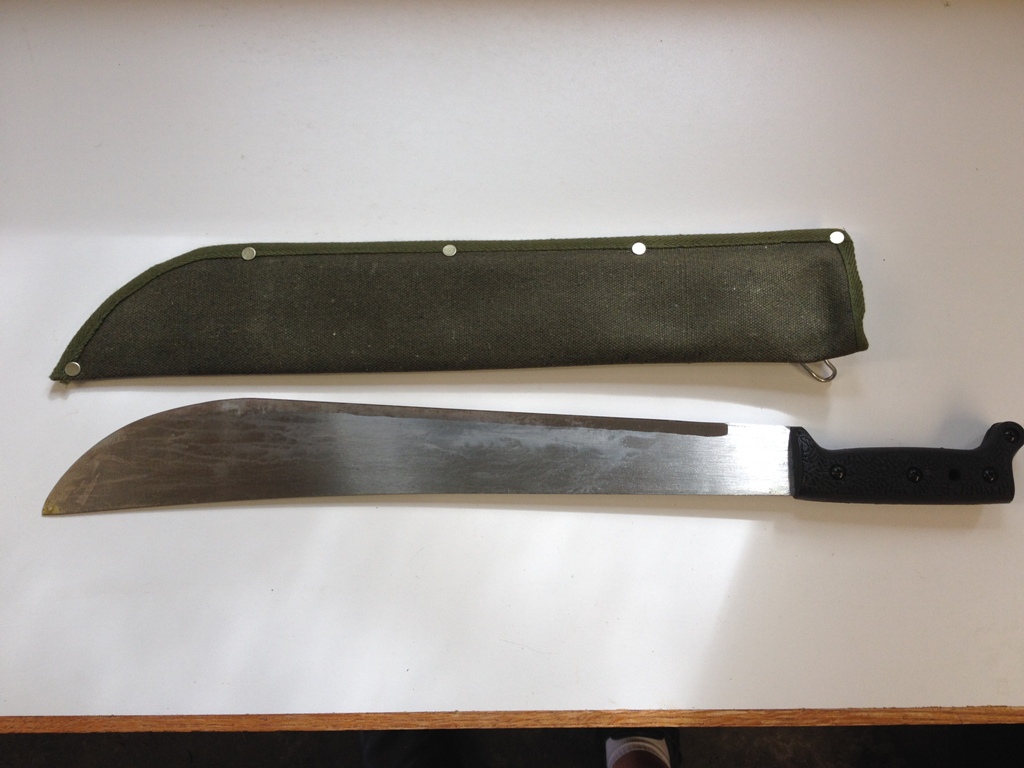
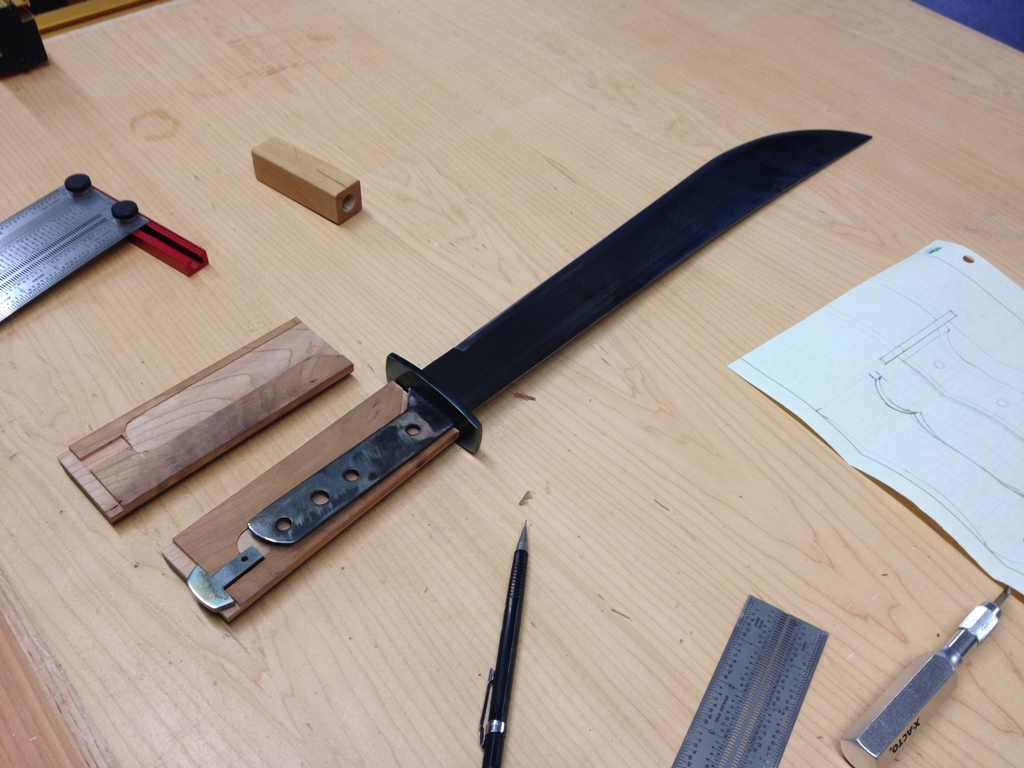
5 dollar machete

An ordinary $5 machete.  Cheap plastic handle, cheap cloth scabbard.  Poorly ground blade.

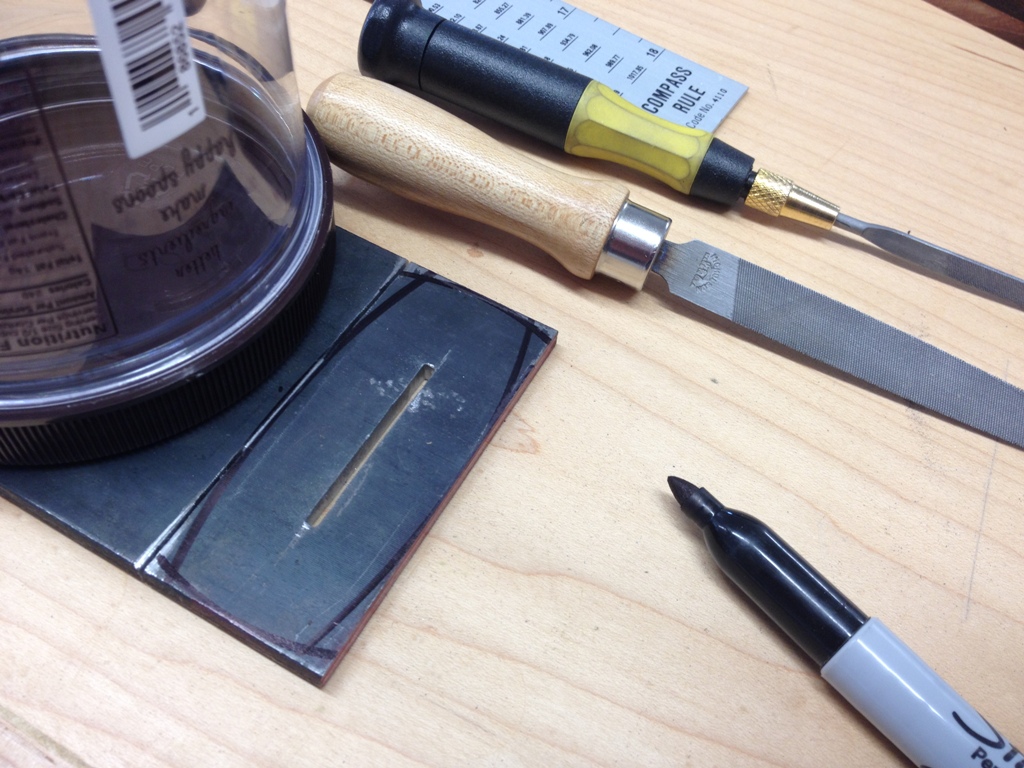
Handguard

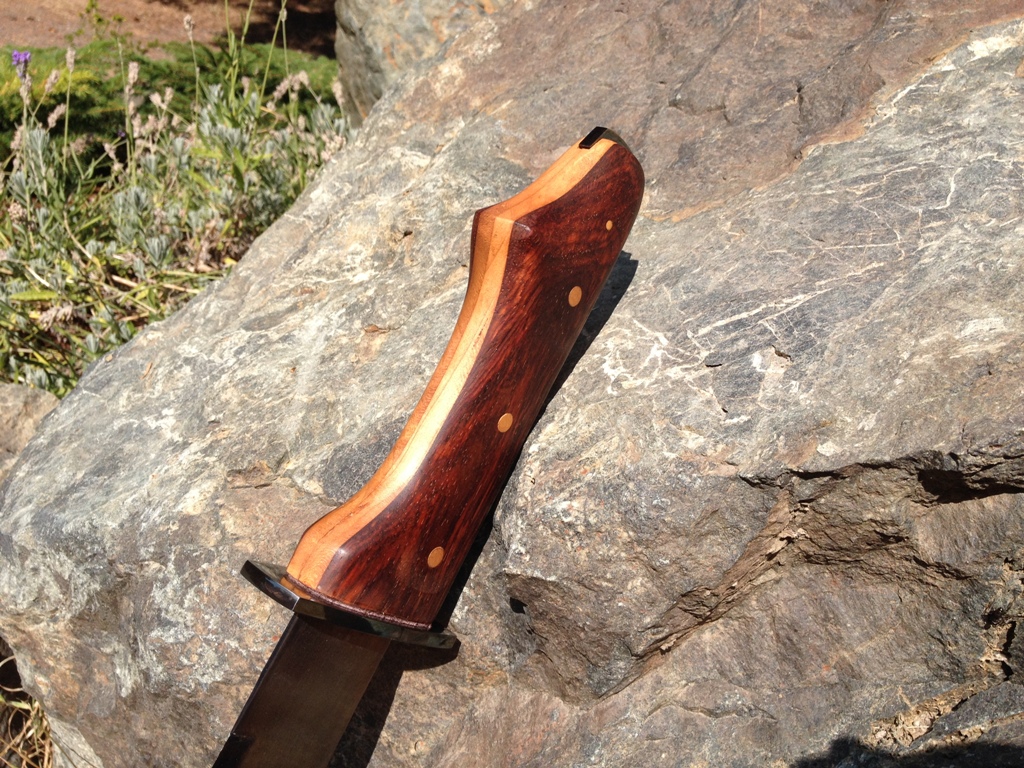
It all started when I said to myself that the handle was awful, and I bet I could make a better one out of scrap wood and duct tape.

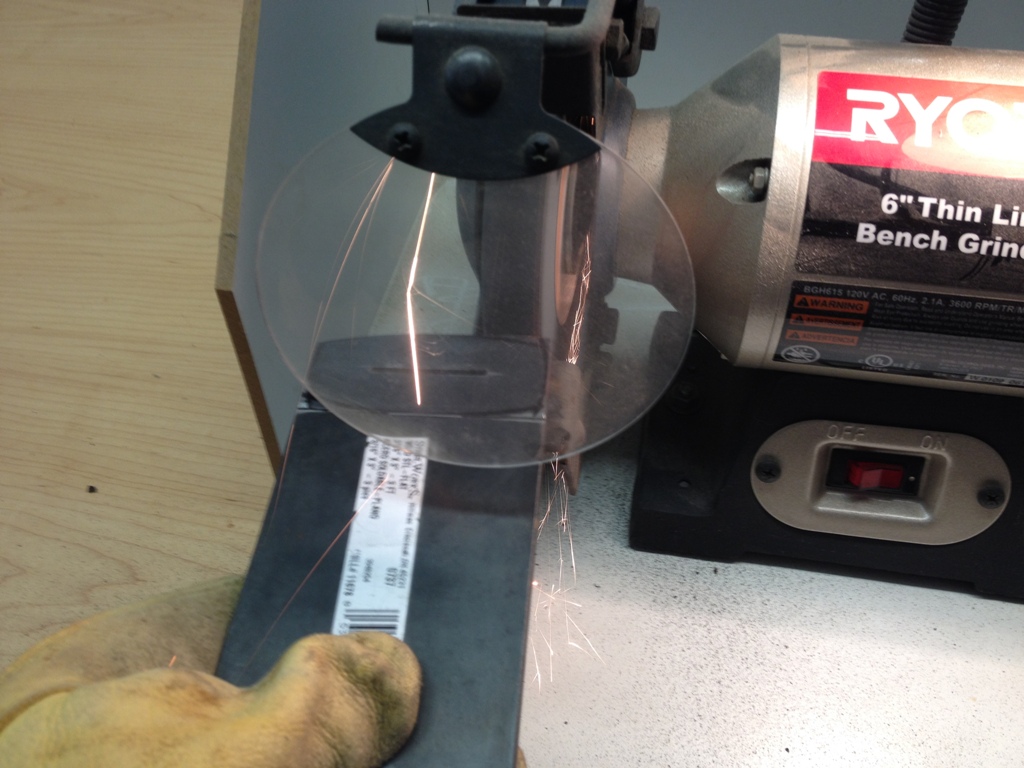
Grinding

Hey, instead of scrap wood, how about a tropical hardwood like cocobolo?  Oh, and it could use a hand guard, you know, like pirate swords have?

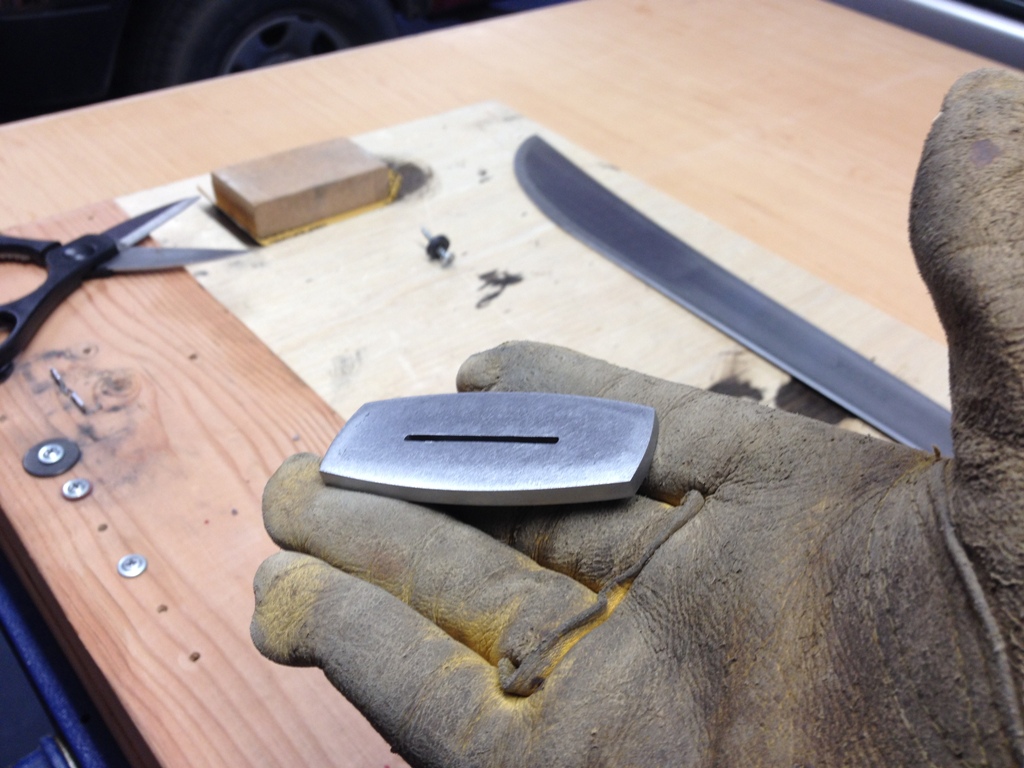
Shaped

Yeah, that’ll do the trick.  And grind down the blade a bit.  Not too pretty, but at least give it a sharp edge and sand down the rough spots.

Handle

And make sure it’s heat treated!  Fire that thing up, and temper the edge.

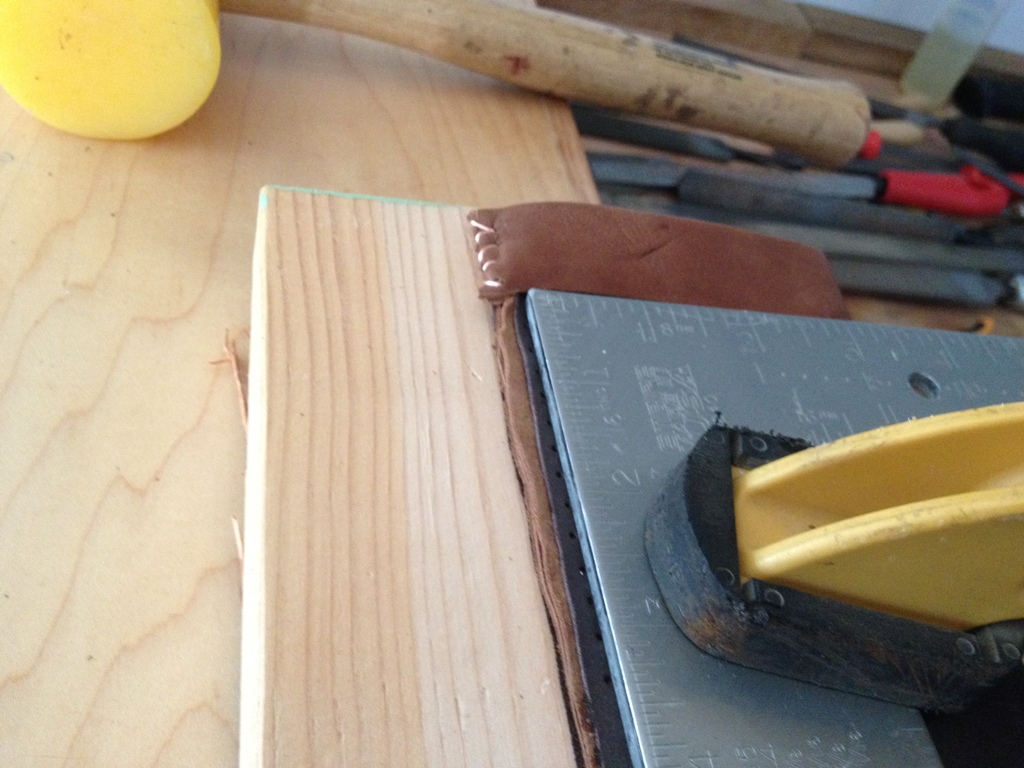
Scabbard

And it needs a scabbard.  Leather.  Sewn up with copper wire.

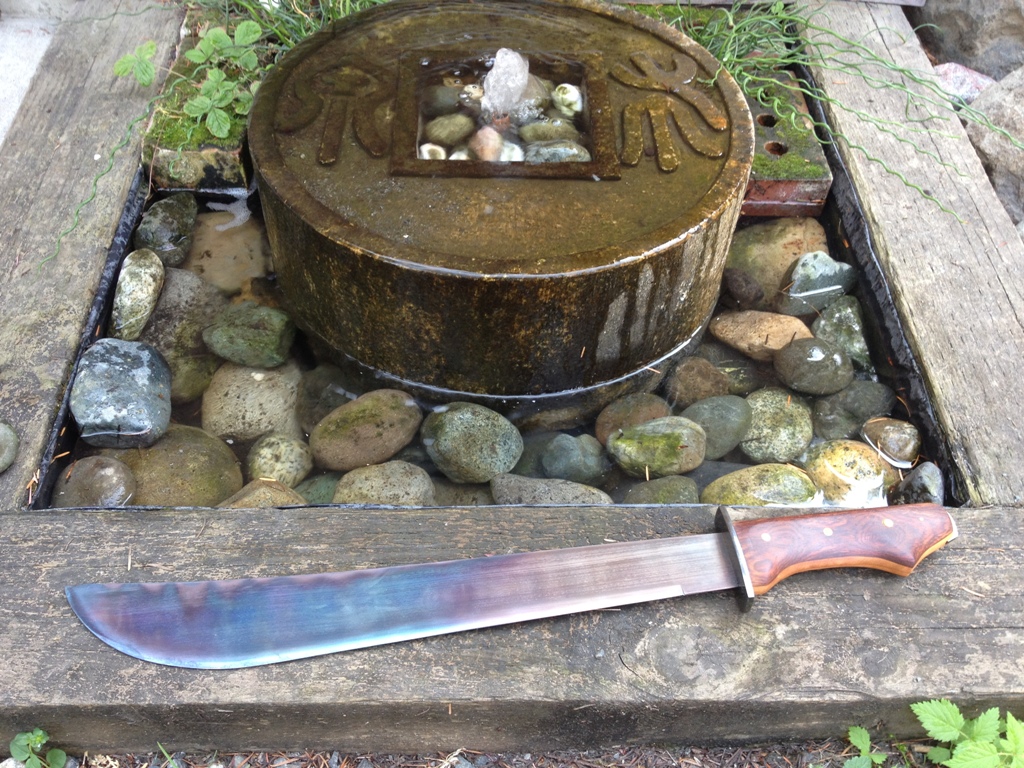
Treasure

Now that’s a beauty!

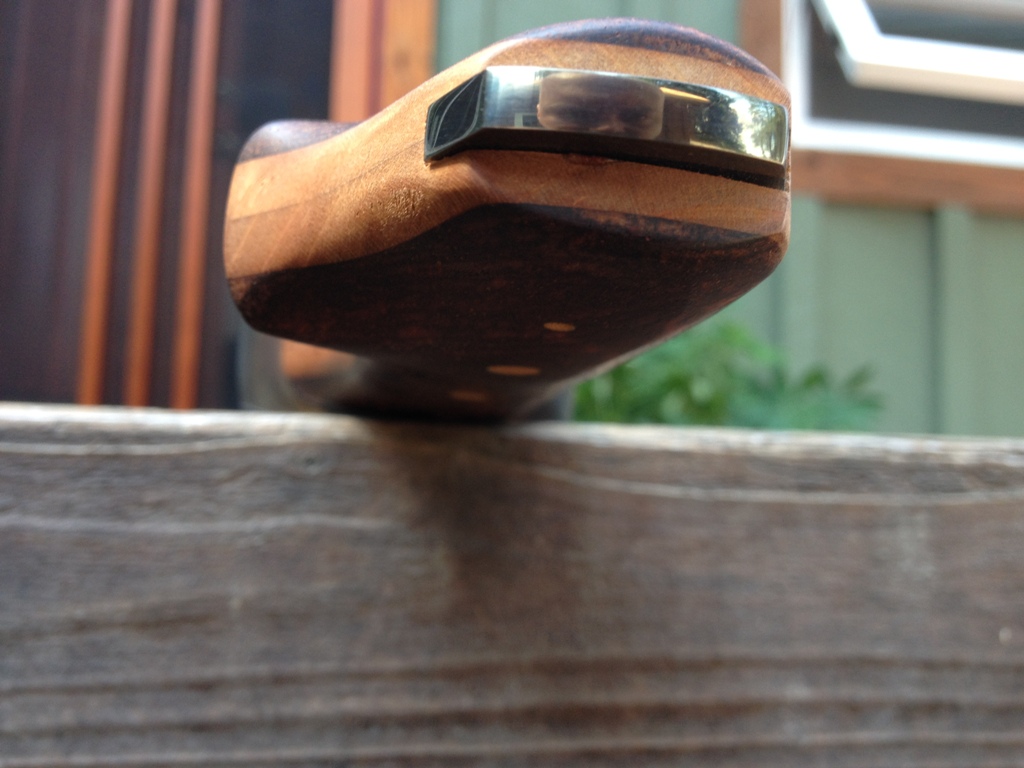
Pommel

A steel pommel can bash the skulls of sea monsters, zombies and orcs alike.

Hilt

Handle makes a great grip.

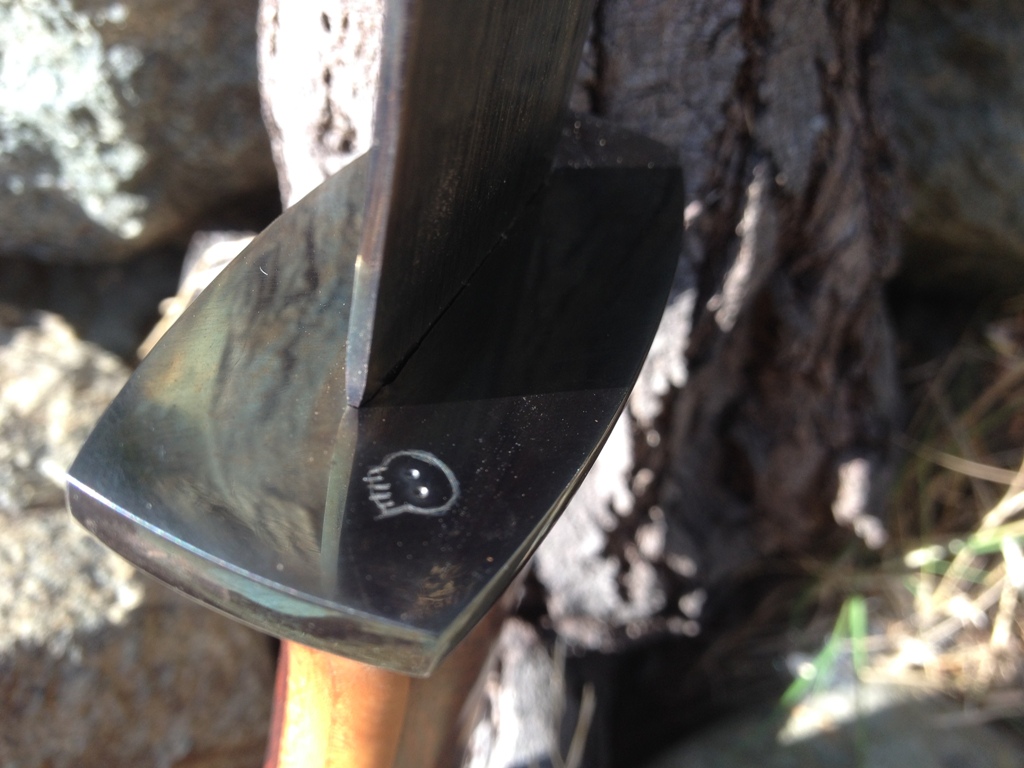
Skull

Please note that I am not addressing why you should make your machete into a pirate sword.  Such a topic would be beyond the scope of this essay.

Gargoyle

Anyway, it’s perfectly obvious that pirate swords are awesome!

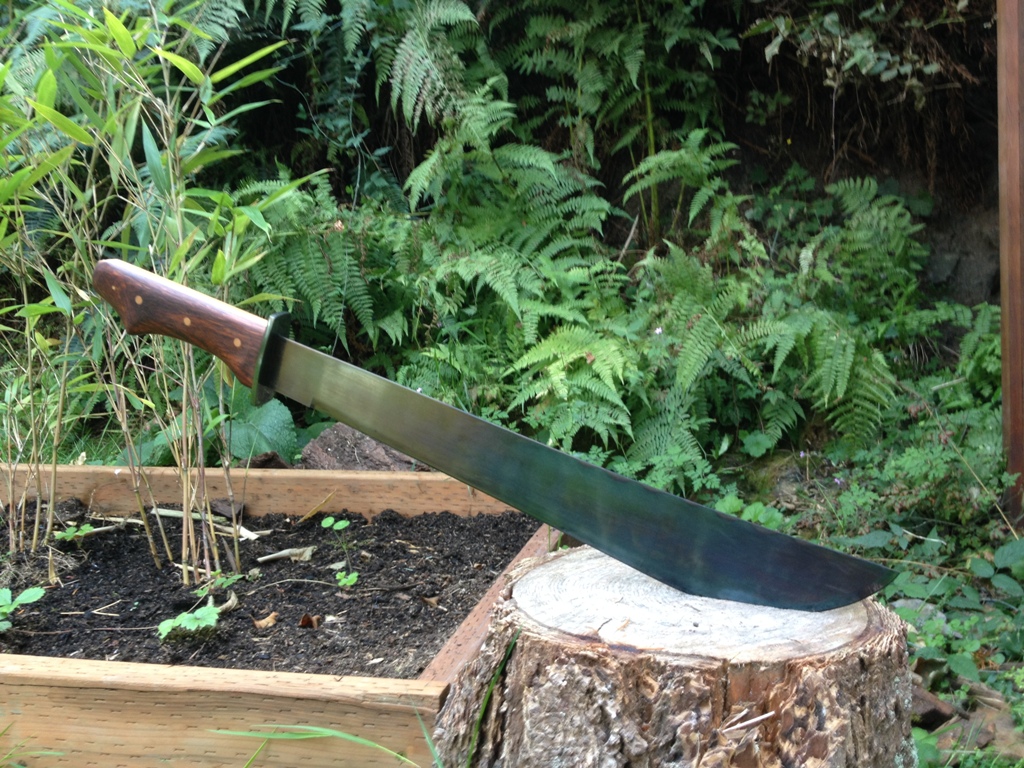
Pirate Sword

And of course, it still functions perfectly well as a machete.

Avast Ye Matey

Yarr!

New Sword Fittings for an Old Sword

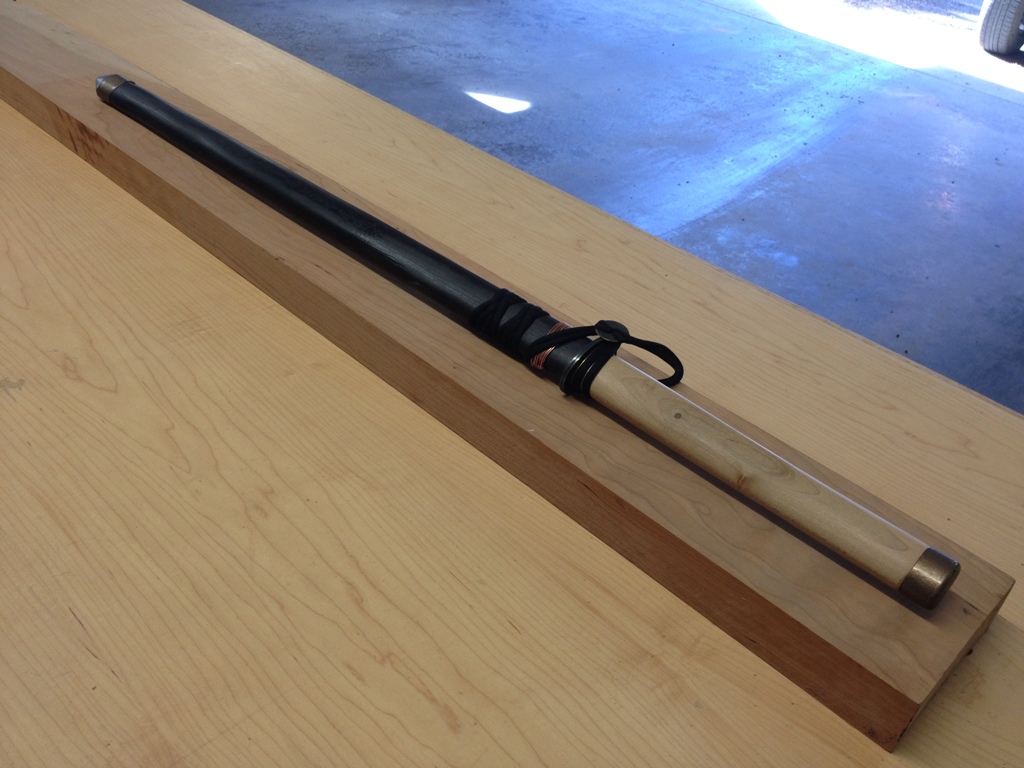
When I practice Iaido, this is the sword I use.

The Old Sword

The handle is rock maple.  I never finished it with anything and it never needed it, just kind of took on a glossy sheen in the places I gripped it.  That wood is bulletproof.  But the saya (sword scabbard) is made out of cheap construction lumber and I made it like 15 years ago.  It works okay but it was getting a little worn around the opening from when I sheathe the blade.  I’ve wanted to make a new saya for a long time, but knew that I’d have to do the whole thing and make a new handle as well.  The more things sound like they will be a pain in the butt, the more I procrastinate them.

Old Saya (scabbard)

Here’s a close up.  The copper wire was wrapped around it to help control a split in the wood.  It worked very well, actually, keeping that split closed for years without any problems.

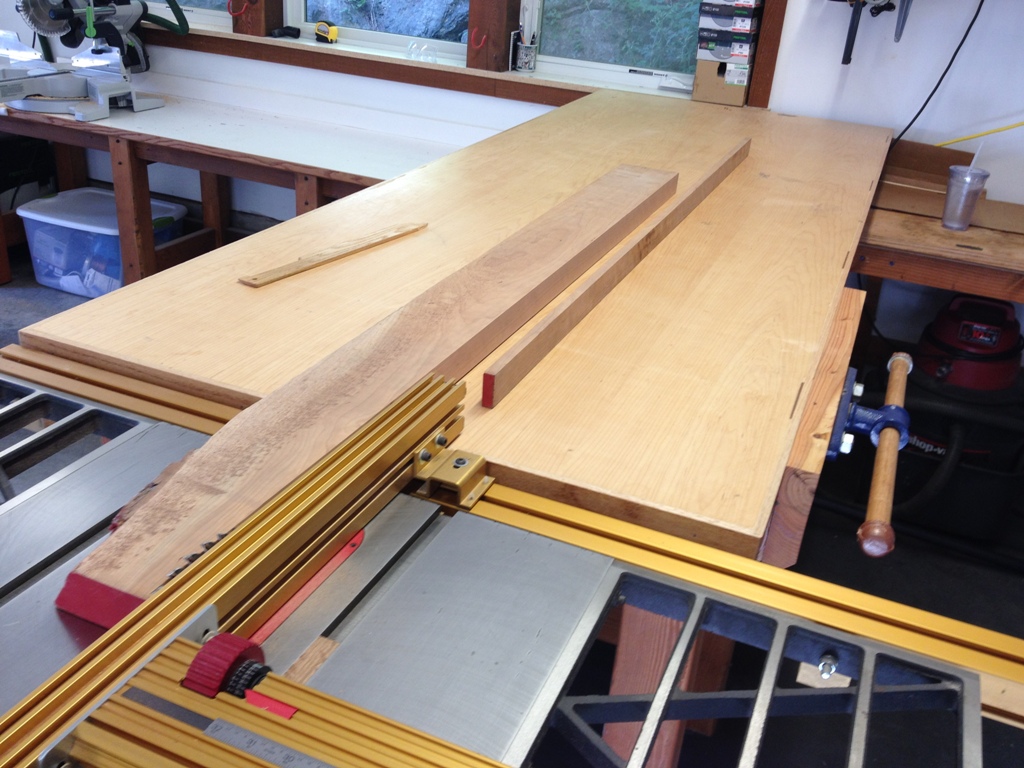
Resawing

I’ve had a thick slab of cherry left over from an old project that I thought would work very well.  It’s a little lighter than the rock maple but it’s a good hardwood and would make a good handle.

Forms

The sword has a very slight curve to it.  I did the math, its radius is around 125 feet.  The old saya and tsuka (handle) were straight but this time I wanted to follow the curvature of the blade.  Traditional Japanese sword handles do not necessarily follow the sword’s curvature, but this is not a traditional sword and I did not use traditional techniques.  Just not the kind of craftsman I am.

Curve

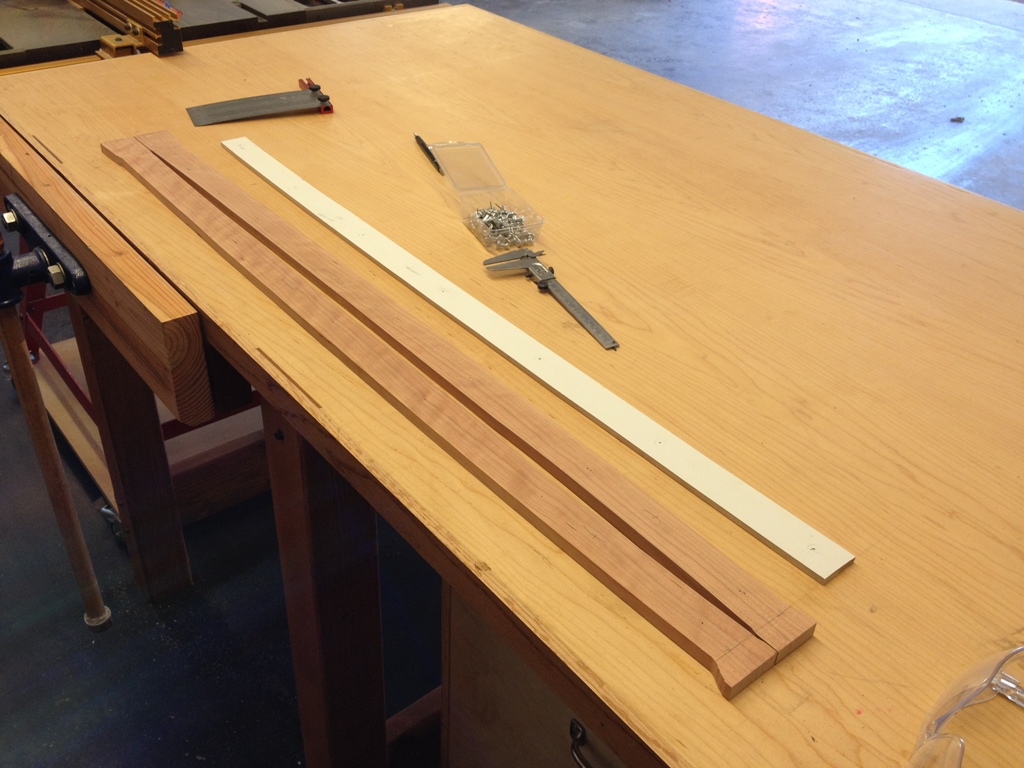
With the two cut halves next to each other, you can see the very gentle curve.

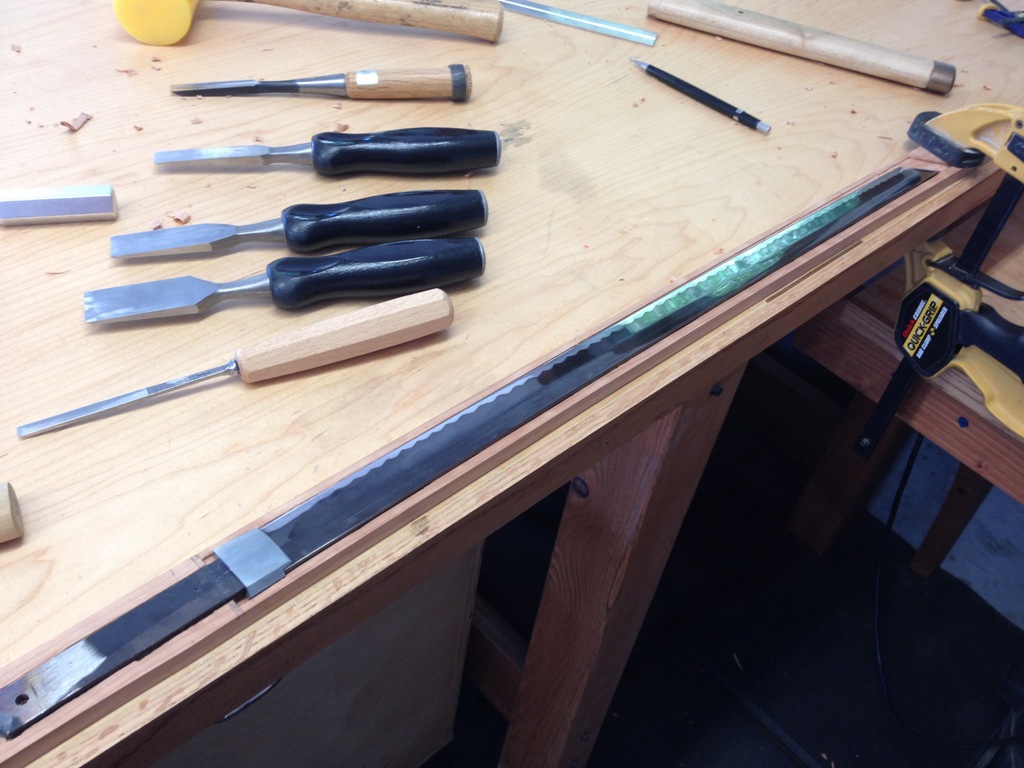
Chisels

This part kind of reminds me of an Egyptian sarcophagus, because you’re hollowing out the two sides such that the sword fits in exactly.  The saya must be a little loose to allow for a quick draw, but should be firm around the habaki (that little gray collar between the blade and the tang) so the sword does not easily slip out.

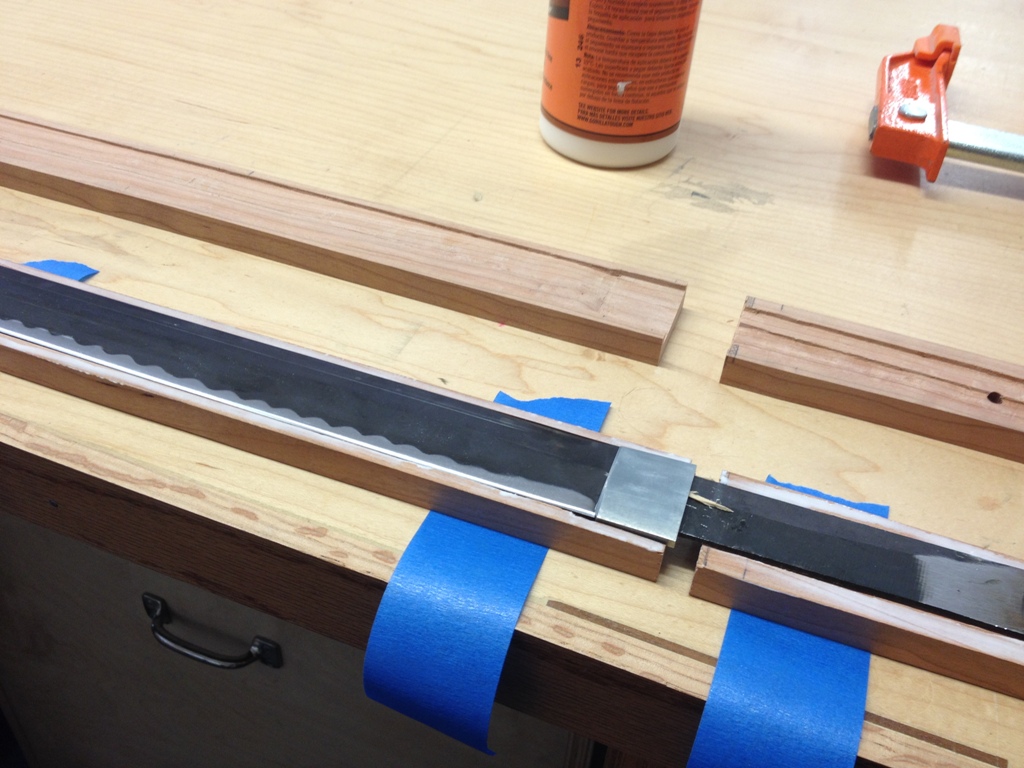
Tape and Glue

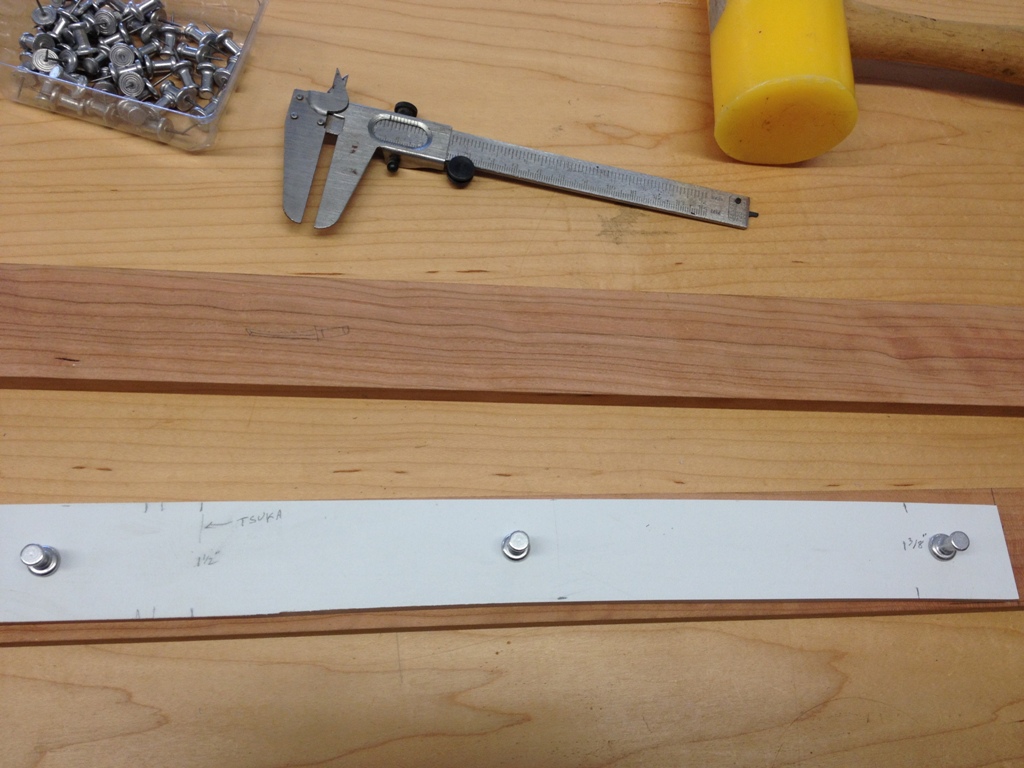
Tape works really well for the dry fit, as well as helping to glue it together.  It keeps the wood from shifting as it’s clamped and does add a little bit more pressure while the glue is drying.

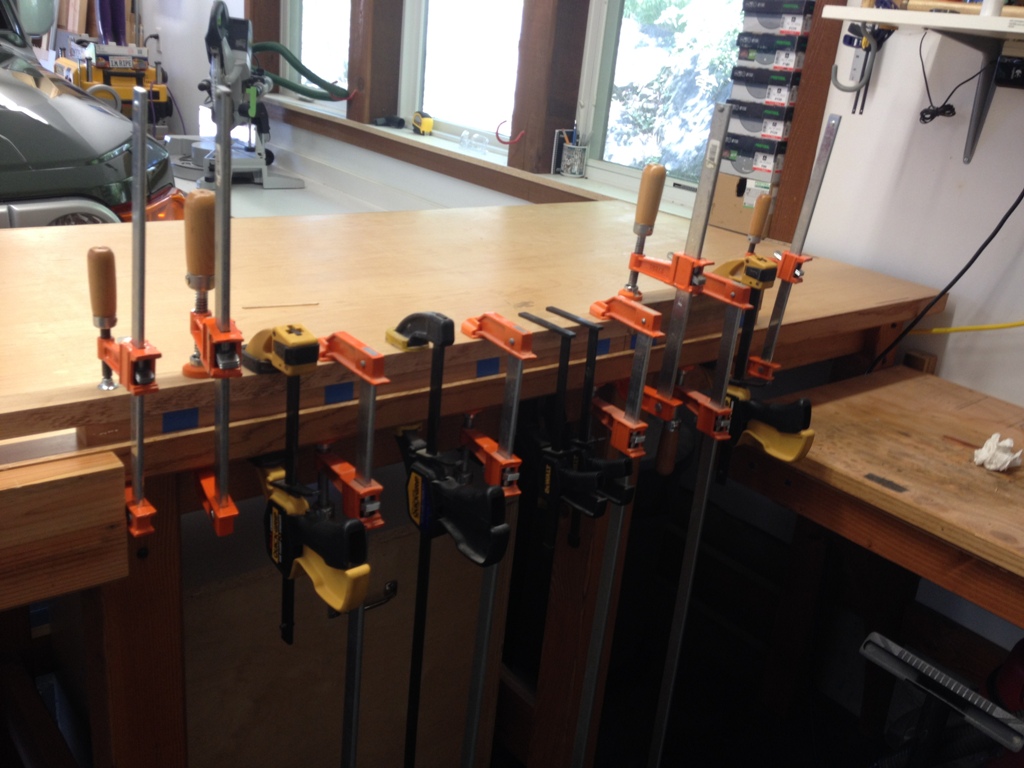
Clamps

Every clamp I could fit.

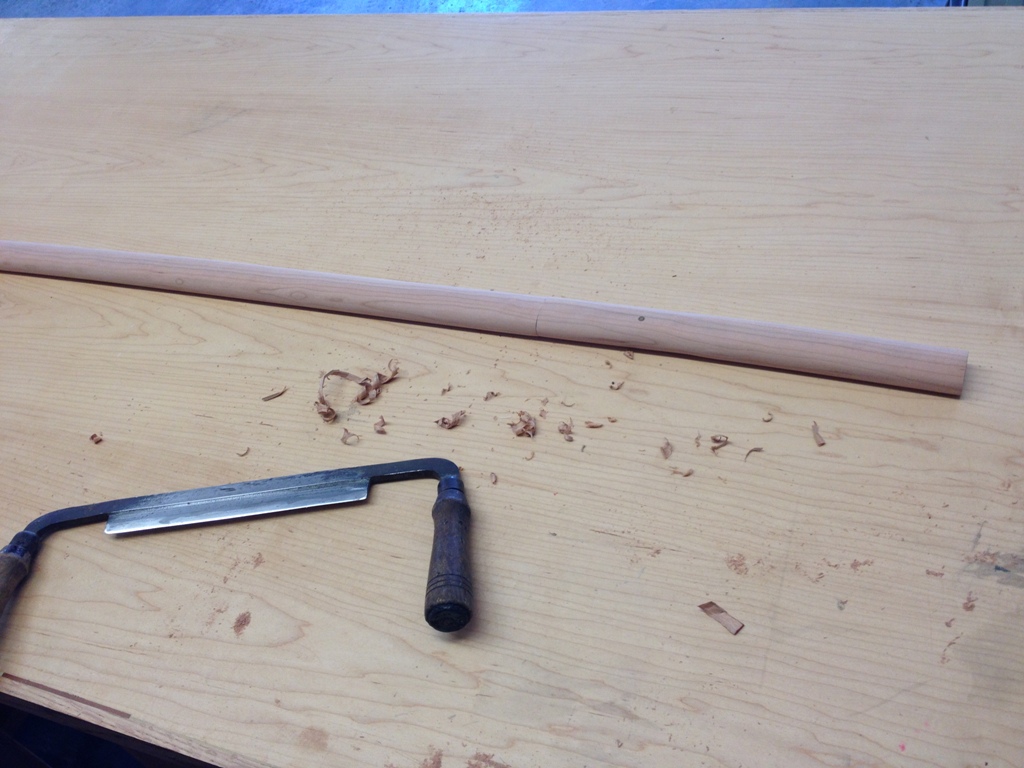
Shaping

Shaping is the fun part.  I’m not particularly good at it and don’t really own good tools for it but I use what I have – rasps, files, draw knives, and lots and lots of sandpaper – but I really enjoy it.  It’s kind of funny, when I was first making these I always wanted more and more power tools to help make them better.  I thought a good router and good forms would help make better sword fittings.  But now that I own all that stuff, I really go back to doing a lot of work by hand with these.  It may not be factory perfect, but I feel like I have more control of how it turns out.

Seppa (spacers)

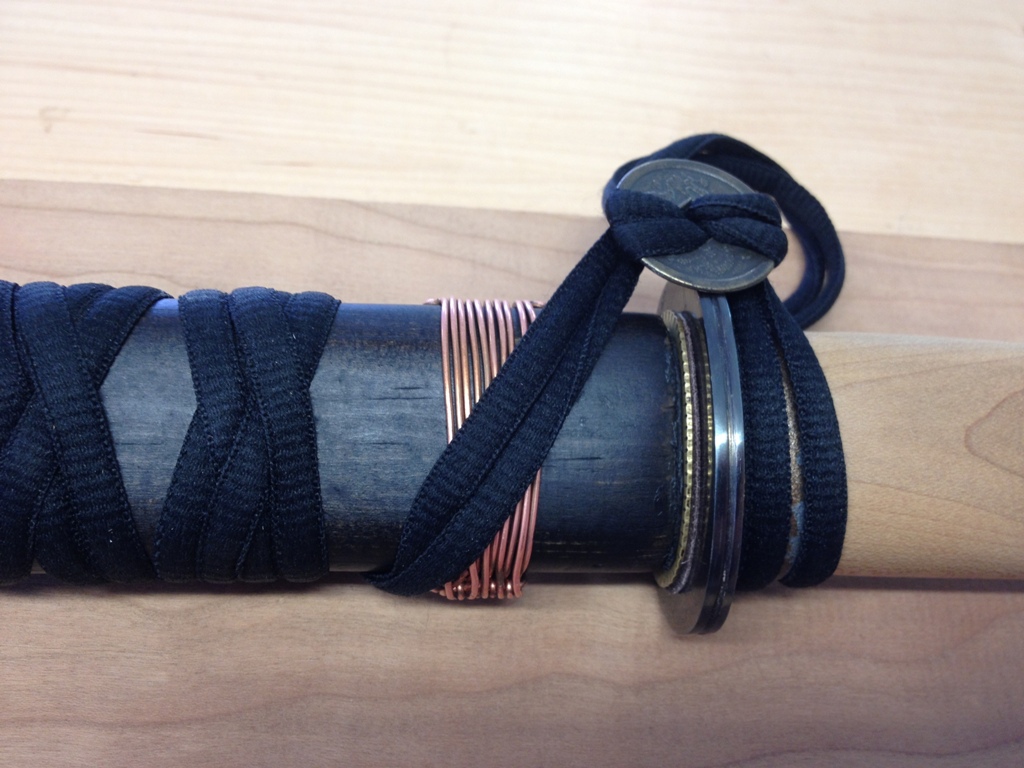
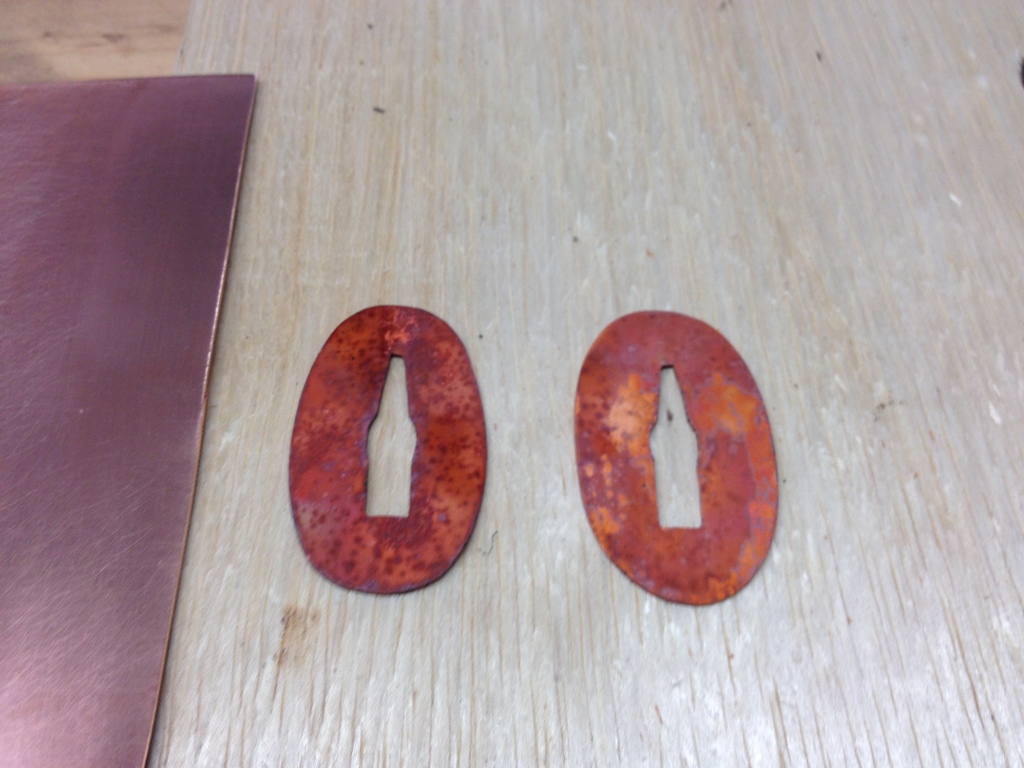
I cut new seppa (spacers) out of a copper sheet, and on a whim I thought I’d heat treat them to bring out some color.  They took on a very bright orange hue, almost a rust, and became about as soft as lead.  On the left in that photo is the original piece of copper I used, so you can see the difference.

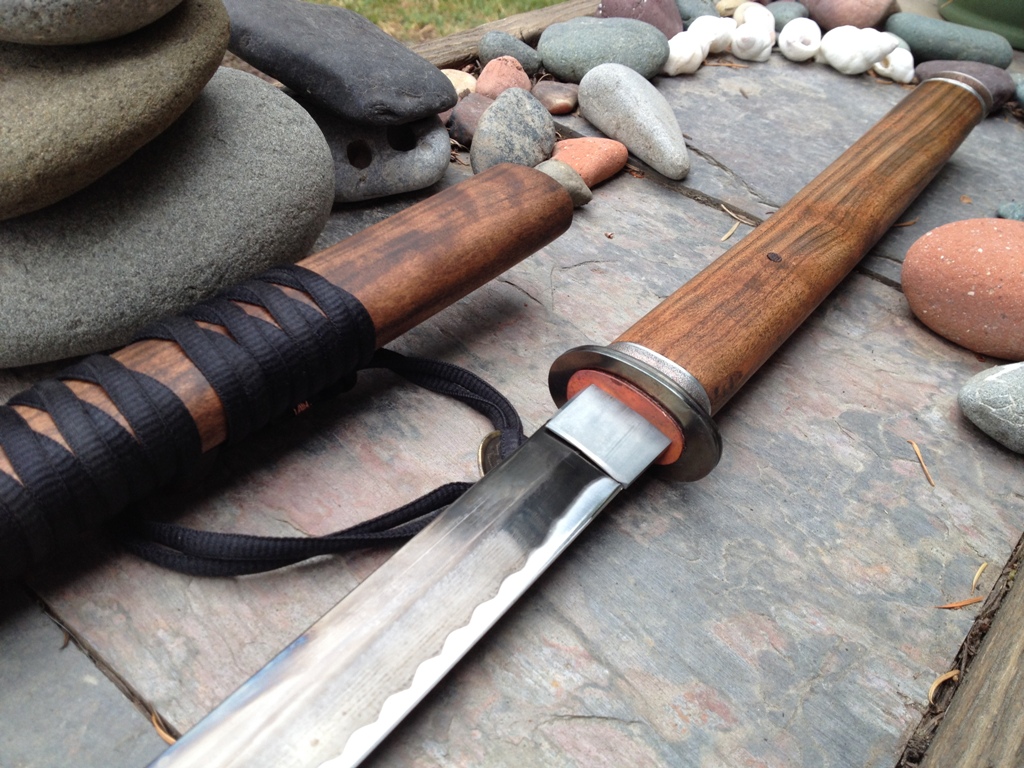
Finished

All finished.  I may do something different with the wrap around the handle, I’ll have to practice with it a bit to see where I want it (it’s nice to have something to grip when drawing the sword).  Again, not a traditional sword at all and that’s deliberate.  There’s an old adage that says “do not seek to follow in the footsteps of the wise; seek what they sought.”  It’s one reason that I avoid tradition.

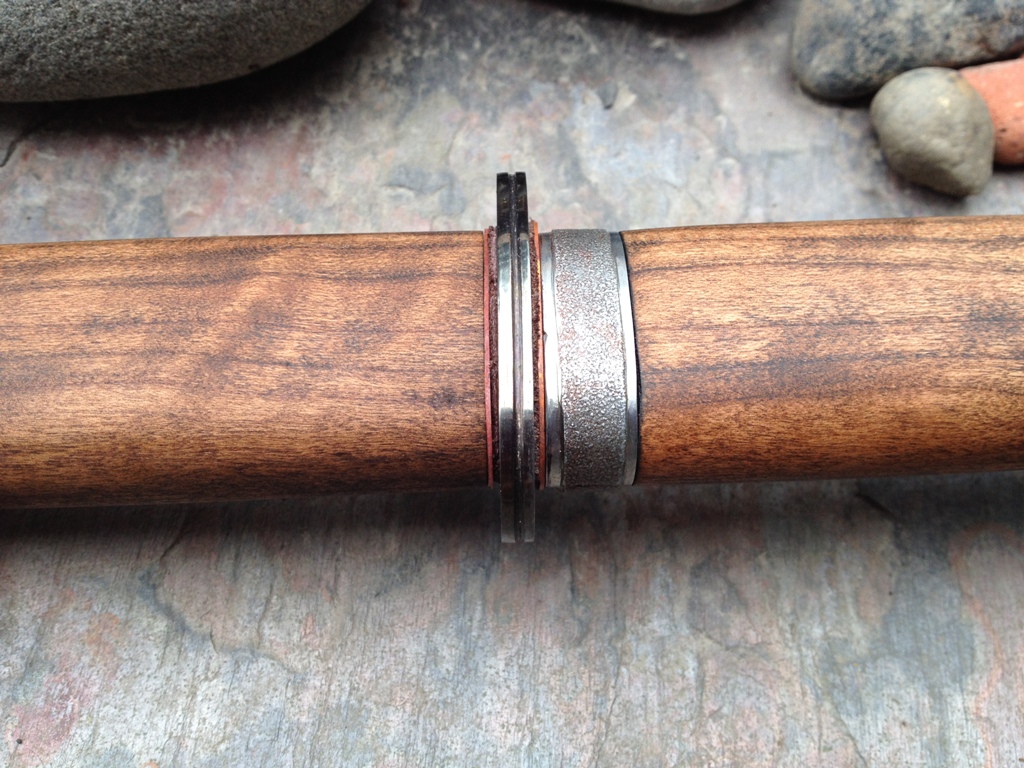
Tsuba (hand guard)

Everything polished up nice and fit remarkably well.  There is no play at all in the handle, it is very solid.

Unsheathed

Traditional Japanese swords have wrapped handles and painted, laquered saya.  To me, this is a woodworker’s sword, letting the wood grain remain exposed.  Just some wood stain and tung oil is all I used. I can tell it’s a little lighter which generally means it will be a little faster, and the handle shape is very much what I’m used to practicing with.  This was a great, fun (and free!  I had everything I needed!) project and if anyone out there reading this needs new fittings for their sword, I’d be happy to help you out.

My First Screen Door

It Fits

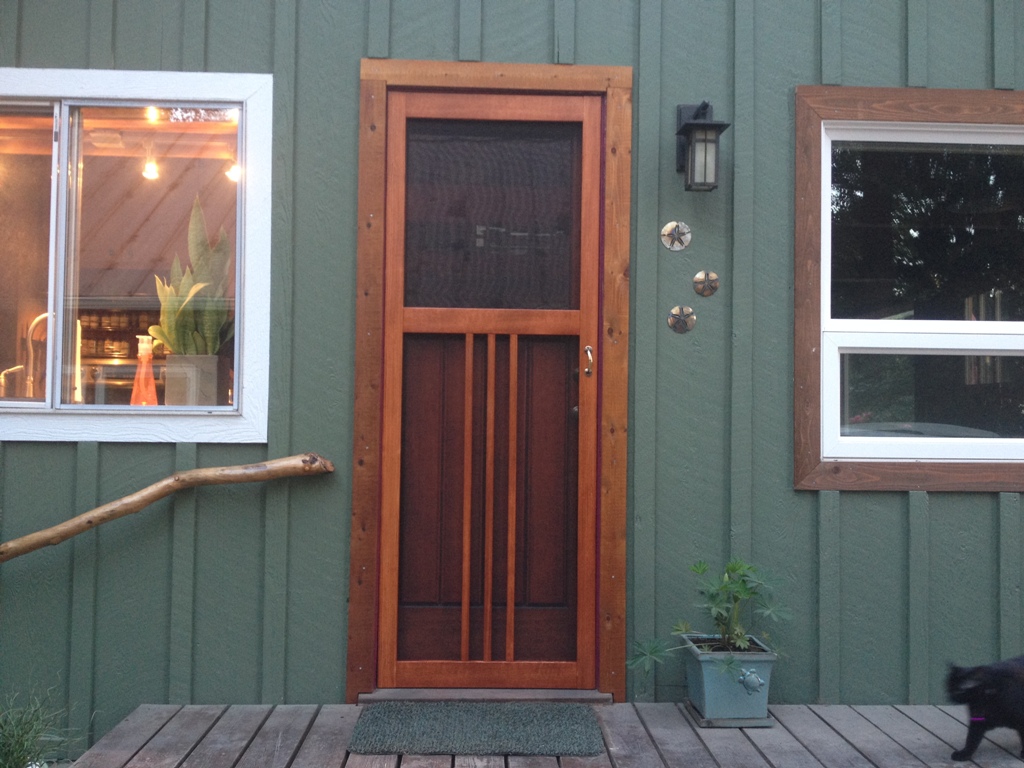
I love a finished project.  Now the door is stained and has a couple coats of spar urethane on it and I even put a little brass handle on it so we can open and close it.  It’s everything one would want in a screen door.  The only thing it lacks is hinges, I had to order them and they have not yet arrived.  But other than that, it rests in the frame and is held in place by magnetic catches and as far as I’m concerned it’s done.

Screen

Screen technology has come a long way.  It used to be a big pain in the ass when you needed to make a screen, often involving special tools and working with aluminum frames and steel mesh that all had jagged pointy ends to cut yourself on.  Well nowadays, it’s still a big pain in the ass.  But at least the screen fabric isn’t steel anymore, I think it’s nylon.  The old steel sheets were awful to work with.

Fittings

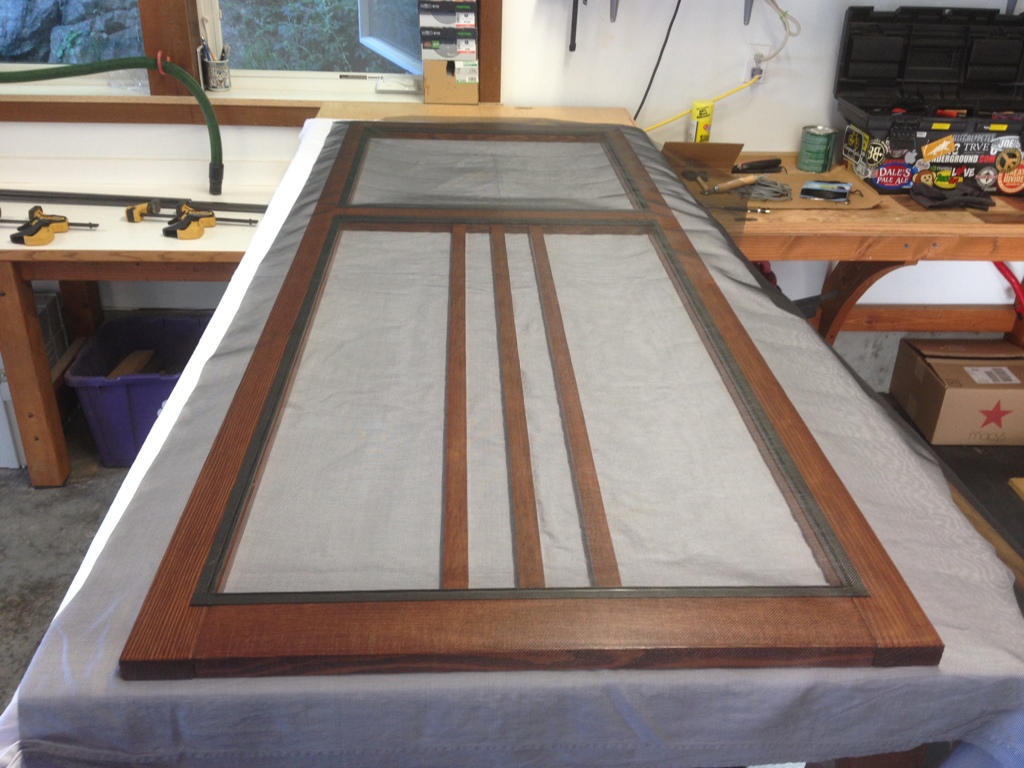
I got the screens in the frames and affixed them to the door with brass washers and screws.  The brass washers came super shiny and bright, but here’s a trick.  Put them on a metal wire and hang them over the flames in your barbecue grill.  Let them cook for a while, get them as hot as you can.  These cooked to about 700 degrees, and at that temperature the brass takes on a nice antiquated patina.  (I actually didn’t want to use washers, they sell special brackets that hold these things in place, usually used for mirrors or glass panes in cabinet doors.  But good luck finding those on an island.)

Shaping Up

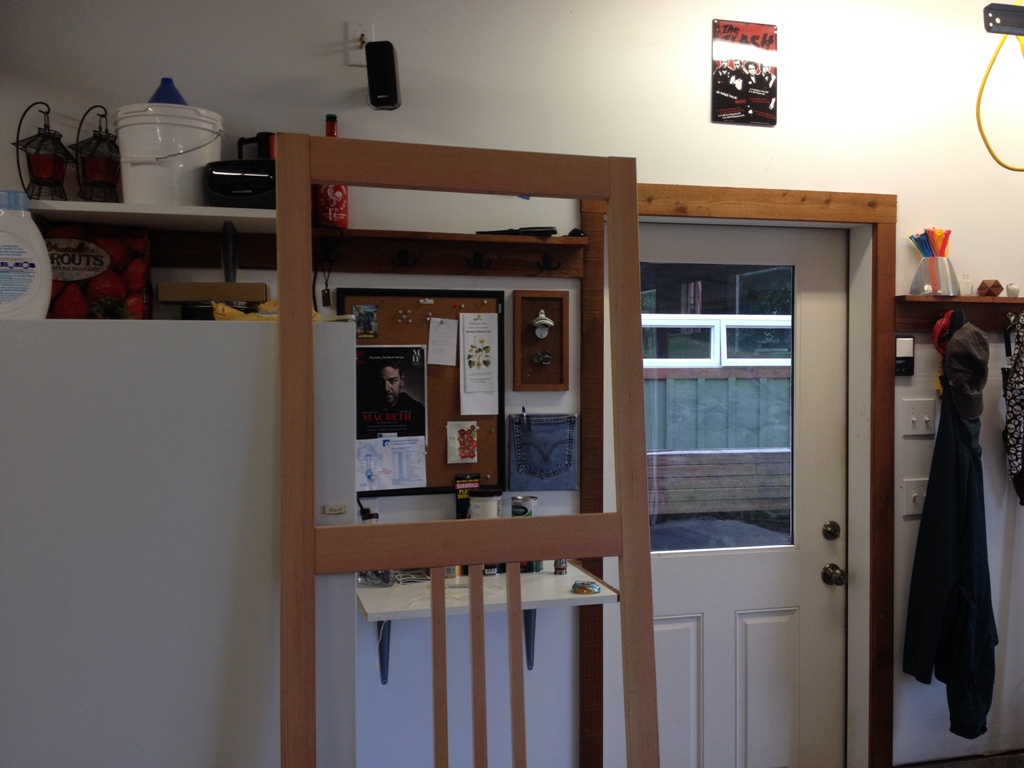
Here’s the finished door.  I’m glad to have some room to move around in my shop, makes projects like this a lot easier.

Plans

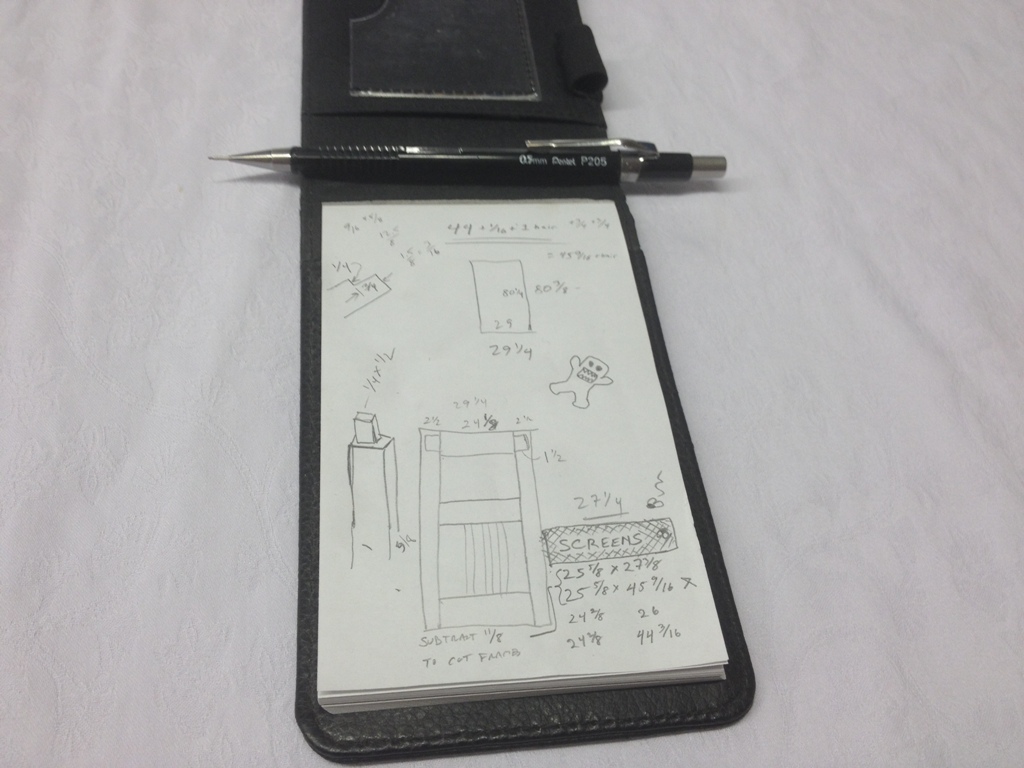
These are the full extent of the drawings I used to make the door.  On some projects I draw everything from every angle but on this one I just kind of winged it.  Didn’t even need to do much math.

Let’s Make A Screen Door


No point buying an air conditioner up here for the one month you might need it, but it is really nice to be able to leave the door open in the summer without every yellowjacket, bumblebee and winged carpenter ant flying inside looking for something to sting and bite.  Trust me, we are on Critter Island, and we are outnumbered.

Some Assembly Required


So, let’s make a screen door to let the outdoor air in and keep the critters out!  Yeah, you can buy a screen door.  But I’m a cheap bastard, and I like my things built correctly and made to last.  So I picked up some douglas fir and started making sawdust.

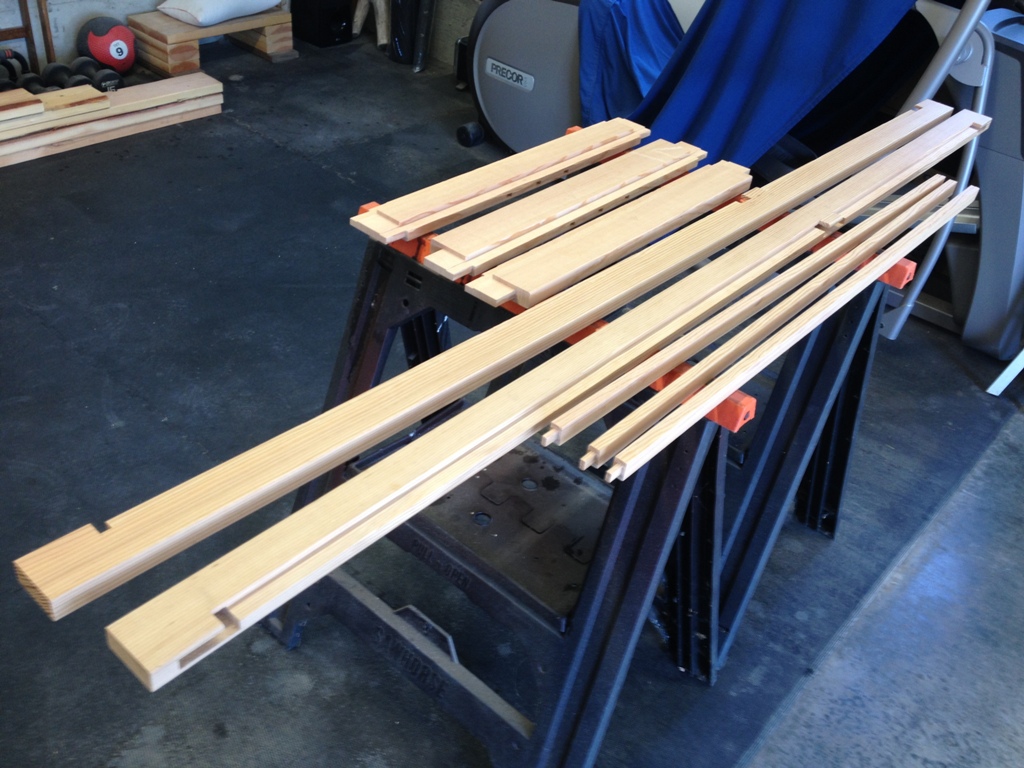
Cutting Tenons

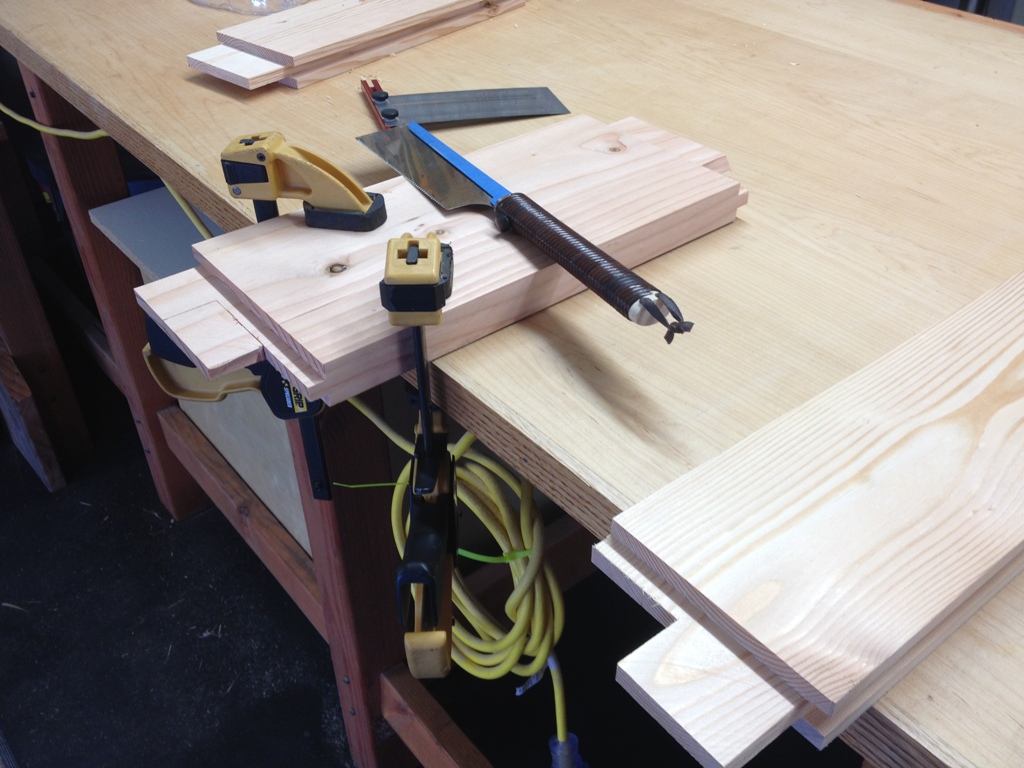
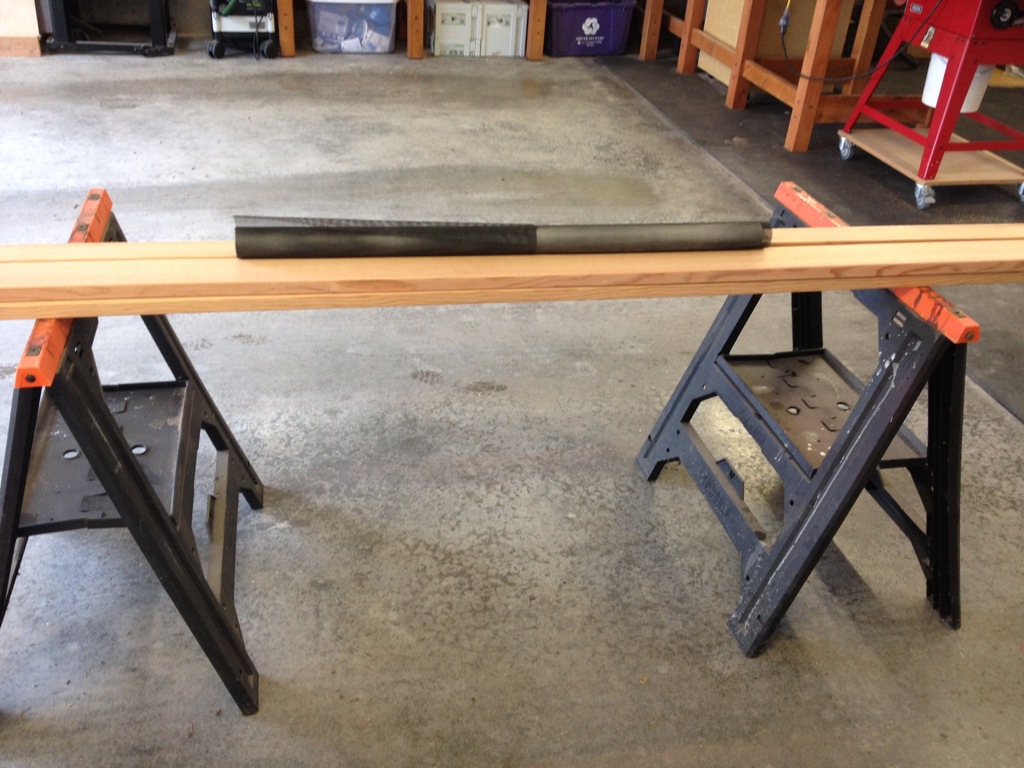
This will all be mortise and tenon joinery.  This door will have three rails (the horizontal pieces of wood that go on the top, middle and bottom of the door) so it’s pretty much going to be as simple as it gets.  First I start cutting tenons for the rails.

Almost Clean

The tenons cut very clean.  My jig left just a tiny bit of work to do in the corner.

Nice Tool

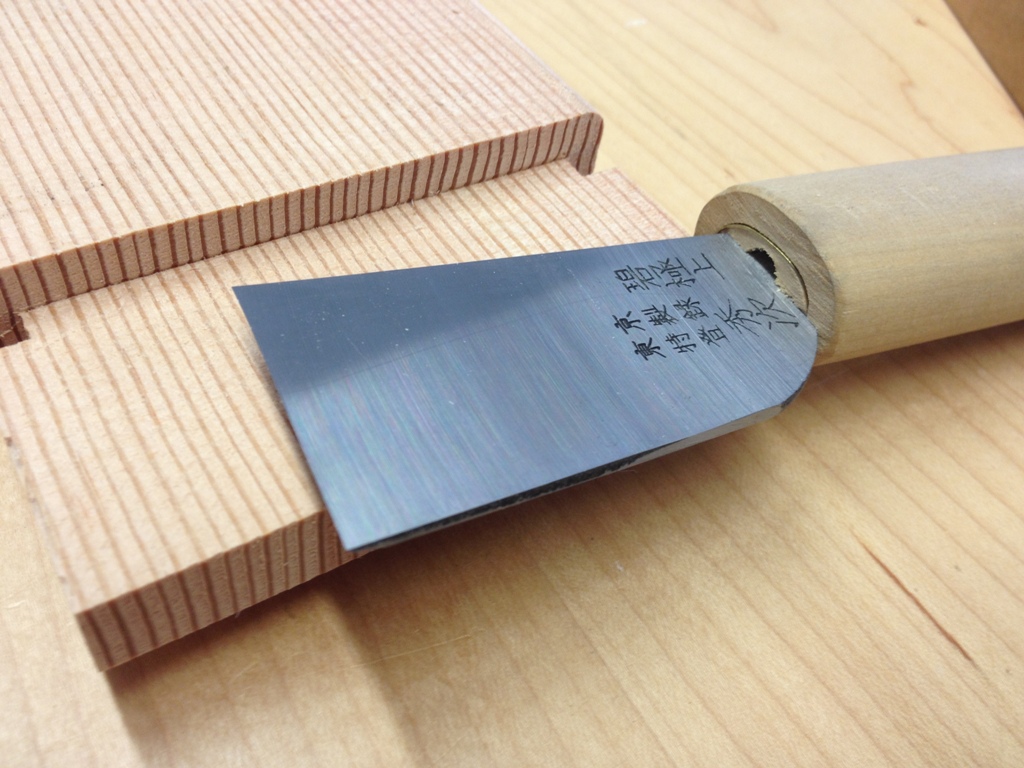
My “Magic Chisel” makes short work of it.

Clamp

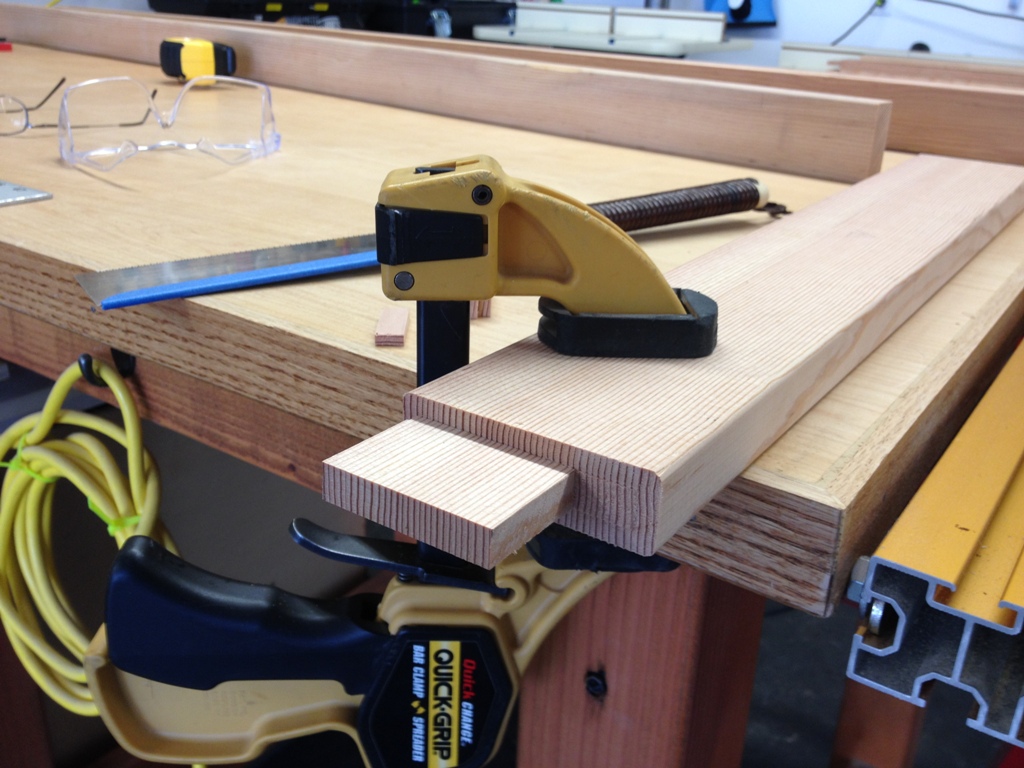
I finish up the tenons with a hand saw, and again clean up the surface with a sharp chisel.

Dust Collection

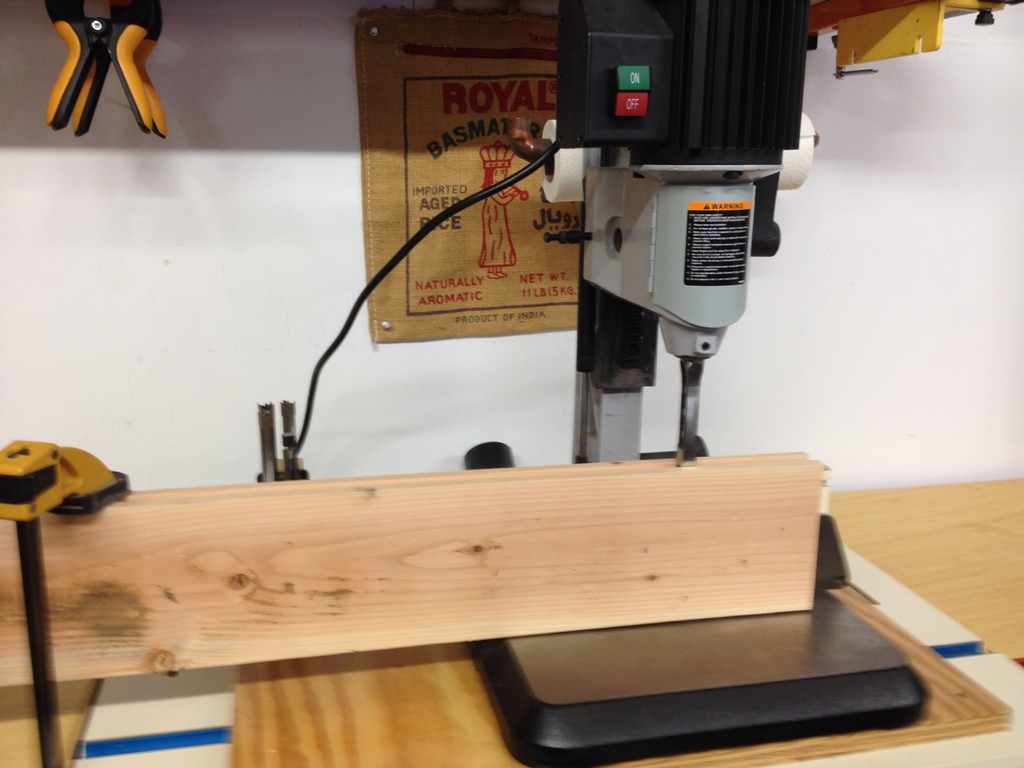
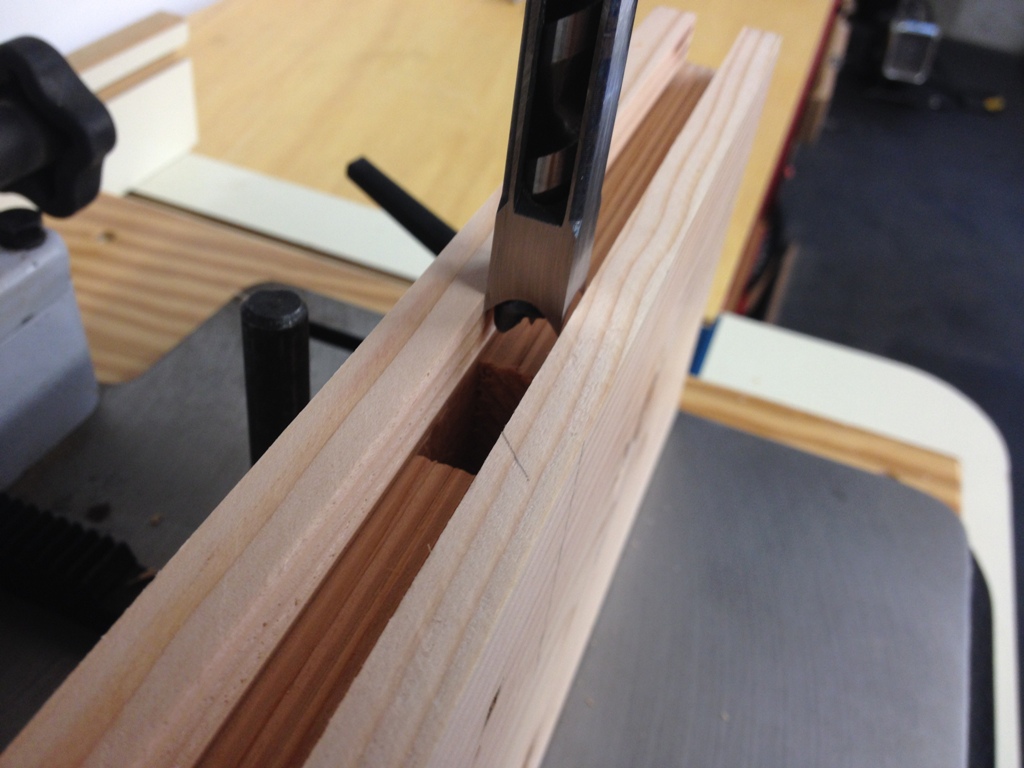
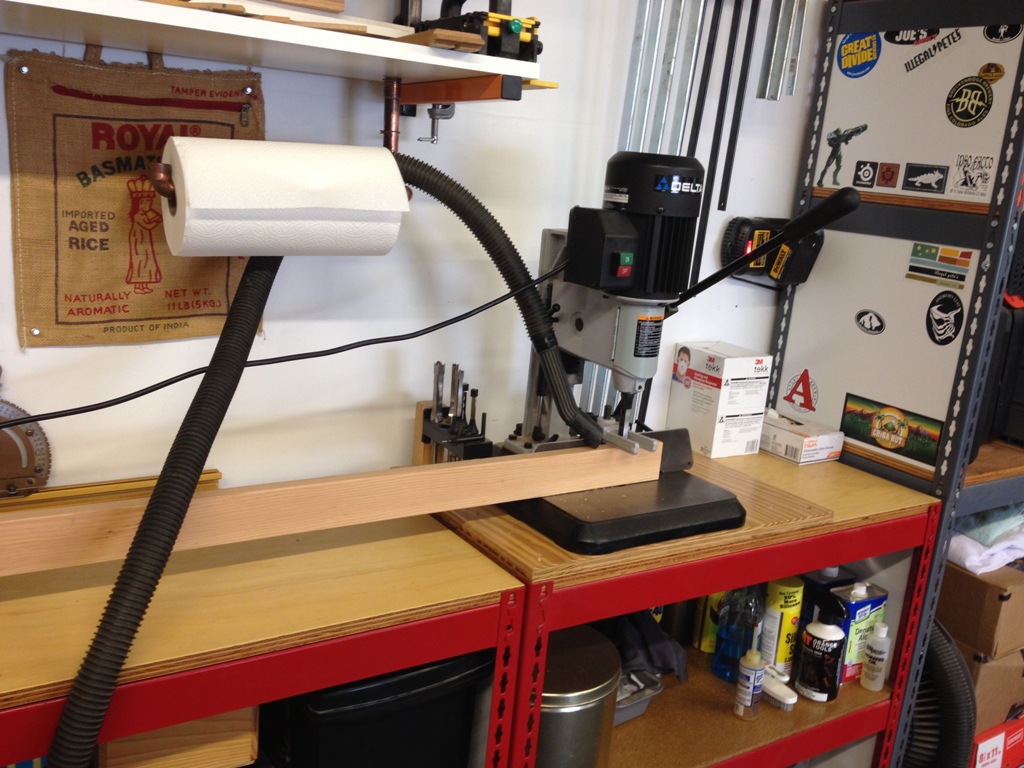
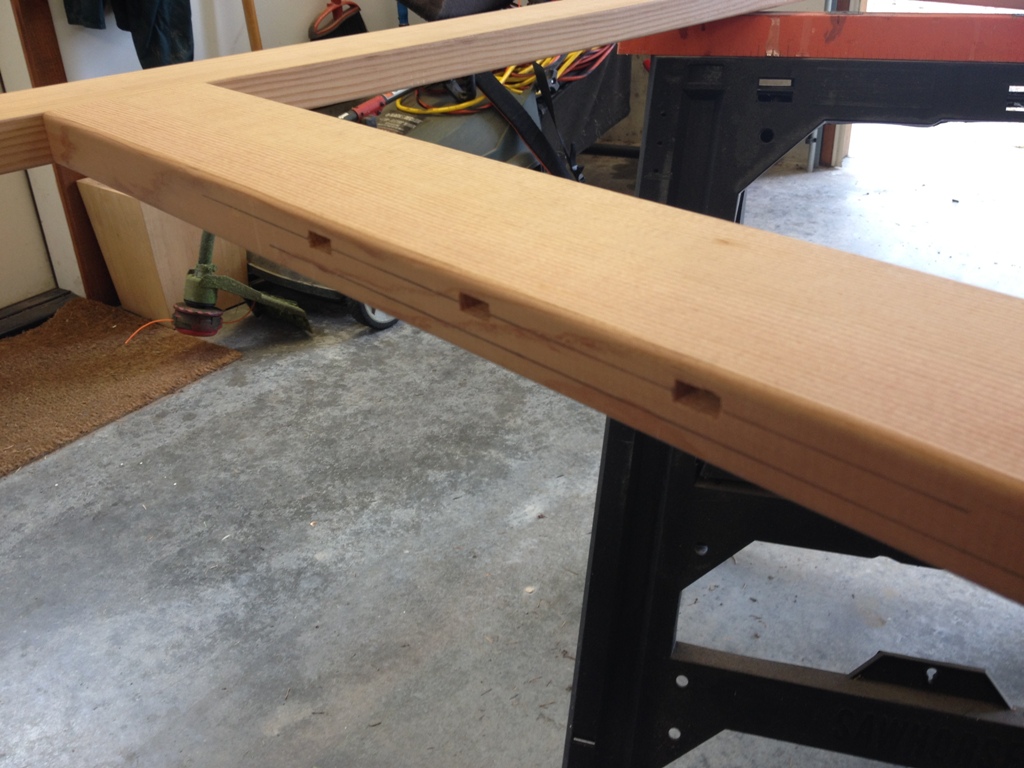
I cut the mortises with a mortising machine, which takes a tedious job and does it adequately.  Once this thing is done, I’ll have some nice rectangular holes to fit the tenons into.  Note my fancy dust collection (the shop vac hose dangled over the paper towel holder).

Fitting

The mortises are now cut and it’s time to dry fit everything.  I’m putting in some vertical slats to give it a bit of interest.  I’d say they help keep the raccoons out too but they won’t.

More Fitting

Here’s the slats fitted into the bottom and middle rails.

Even More Fitting

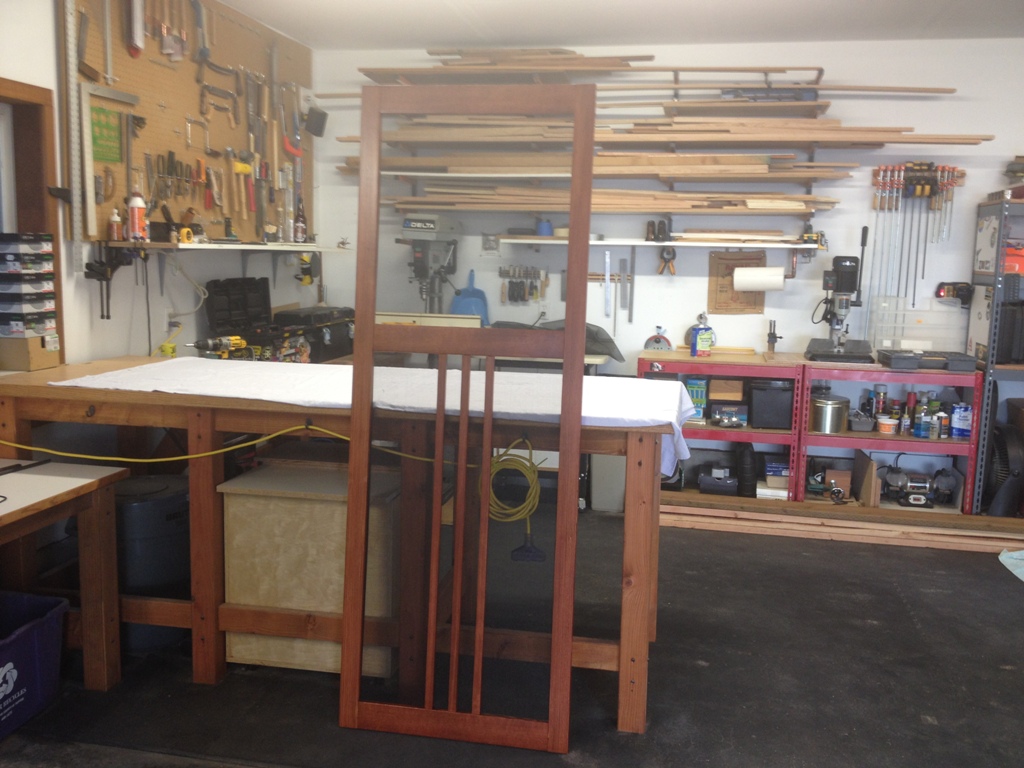
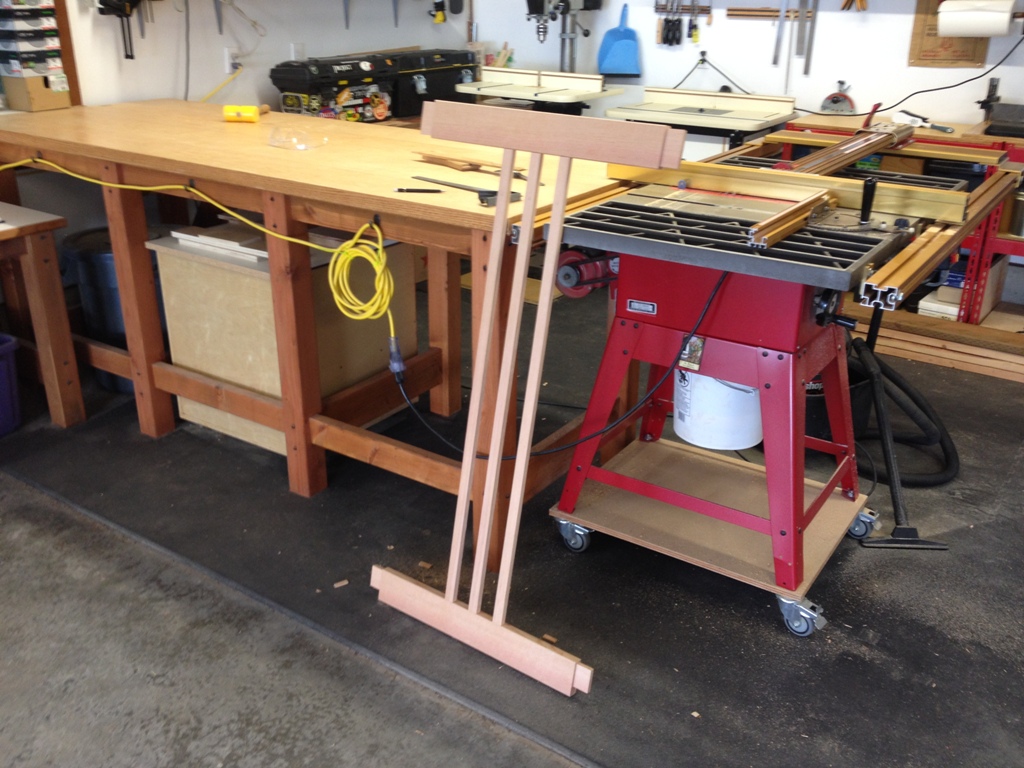
And here’s the dry fit.

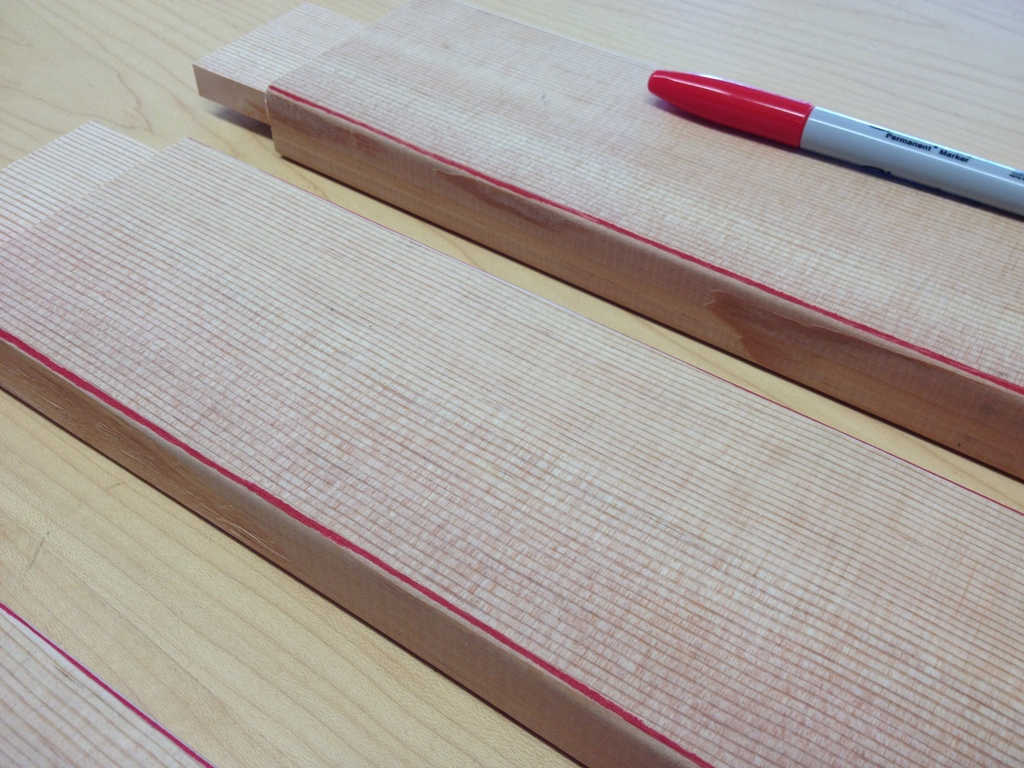
Marked with Sharpie

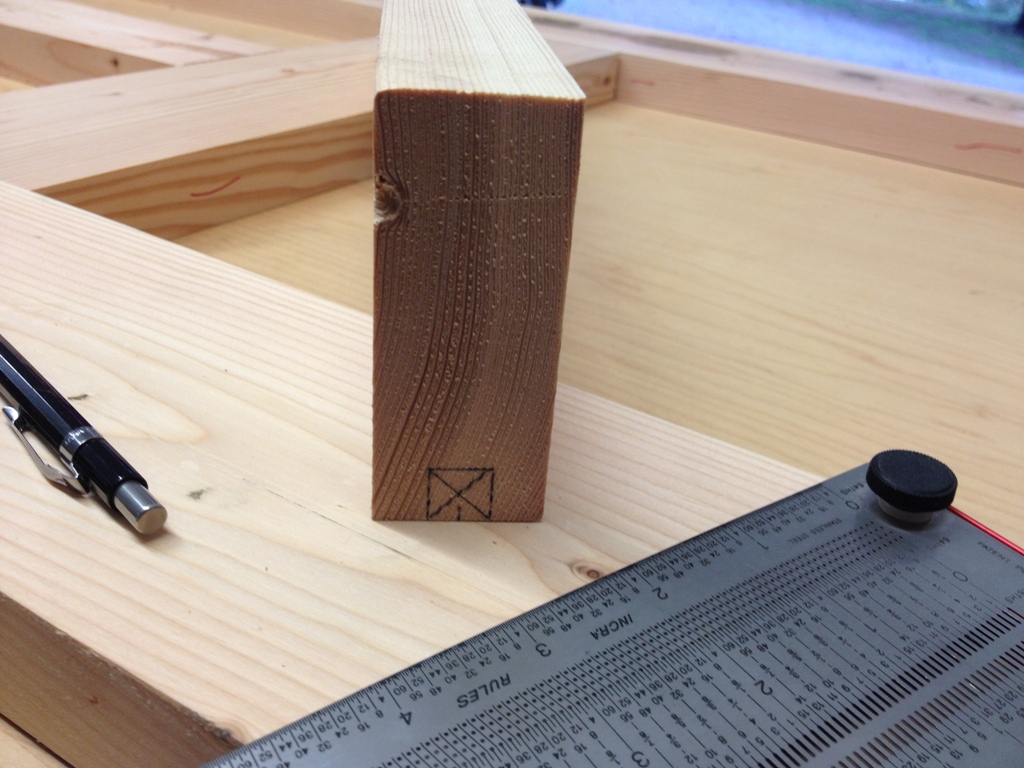
When I’m working with pieces that need to be routed, I like to mark plainly the edge I need to rout away.  This prevents me from screwing up a piece by feeding it over the router bit the wrong way.  Oh, gosh, I’ve “never” done that before.

Ready to Assemble

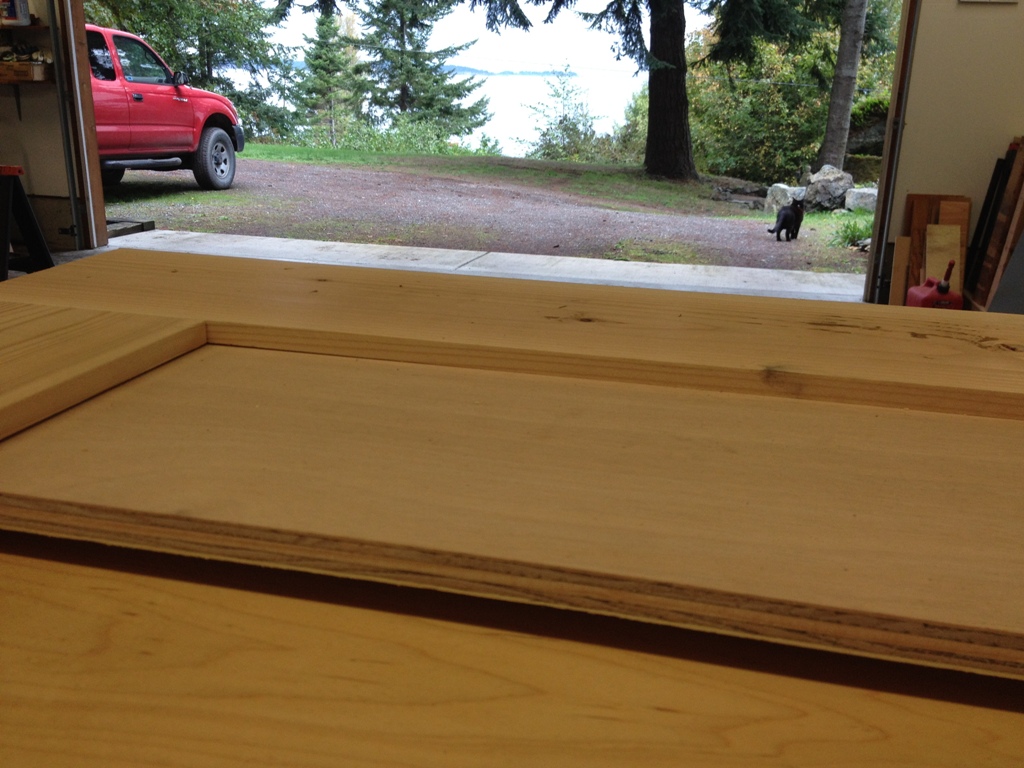
After about 3 hours on the router working with dull, worn out bits, I finally carved out the area where the screen will fit.  Now it’s like a big jigsaw puzzle that just needs to be sanded and glued together.

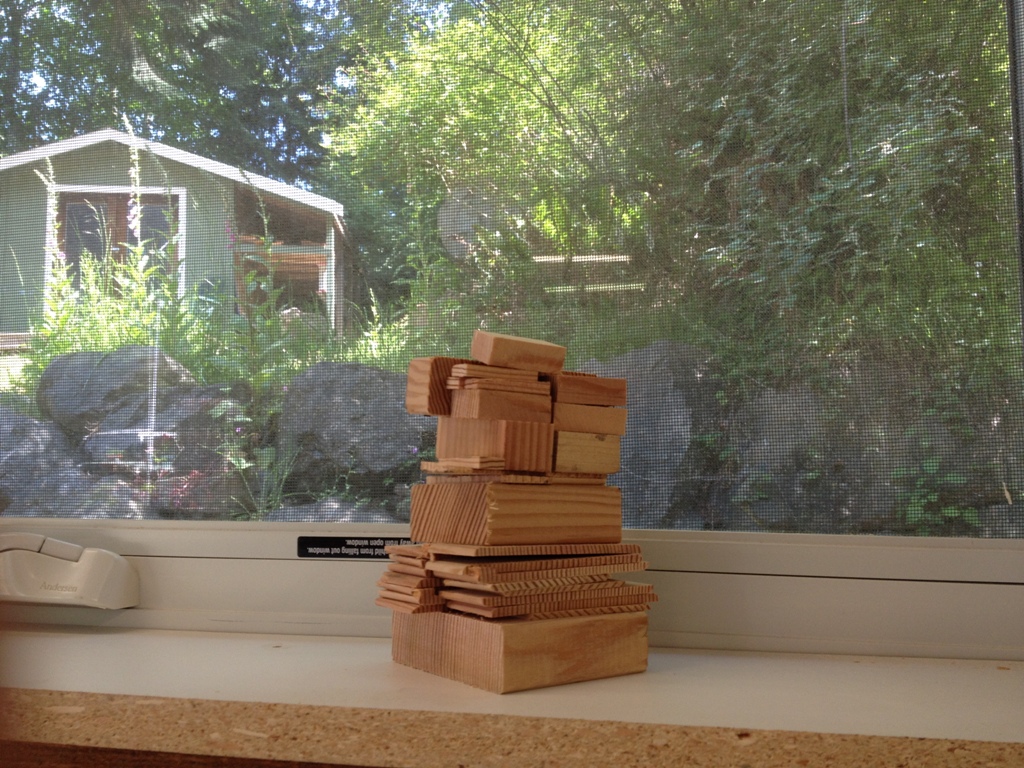
Jenga

This is literally all of the scrap wood left over from this project, stacked here Jenga style.  See if you can spot the two deer outside.

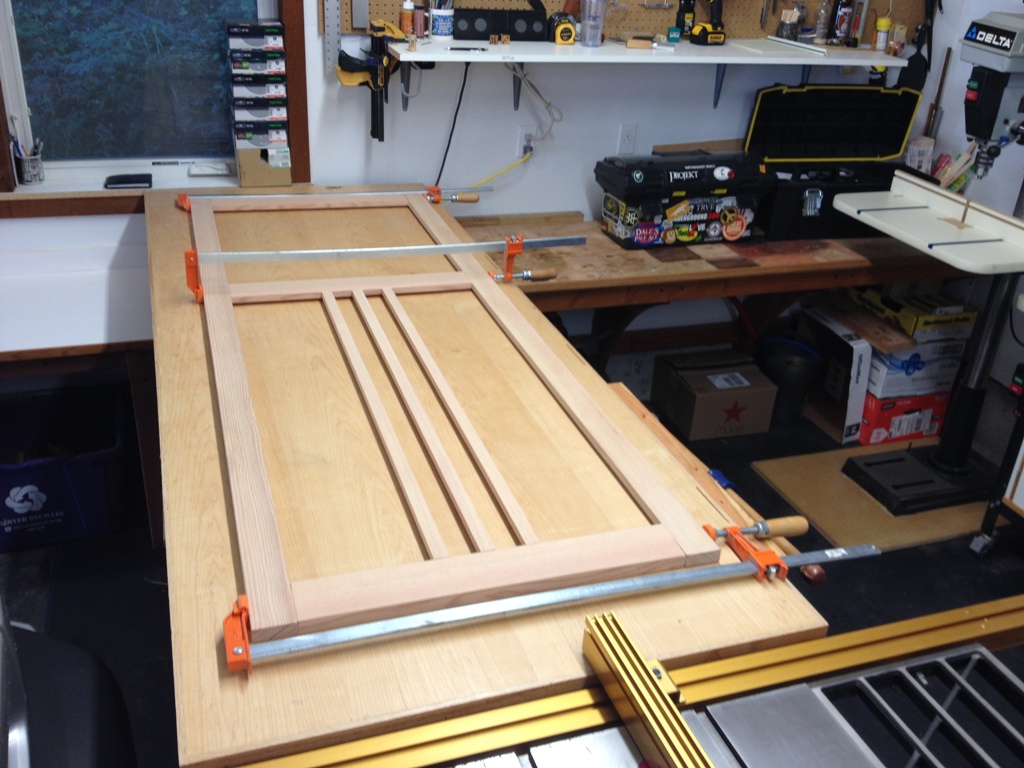
Glueing

Now it’s all sanded, glued and sitting in my shop drying up.  I only needed three clamps to put this together, yay!  Most of my glue-ups take about twenty clamps so that was gratifying, at least.


Bathroom Cabinets Completed

There’s nothing like a finished project.

Finished

Finally have the bathroom cabinets all finished and the bathroom trim is painted to match.  I’m not terribly happy with the paint job on the cabinets, no matter how much I sanded it and tried to get it smooth it just came out a little lumpy.  It’s fine.  I’ll live with it.  It’s much improved from what was there.

Need More Clamps

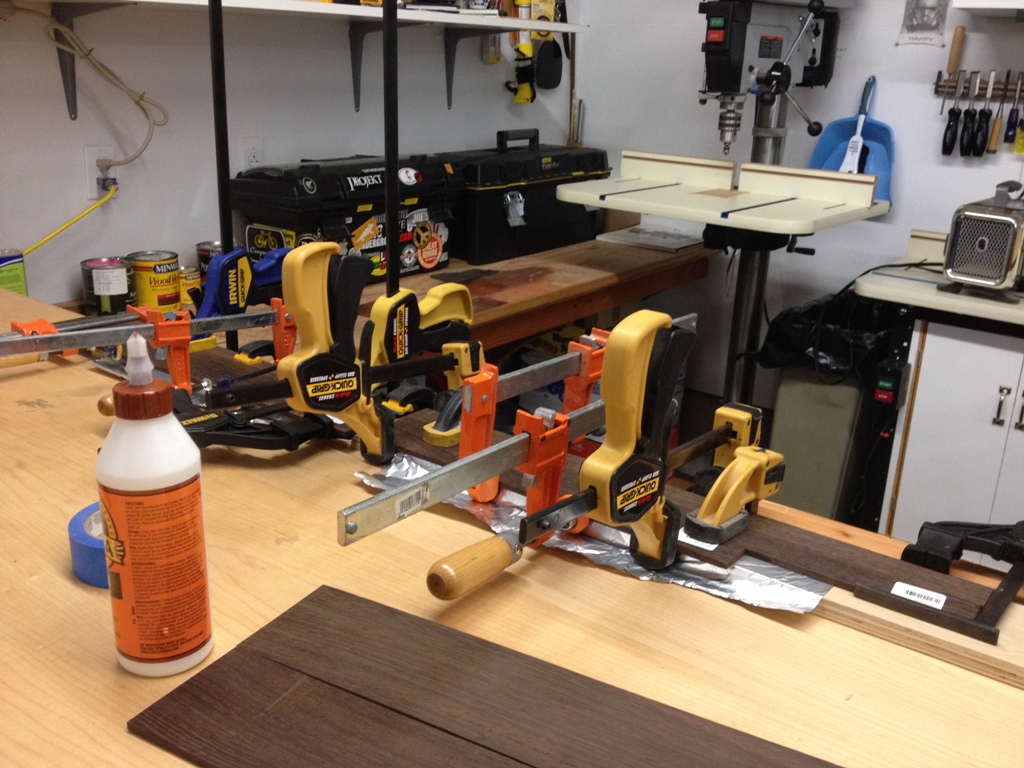
I had some nice, dark brown wenge leftover from a previous project and I just needed to order a little more to make shelves for the entire cabinet.  But even after I ordered more, I still didn’t have all that I needed.  I had to join some narrow strips together to get the 4 1/2″ width I needed to complete the shelves.  I’ve never joined an exotic wood like that; I’ve heard this wood can be a little oily and that sometimes interferes with the glue bond.  That, and these are going to live in a damp environment and if they start to warp or deform at all they’re going to split right apart.

Shelves

They seemed to glue together just fine and I think it’ll work.  I would have preferred solid slabs but the wood is so dark and evenly grained that you can’t really tell that some of the shelves are joined.  Here they are in place.  Great fit, very sturdy.