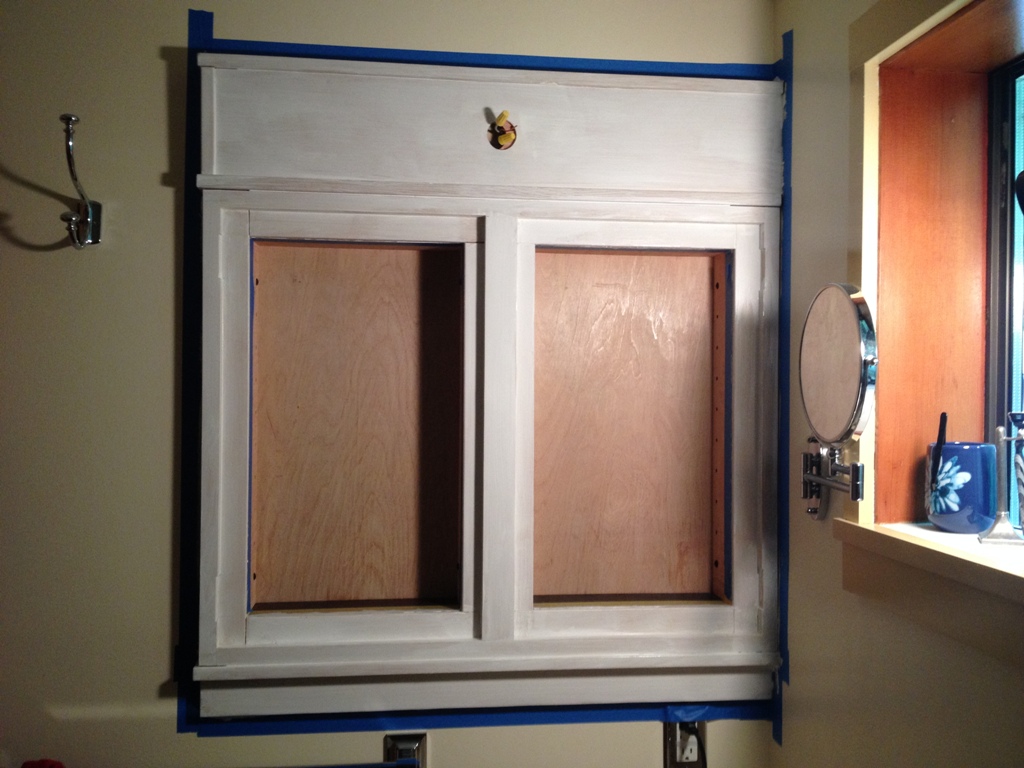
The Truth about Painted Cabinets

PrimerPainted woodwork conceals some flaws, and reveals others.  Notably, it will reveal poor painting skills.  I’m not a big fan of painted cabinets, I suppose not many woodworkers are, but in this case they fit in with the existing design.

With painted cabinets, you can use lower grades of wood, but you still can’t go too cheap because you need a smooth surface and you need sharp corners where you make your cuts.  Even painted, any tear-out or splintered edges will be obvious flaws.  And if your holes and gaps aren’t adequately filled, they will forever be a glaring defect that everyone will see.  So you still have to take care even if you’re going to paint what you’re building.

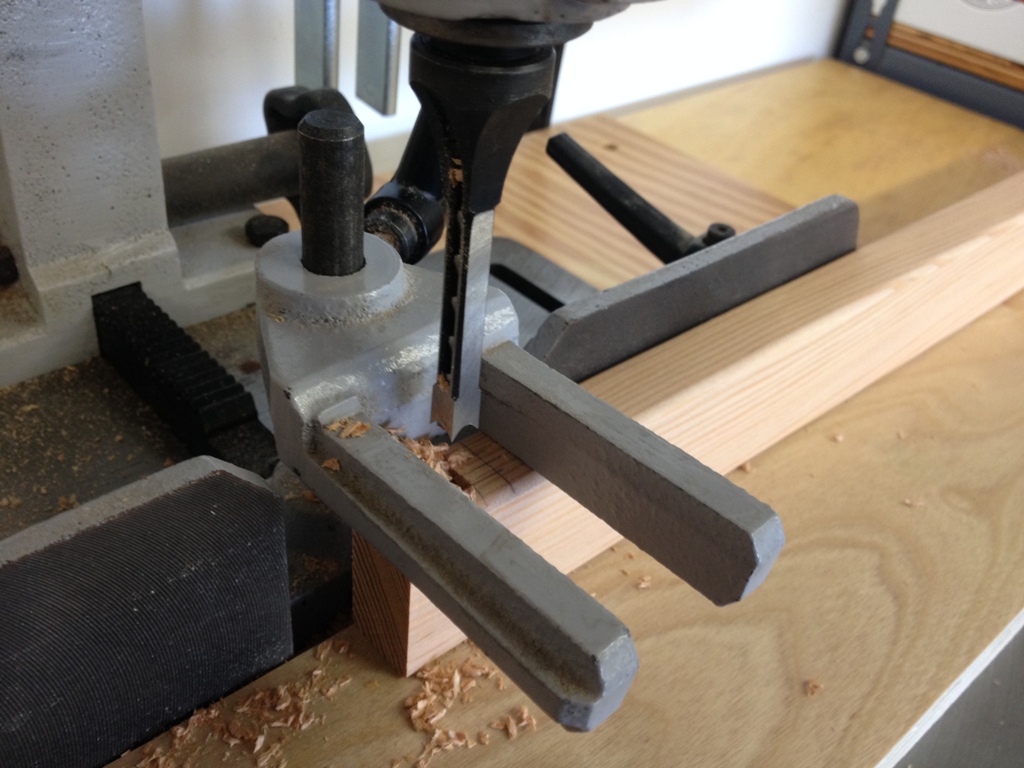
Mortisse

The door frames are pretty narrow (1 1/2″ wide), and as such I felt the need to join them by mortisse and tenon.  They need all the strength they can get.

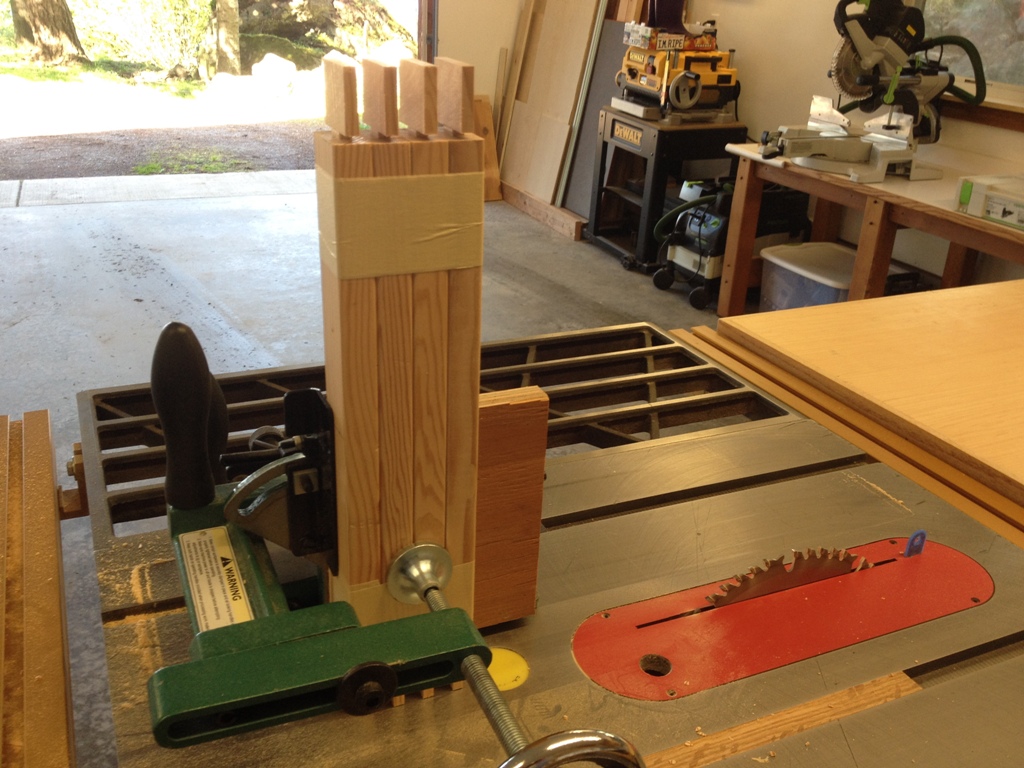
DangerSo, above is a pic of me cutting four tenons at once.  I taped all four pieces of wood together so they all fit in the jig, and in one pass I made the exact same cut on all four pieces of wood.  This may seem foolishly dangerous, but these pieces are so small that they would not fit into the jig one at a time.  Normally when they’re this small I’d just hand cut them, but this seemed to get the job done.

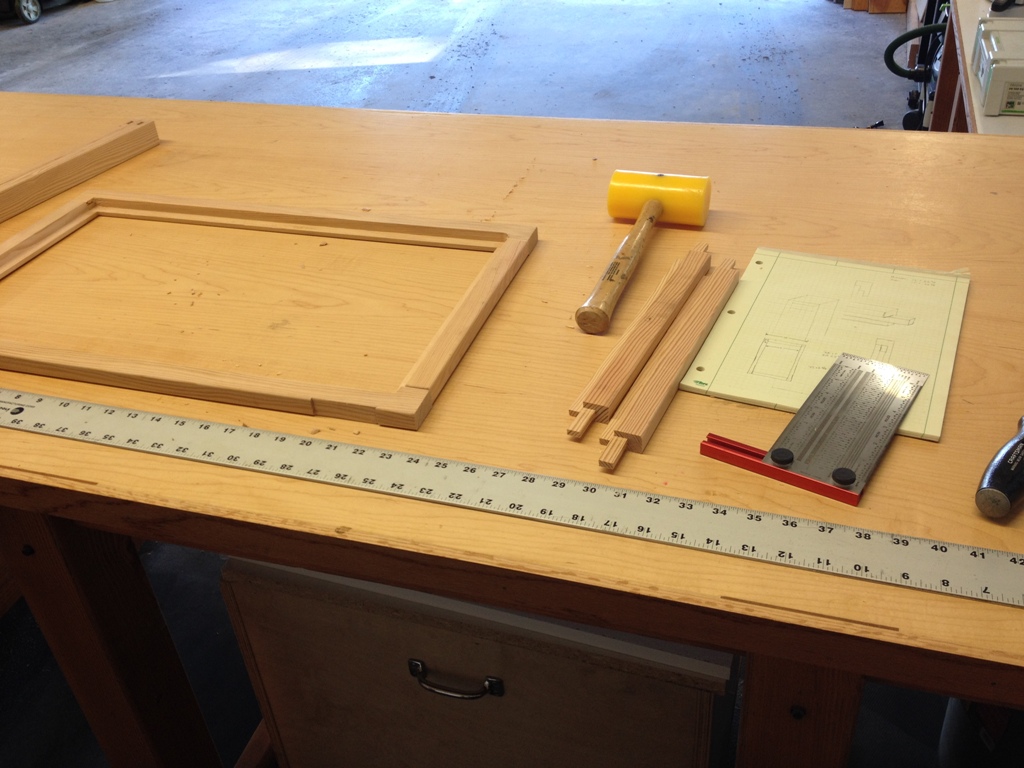
Frame

Here’s the frame being assembled.  Note the absence of blood; I haven’t lost any fingers yet.

Shaped

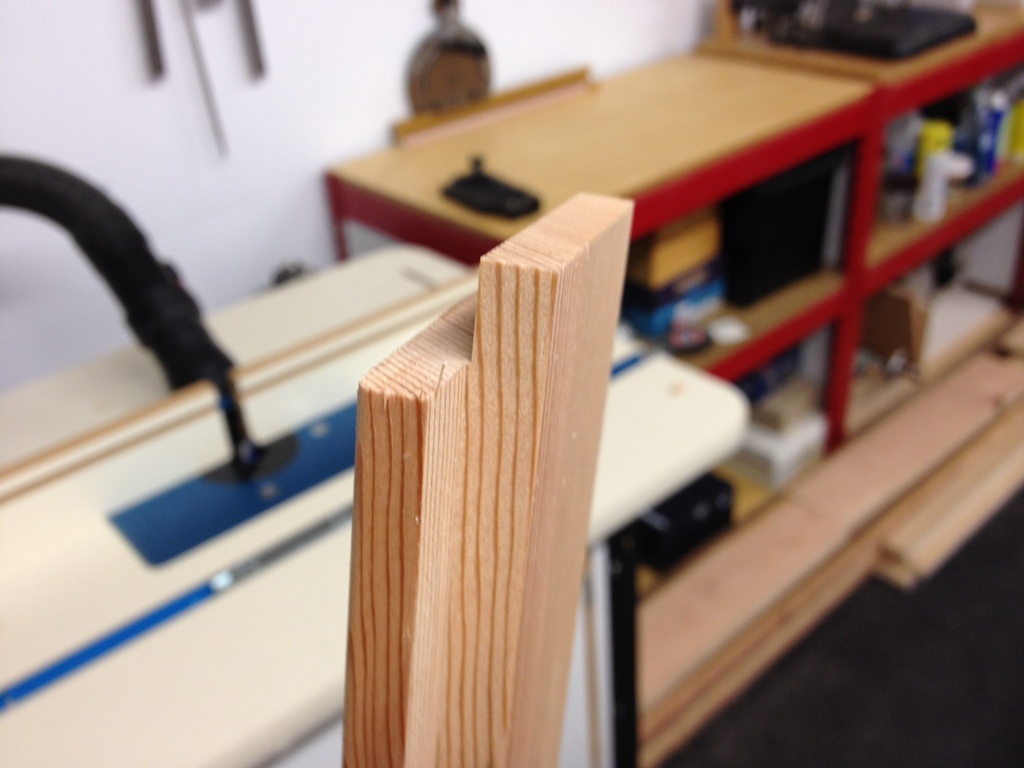
I had to cut out a groove for the mirror.  The mirrors are 1/4″ thick glass.  I think they’re stronger than the frame I’m putting them in.

Fits

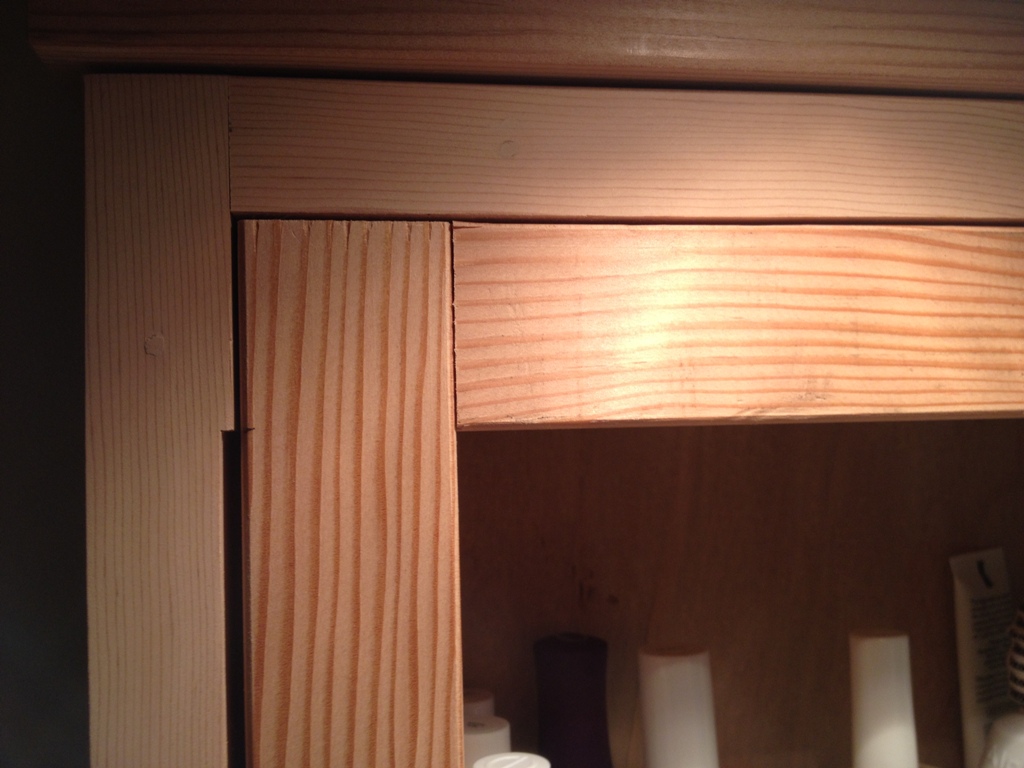
It fits well.  I hope the paint will conceal that tear-out in the wood.  (It won’t.)

Selfie

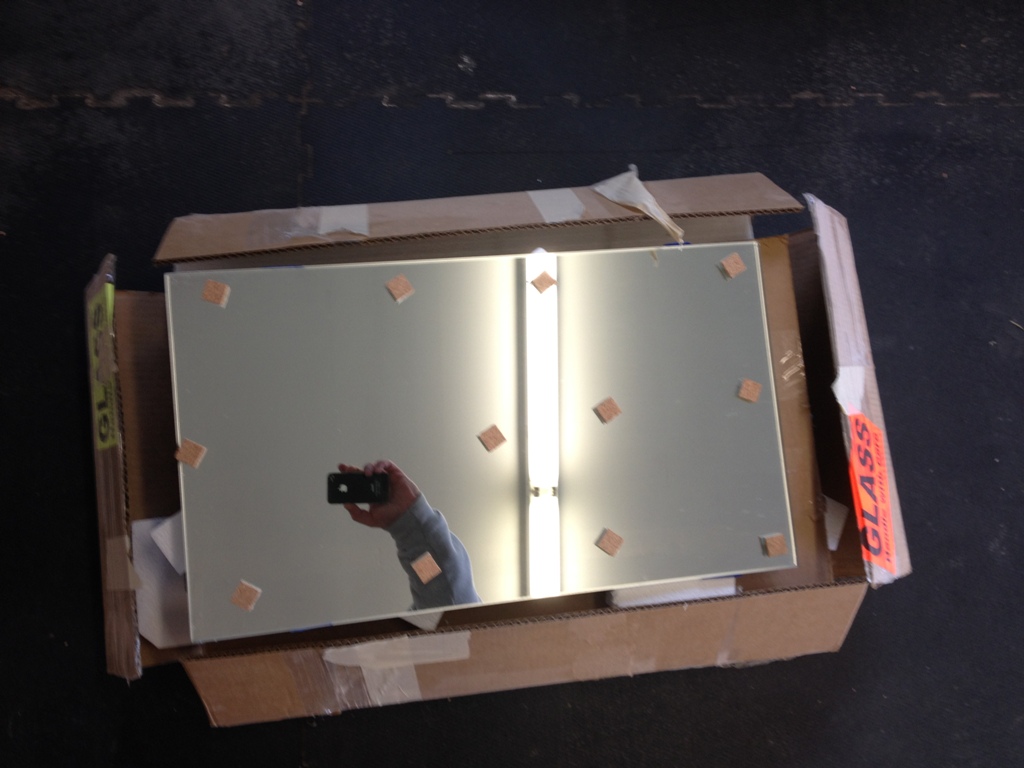
I’ve had these mirrors over a year.  They’re finally going to have a home.

Mirror

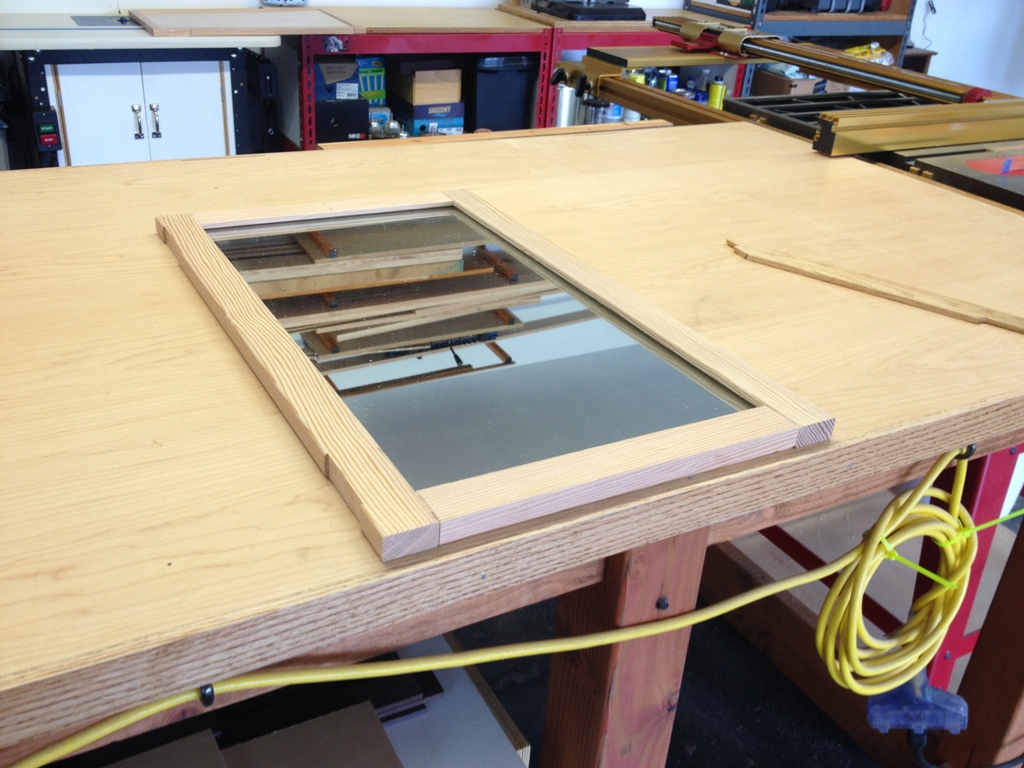
The fit is great.  About 1/16″ between the glass and the wood.  I’m going to put a bead of silicone gel around the inside of the wood frame and just rest the glass onto it.  I have some plywood backings that will go onto the back of the glass.  This should be a really solid door for a medicine cabinet.

Painted

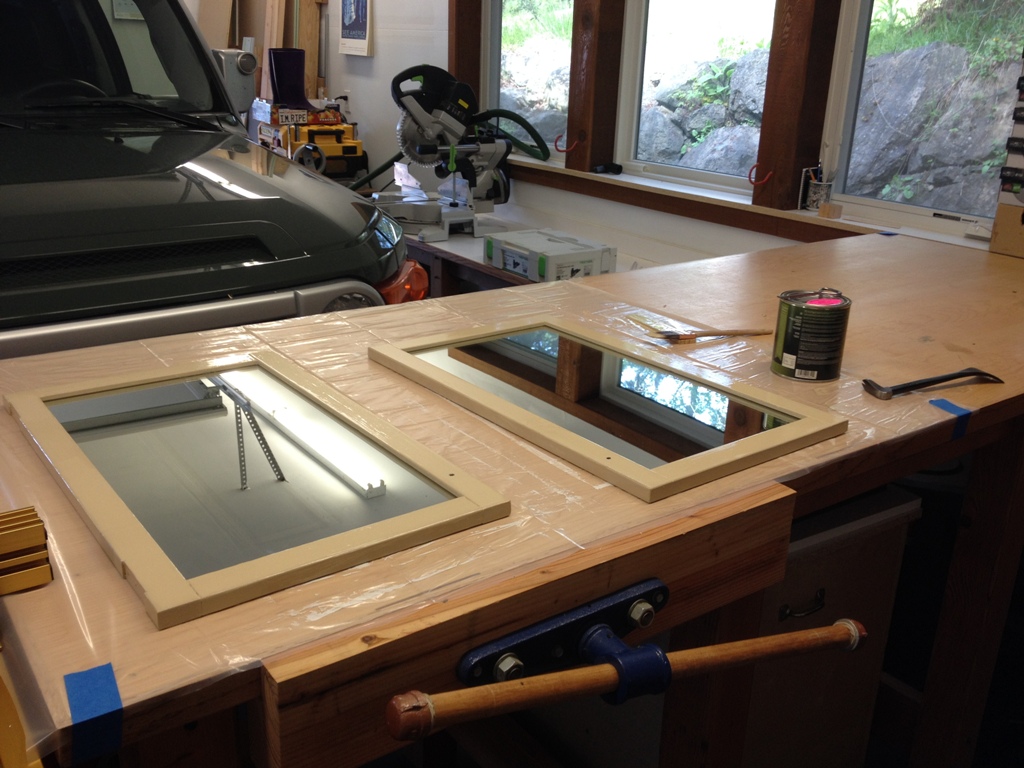
Now I’m just waiting for the paint to dry.


The Worst Medicine Cabinets on Orcas Island

Do you want to see some ugly medicine cabinets?  I’m warning you, these are bad.

Yuck

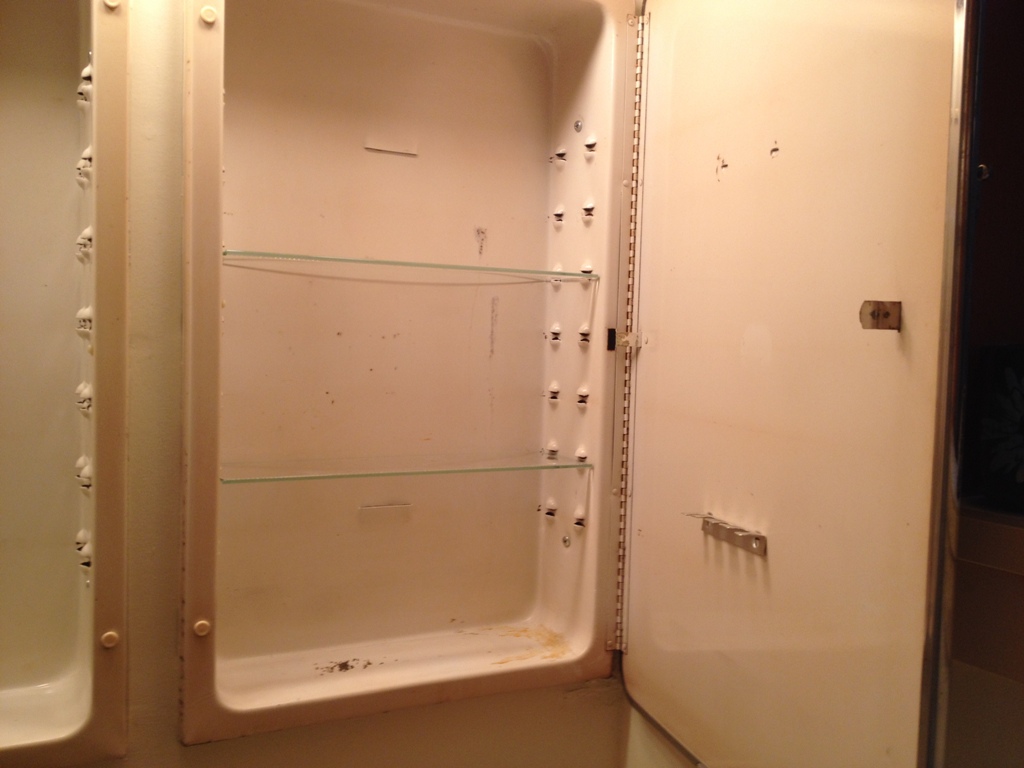
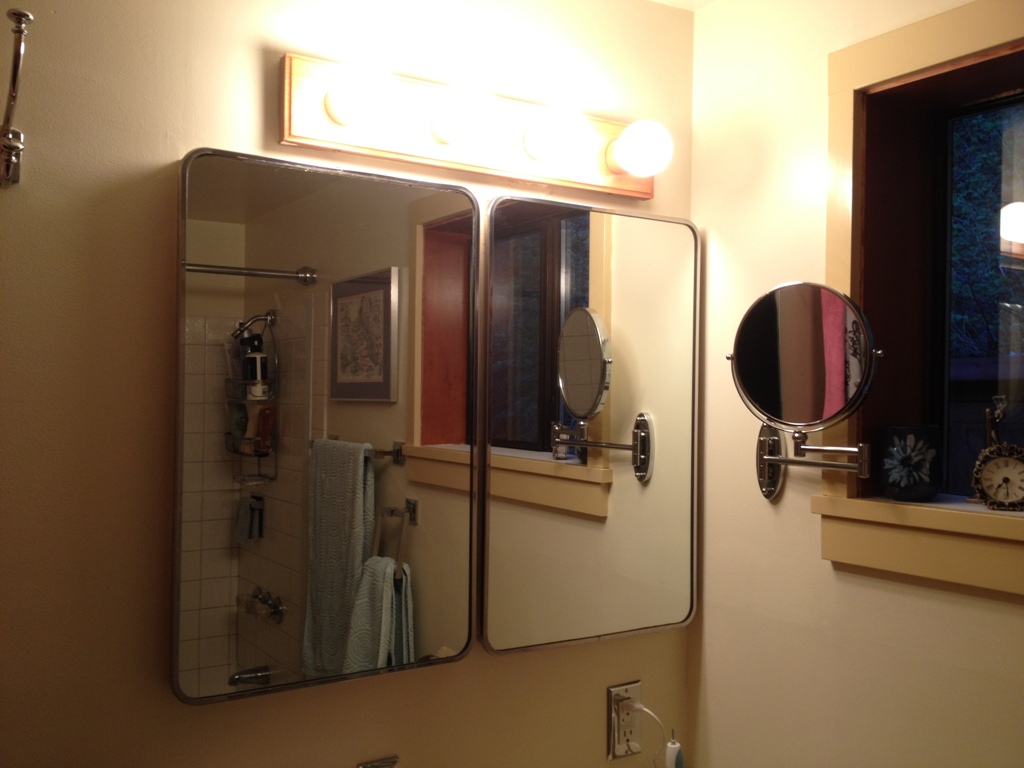
Wasn’t kidding, was I?  Poorly fitted contraptions of stamped sheet metal, rusting in too many places to adequately fix, that look like they belong on a tug boat that takes barges to Severodvinsk every three months.

Old Cabinets

I suppose they’re nostalgic in a way.  When I arrived, on my first night here in the house, that light fixture had three of the only four working lights on the entire property.  Do you want to know how many places are open on Orcas Island at night that sell light bulbs?  0.

So, yeah, I’m thankful for that old light fixture so I didn’t have to go to the bathroom in pitch blackness in a strange house.  I’m quite fond of them…. NOT.  It’s at the dump now.  Good effing riddance.  I hated that thing.  The cabinets too.  I would have thrown knives at them but, you know, seven years bad luck and all.

Box

I drew up full plans to build new cabinets about one year ago, and they’ve been sitting (like many plans I draw) and waiting for me to start cutting wood.  I had a full cut list, dimensioned drawings from every angle, and even a materials itinerary of all the hardware and woodware I’d need.  I bought the hinges, the knobs, the little metal pegs that go into the holes that hold up the shelves, I even bought the custom cut mirrors !!! all about a year ago.  This is one very procrastinated project.  In my defense, I’ve been a little busy.

They Fit

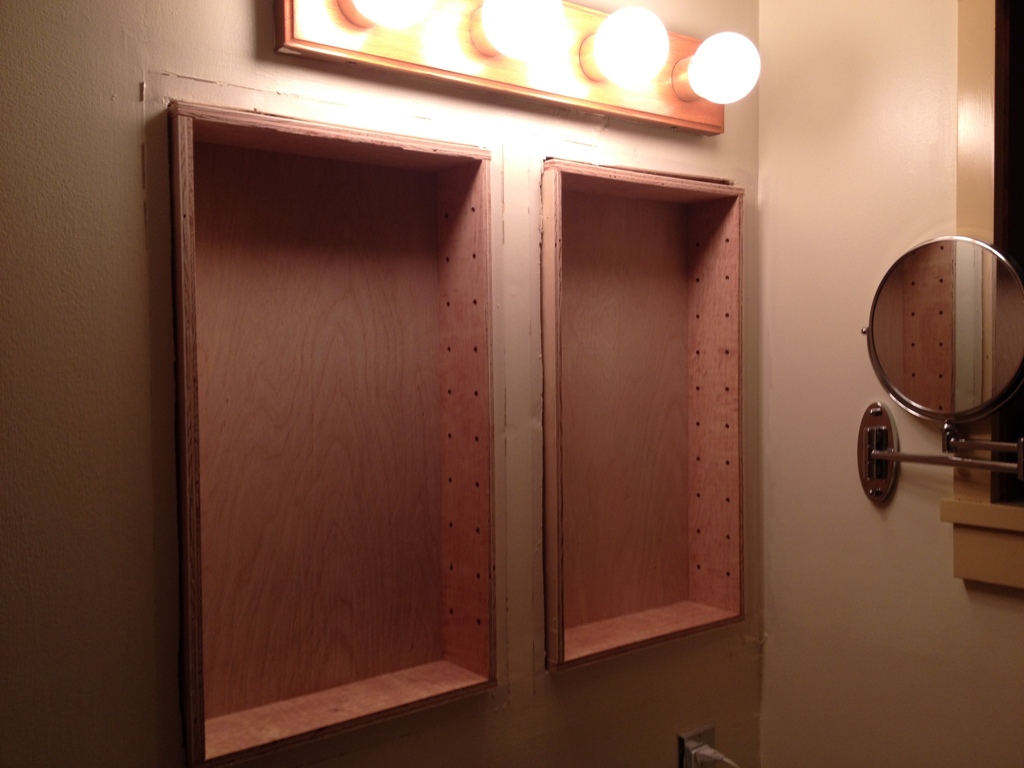
I constructed the two boxes to exactly the dimensions that I had measured a year ago and they fit PERFECTLY!   How often does that happen in a woodworker’s lifetime?  Not often, for me at least.

Lap Joints

Once I knew they fit into place, I could start cutting the inner frame.  Everything is going to fit together with lap joints, like the ones shown above.  Nothing too fancy, just what works.

Shelf

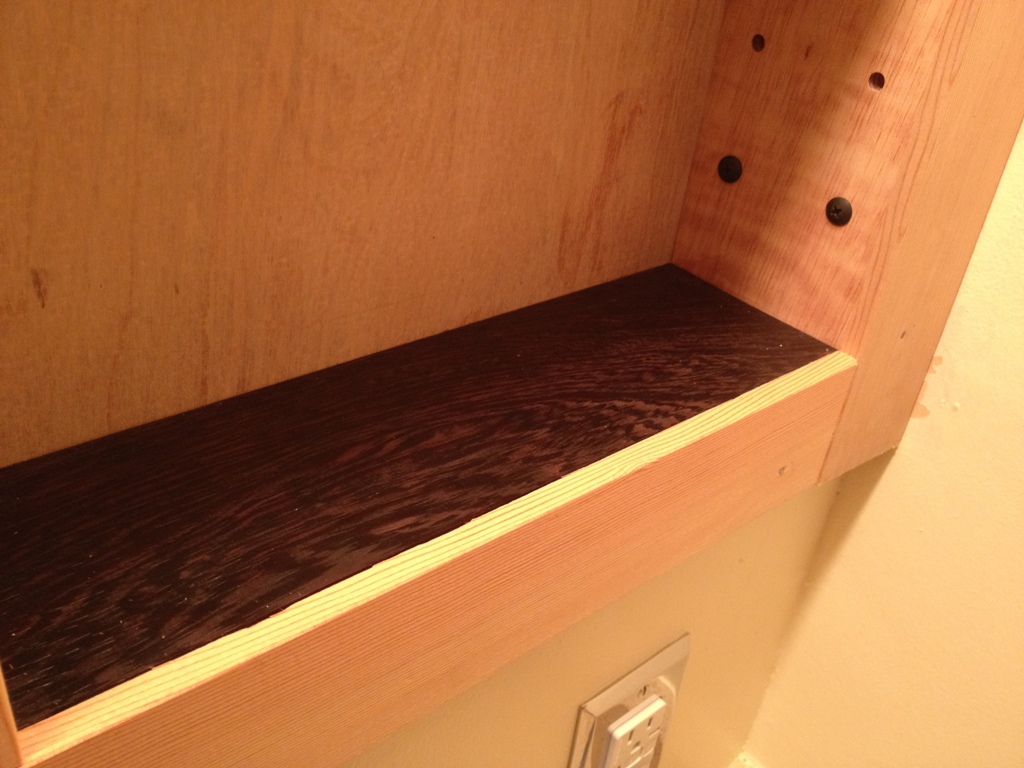
I’ve had these pieces of wenge, which is an African hardwood, just lying around from another unfinished project from long ago.  I’ve probably had them for about ten years.  Finally found a use for them, they are going to be the shelves and bottoms of my bathroom cabinets!  Hooray for them.  I used to think of wenge as a poor man’s cocobolo (a central American hardwood) but since then the price of wenge has increased.  I only need a couple more pieces.  There goes my play money for the month of April.

Light

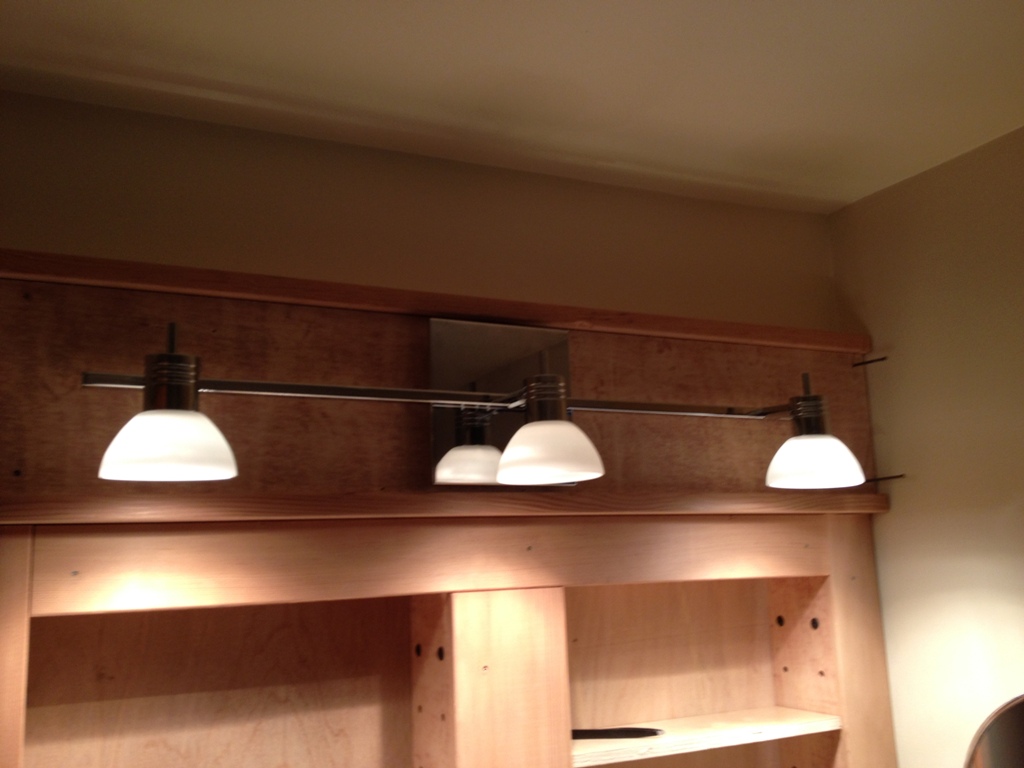
And yeah, I bought that light fixture about a year ago too.  It’s simple and it works well for the room.  I’m not terribly happy with the housing I made for it, I may have to re-do it at some point.  I intend to paint these cabinets, which will conceal a lot of defects, but I’m still not happy with this top part.

FrameSo after the boxes were framed in it was time to construct the outer frame that goes atop it.  The cabinet doors fit into this part, so it needs to be Perfectly Square and Flat. Lots of clamps and sand bags went into the making of this frame.

Improvement

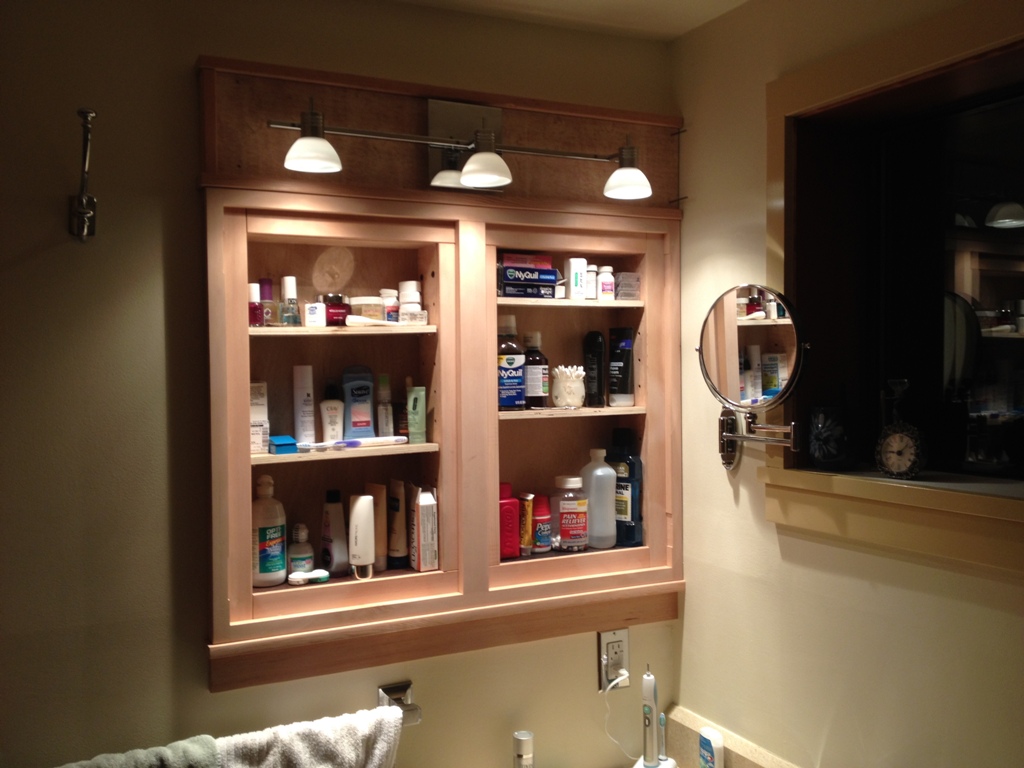
Some people get all offended if you look inside their medicine cabinet.  Here I’m posting pictures of it on the internet!  Look all you want!  There’s tylenol, nyquil, deodorant, mouthwash, all sorts of embarrassing things in there.  But I know you just came here to see the awesome cabinetry and how well that frame fit into the wall.  Looks significantly better than the old Severodvinsk-bound cabinets.

Oh crap, I forgot to make cabinet doors.   Well, I guess there’s next week.

Japanese Sword Stand

Draw and cut

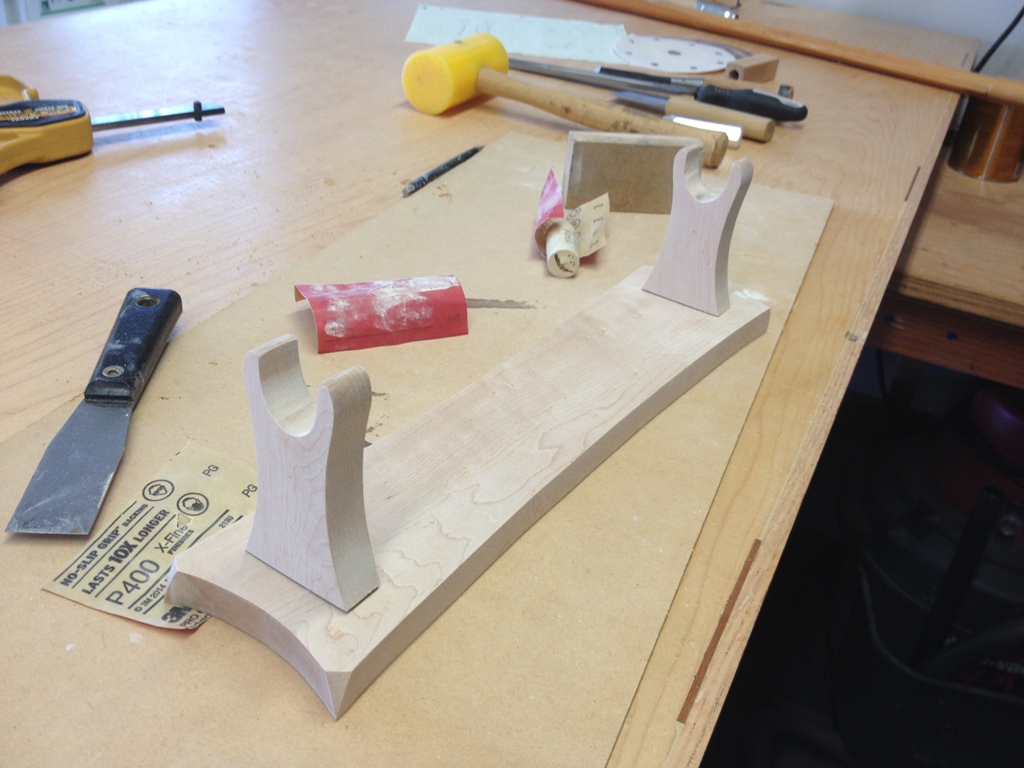
A bokken is a wooden Japanese sword used for training in martial arts.  I train with mine almost daily.  Lately it’s been just resting on a windowsill or against a log or sitting in the pile of firewood (who keeps putting it there?) but I’ve long wanted to make a stand for it.  I’ve had this piece of rock maple leftover from an old project and it looked to be about the perfect dimensions to cut a sword stand out of.

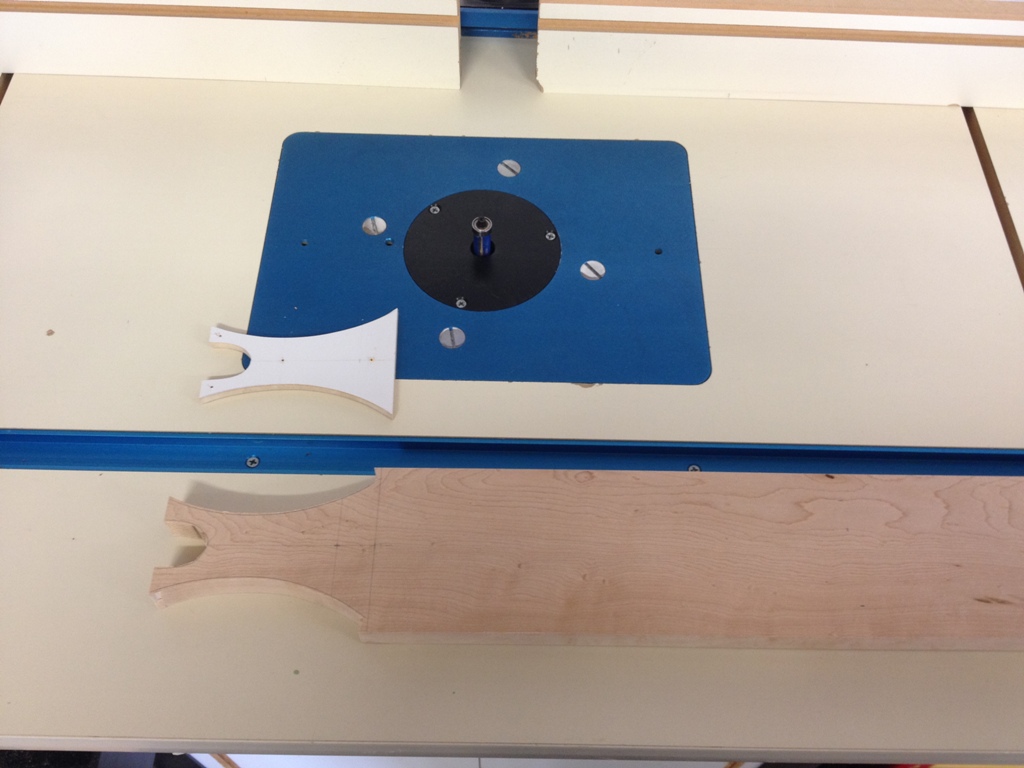
FormsVery simple design.  The stand part looks like a soy sauce dispenser, which is Asian, so I feel like I’m on the right track style-wise.  I start by making forms out of 1/4″ MDF which I pin to the piece and use it as a template to cut out the shape with a smoothing bit on the router.  Normally this work is done with a scroll saw, but I have neither a scroll saw nor do I have any proficiency in a scroll saw.  So, like everything else, I just do it the hard way.

Router

Since it’s a small piece, I work with it while it’s still attached to the main board so I can control it better over the router.  This is a tricky cut, as the bit will be going against the grain and this is very hard wood.  But the nice thing is, it makes for a very smooth and perfect edge, and it’s repeatable.  You can make the exact same shape over and over again, until you run out of wood.

Tenons

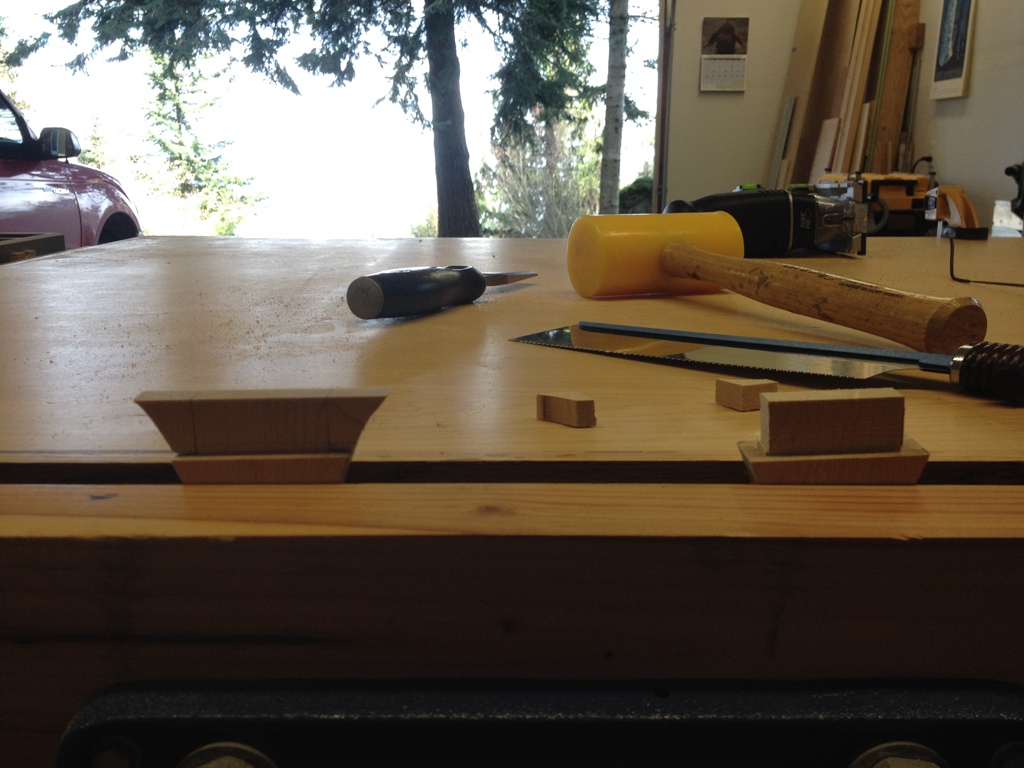
I had to remember how to cut tenons, it’s been a while.

A Real Sword

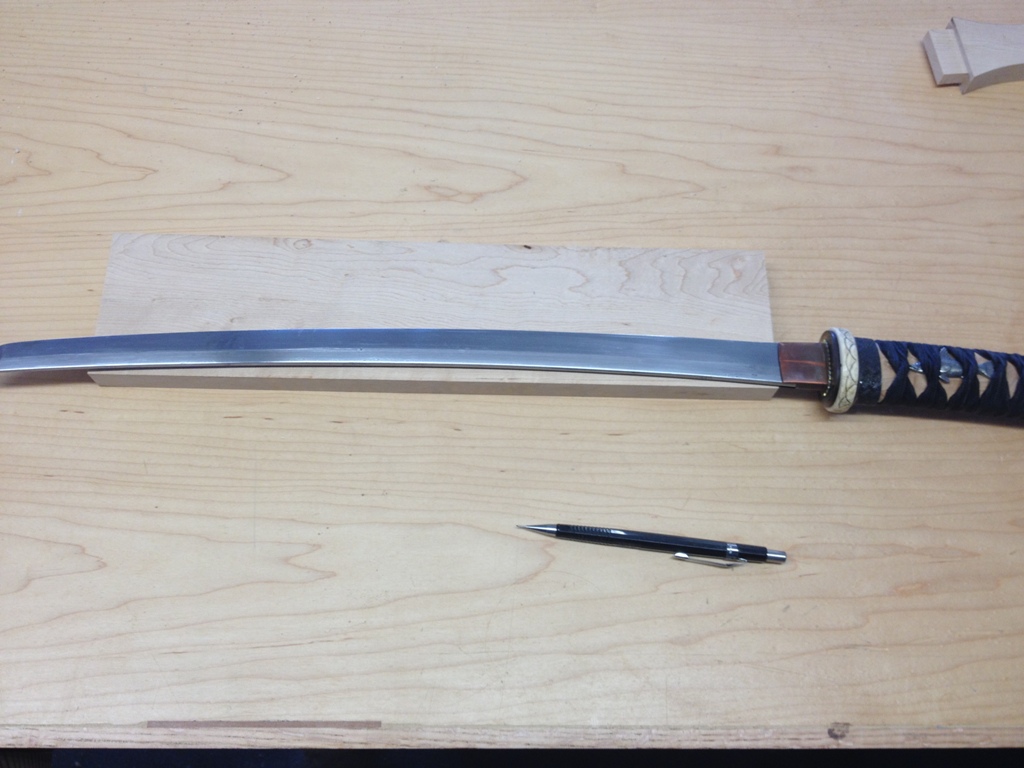
With the tenons cut, I begin work on the base.  I wanted to give it a nice gentle curve on its sides so it’s not just a slab of wood.  Now there are ways to make these curves using special equipment, or (if you’re a cheap bastard like me) you tie a string to a pencil and draw out the radius you want, or (if you’re cheap and lazy) you look around for something that has the exact curve you want to cut out.  In this case, I followed the curve of a real Japanese sword.  The curve is gentle enough I didn’t have to smooth it on the router, I was simply able to take a sander to it.

Mortisses

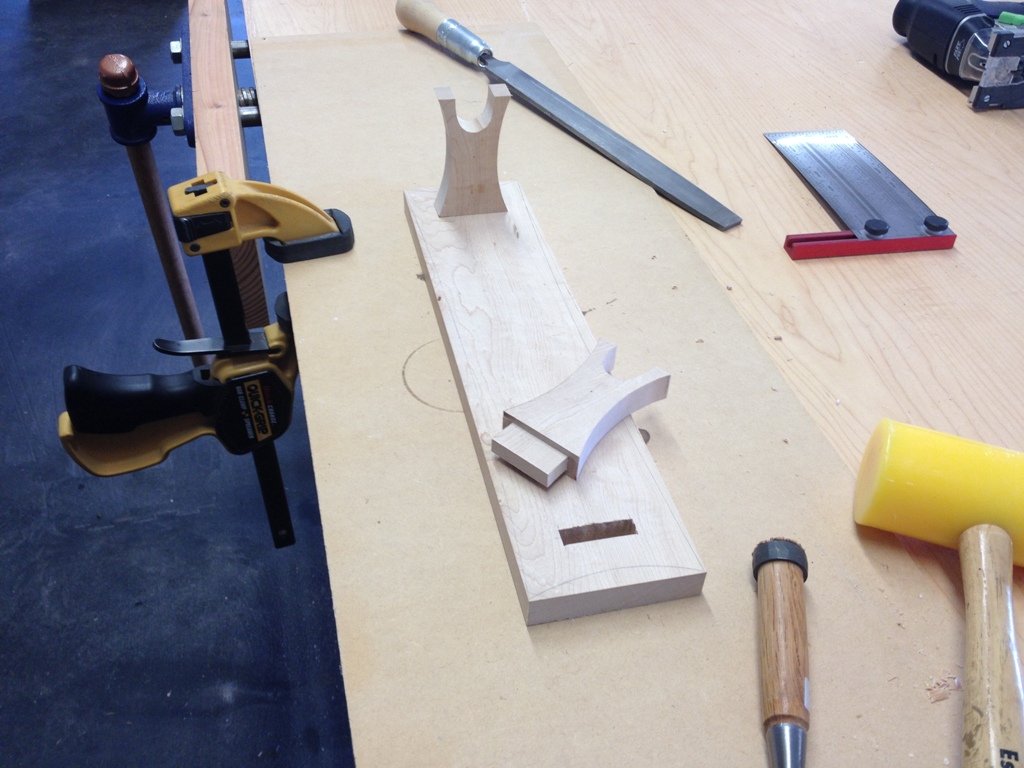
I thought it was a good idea to cut out my mortises before I cut out the curves.  It’s a lot easier working with a square piece of wood.

Dry Fit

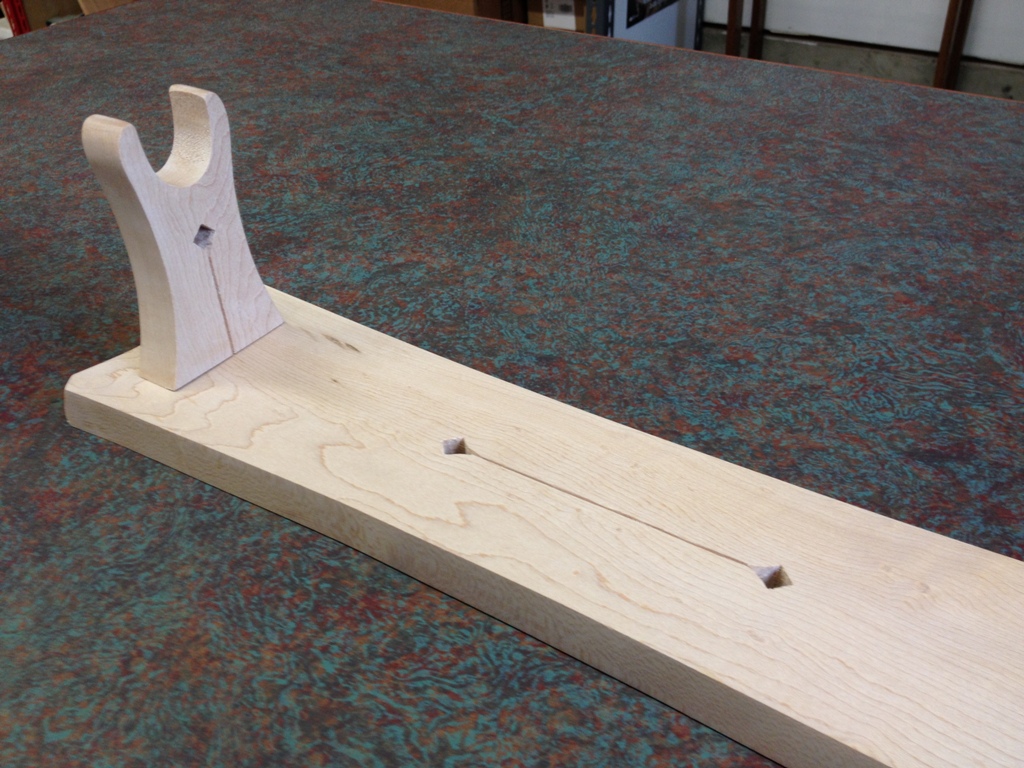
Mortises cut, curves all cut, and everything fits together.  Still, I wanted to give it a little detail.

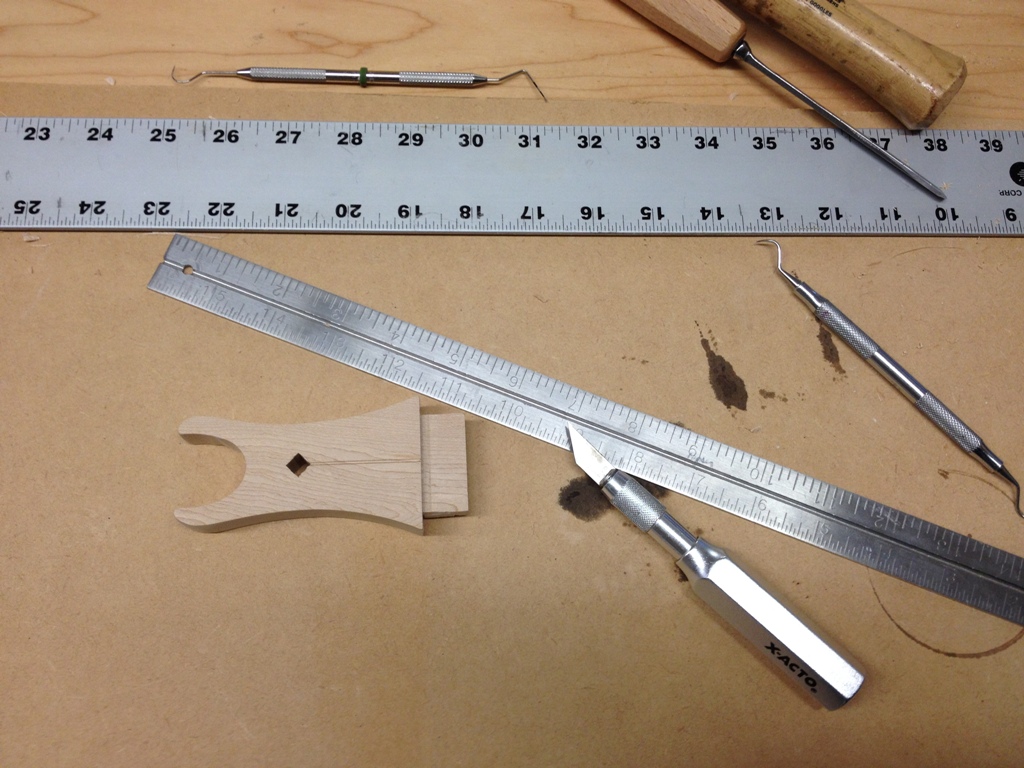
Dentist Tools

I gave it a few more square holes, cut out a groove with an X-acto knife, and threatened it with dental picks until it was good and frightened.

DetailsThese details really made a difference, gave the piece a little interest.

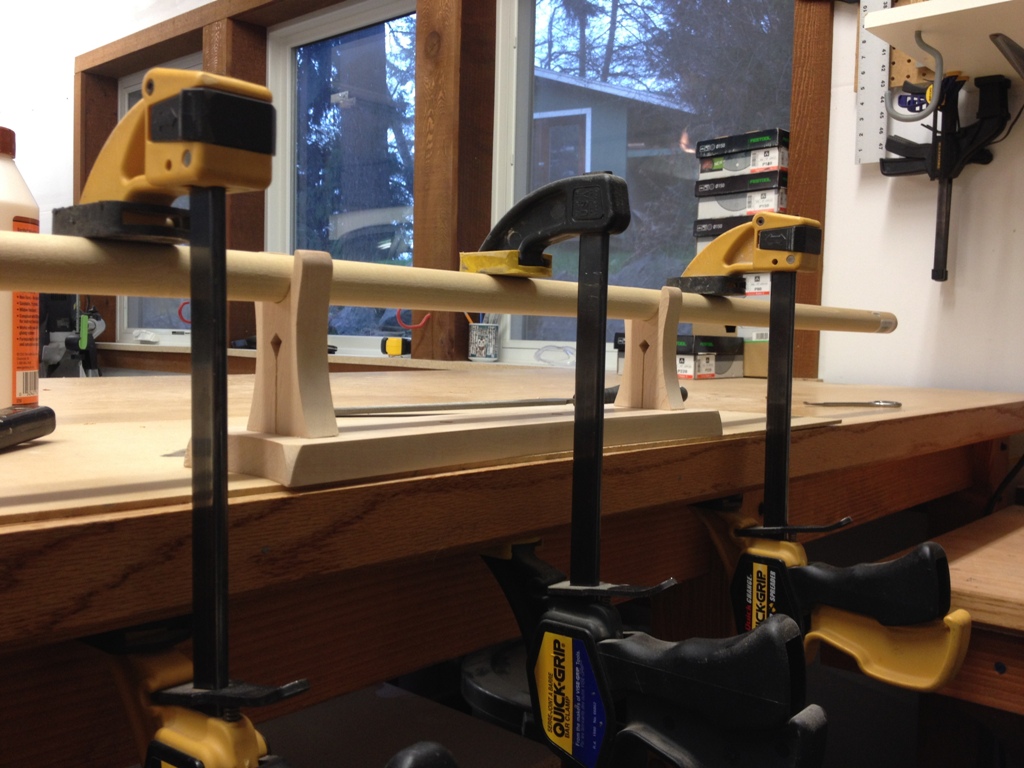
Innovations In ClampingTo clamp it for the glue-up, I used one of my many dowels.  I seem to buy a dowel about every week and I will soon have every size they make. The tenons were a nice snug fit, and this thing won’t really see a lot of turbulence except for me picking the sword up and putting the sword down.

Stain

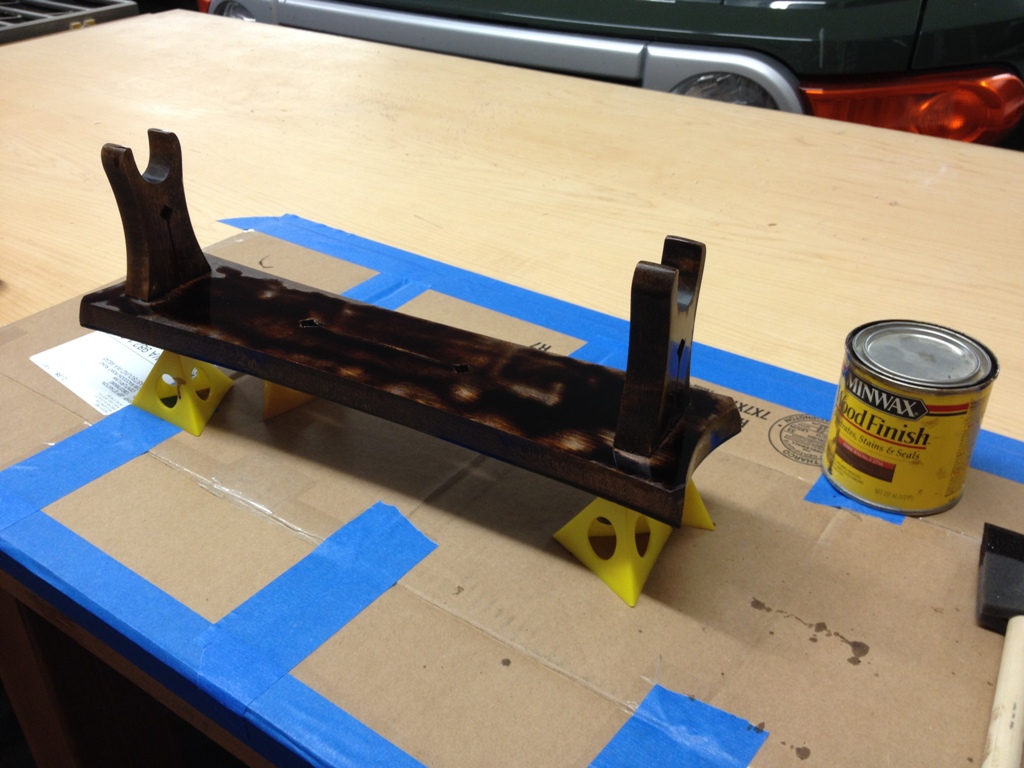
I bathed it in a dark stain.  I don’t normally stain maple but in this case I wanted a darker color.

Finish

A little polyurethane, and Bob’s your uncle!

Lousy Pictures In Bad Light

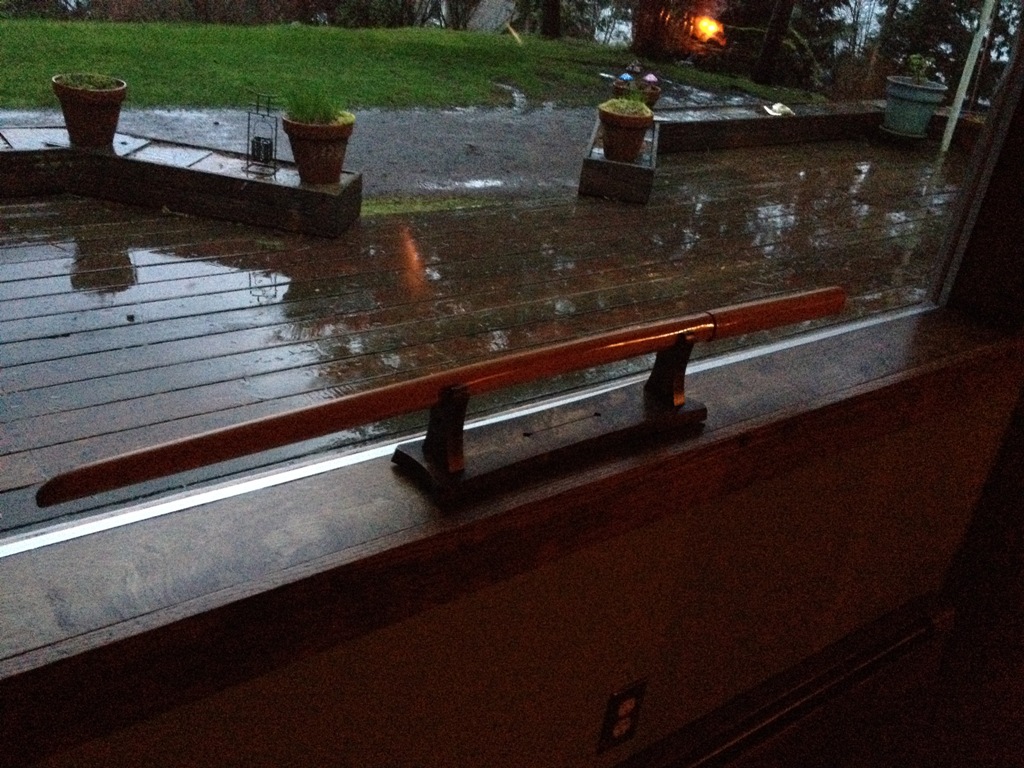
And it works.  It successfully holds a bokken a few inches up from the windowsill, defying the force of gravity, and making the house look less littered.  Maybe now my practice sword won’t end up in the firewood rack anymore.

How much do I hate this door?

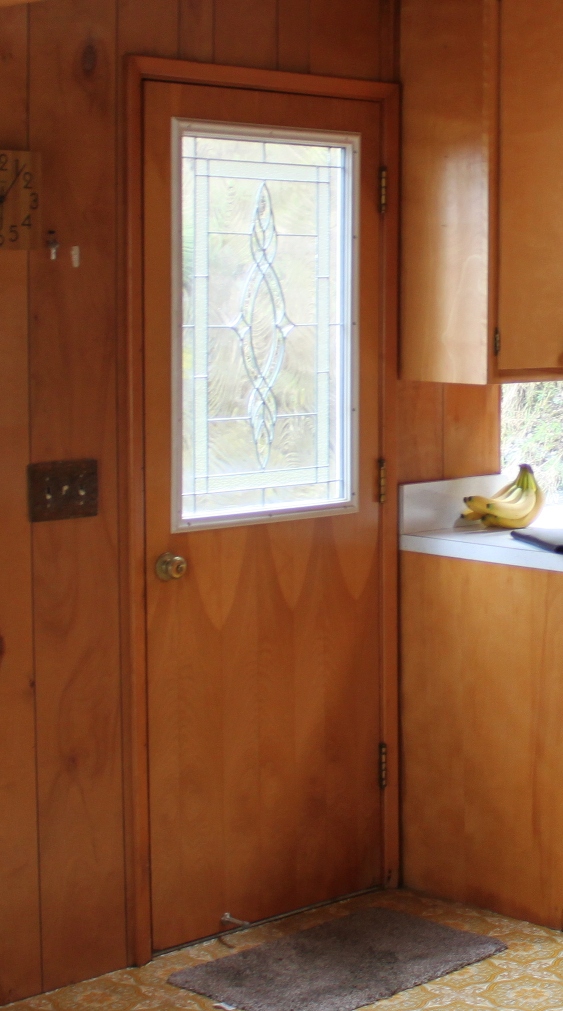
the door

It doesn’t close right.  The veneer is peeling off.  The plastic strip holding that awful stained glass window is permanently filthy.  The hinges are rusted.  Carpenter ants refuse to eat it.  It gives me bad dreams.  If we had neighbors, they would all make fun of us.

It was atrocious before, but now that I’ve refinished the area around it, it looks even worse.

new project

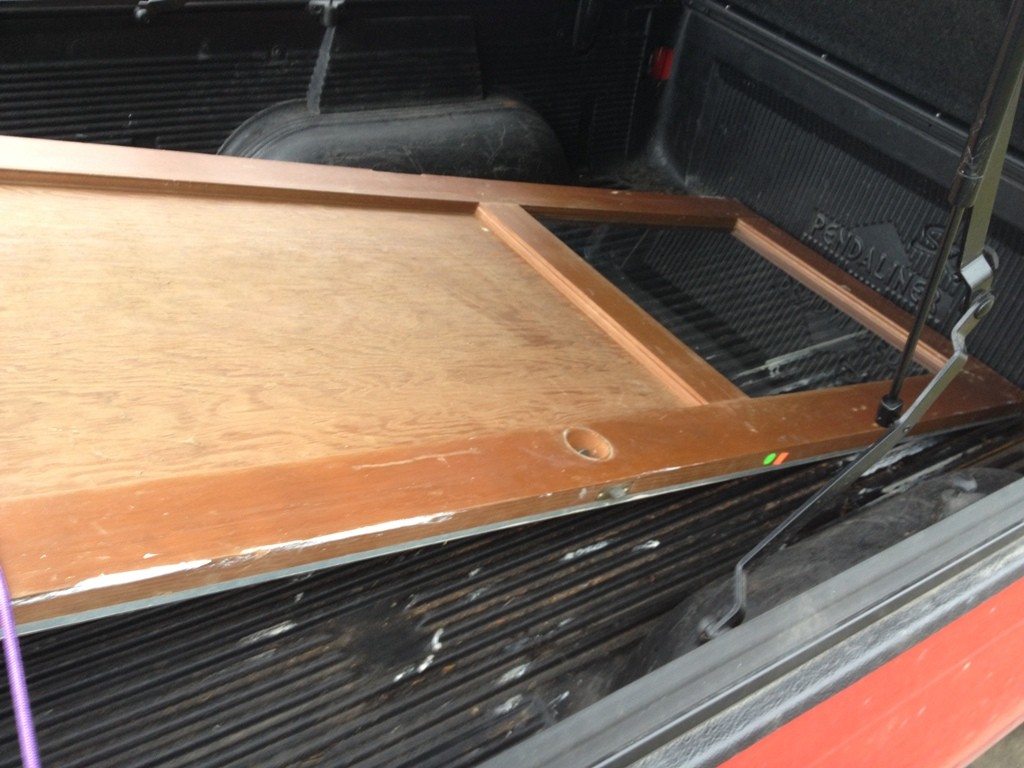
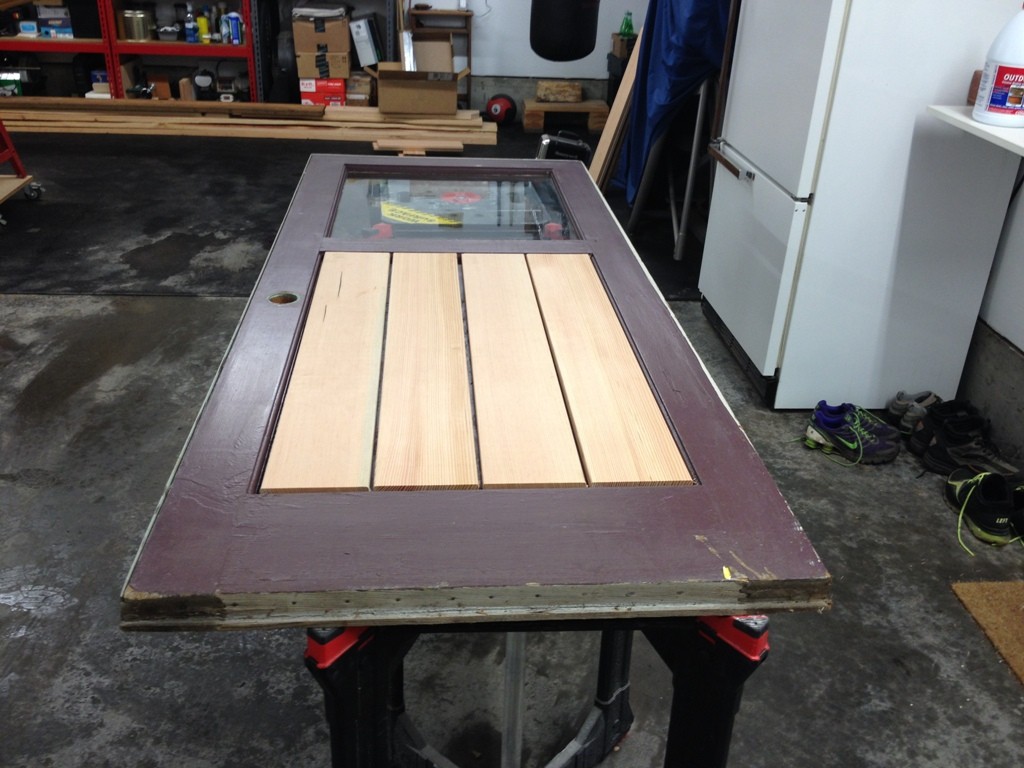
I hate that door so much that I bought a salvage door that does not fit and promised myself I would do whatever it takes to make it work.  The salvage door is too short, too wide, and in poor shape.  But I figure maybe I can trim it down to size, add a little wood to the bottom to make it longer, and give it a little architectural detail and maybe it’ll be an improvement over the existing door.

Okay, let’s face it.  a plastic curtain hanging from a rusty chain would be an improvement over the existing door.

fitting

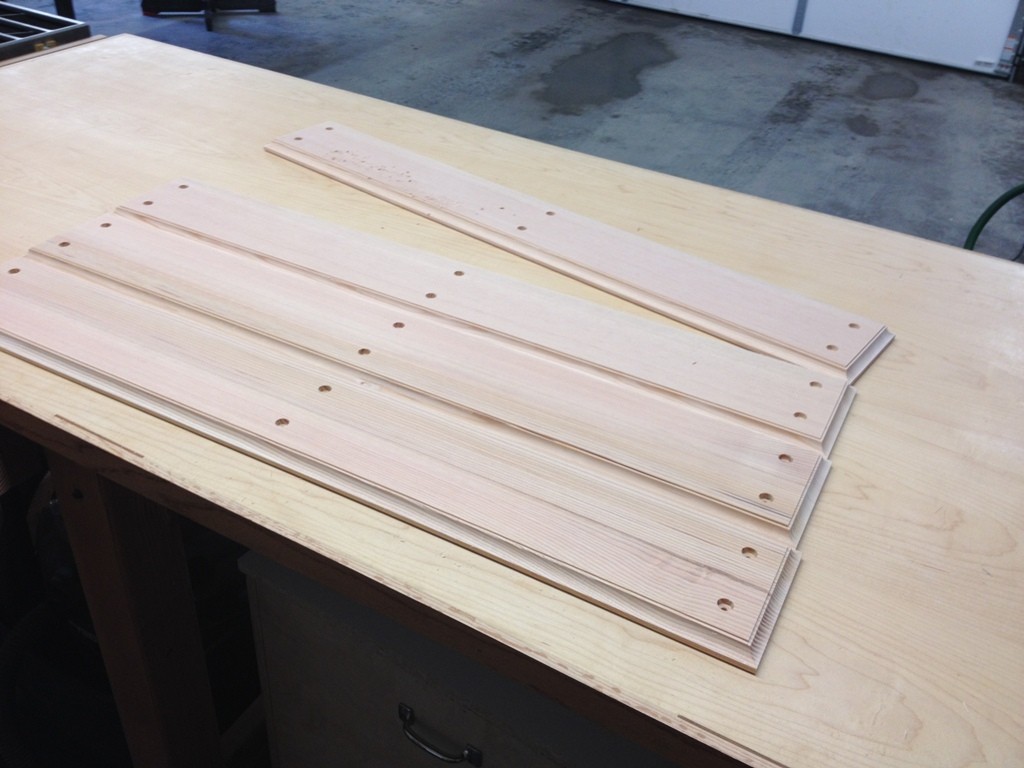
First thing I wanted to do is fill that inset area with some planks to give it a little interest.  I’ll put four vertical slats in its length, placing them over the rectangle of low grade plywood and making the door a little beefier and solid.

router

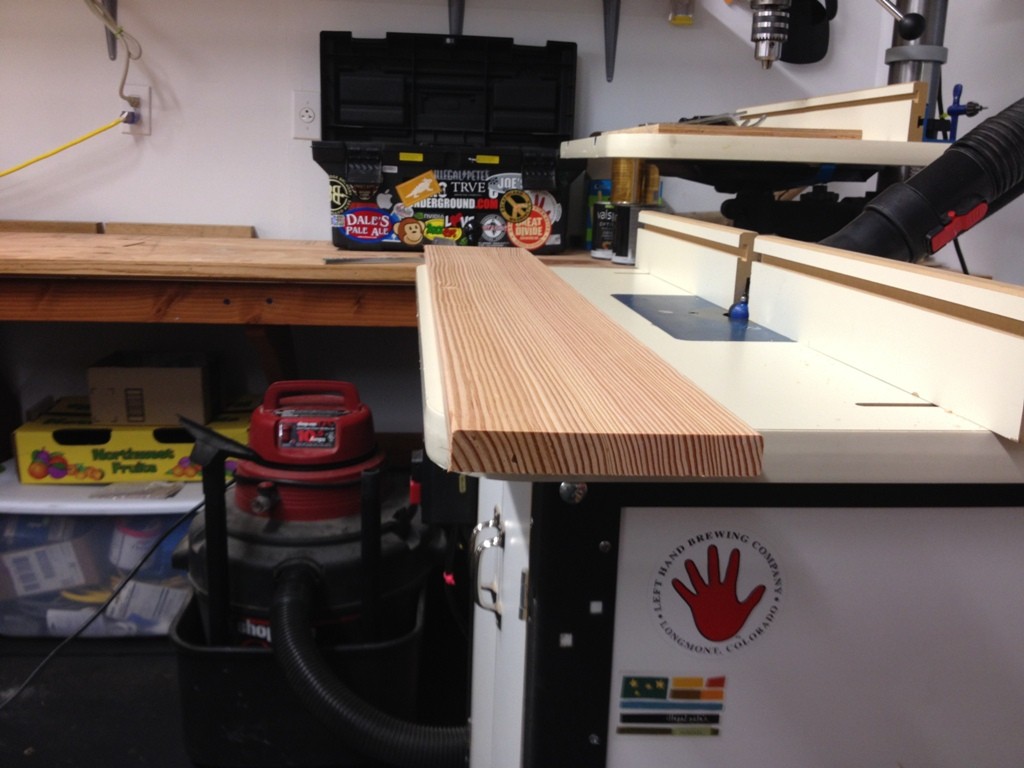
It’s time to attack them with a router bit and give them a nice border.  I chose a cove router bit (quarter circle) since it goes with the existing edge in the inset.  I had to shape the end grain too, generally a recipe for lots of splintered wood, but I’m desperate here.

cutting

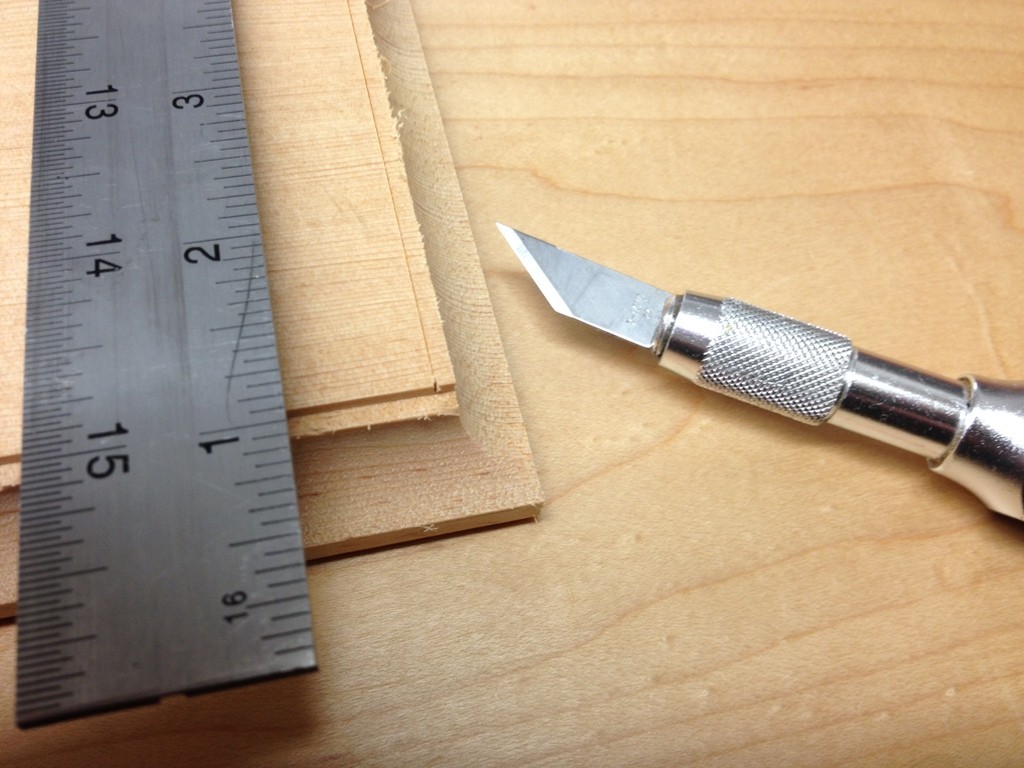
One trick I use when routing against the grain is to take a sharp knife and cut along where the router will cut.  It’s an extra step and it takes a bit more time, but it really helps avoid the exit wounds left by the router.

boards

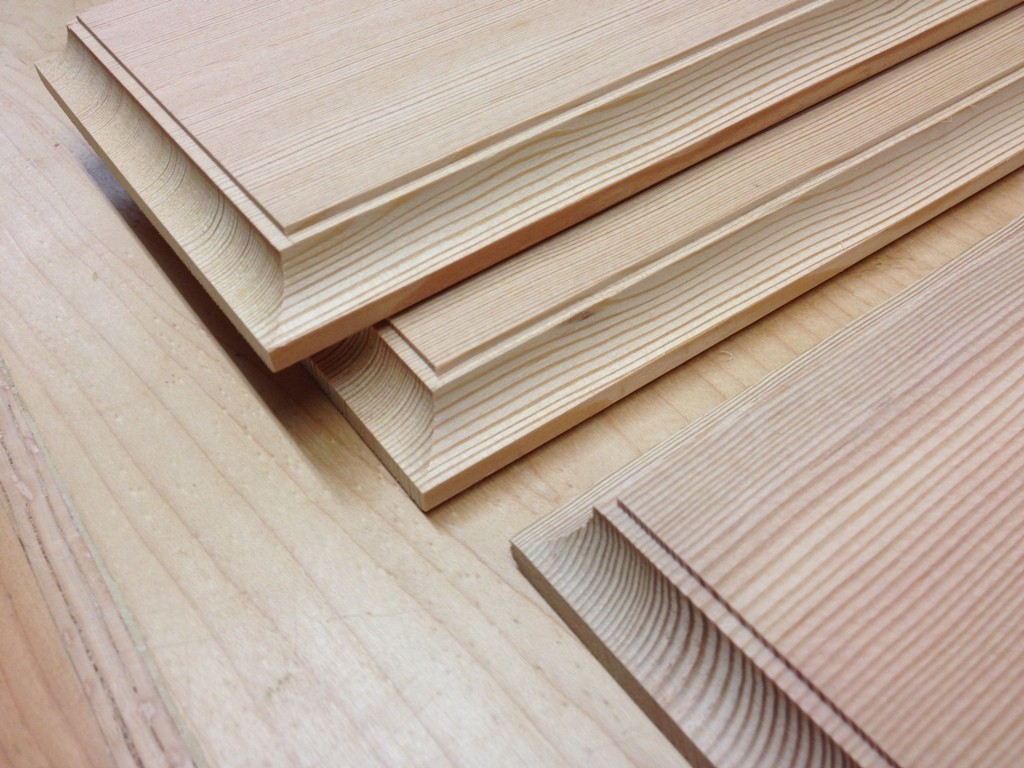
Nice, clean cuts.  And I haven’t even sanded yet.

boards with holes

I considered a number of ways to fasten these boards to the door.  I don’t think I can get enough pressure on them that glue will hold well over time (this is an exterior door, after all).  I’m going to use pan head screws from one side, and put pegs in the holes.  That should make a nice tight fit, invisible from one side, with some architectural detail from the other.

strip


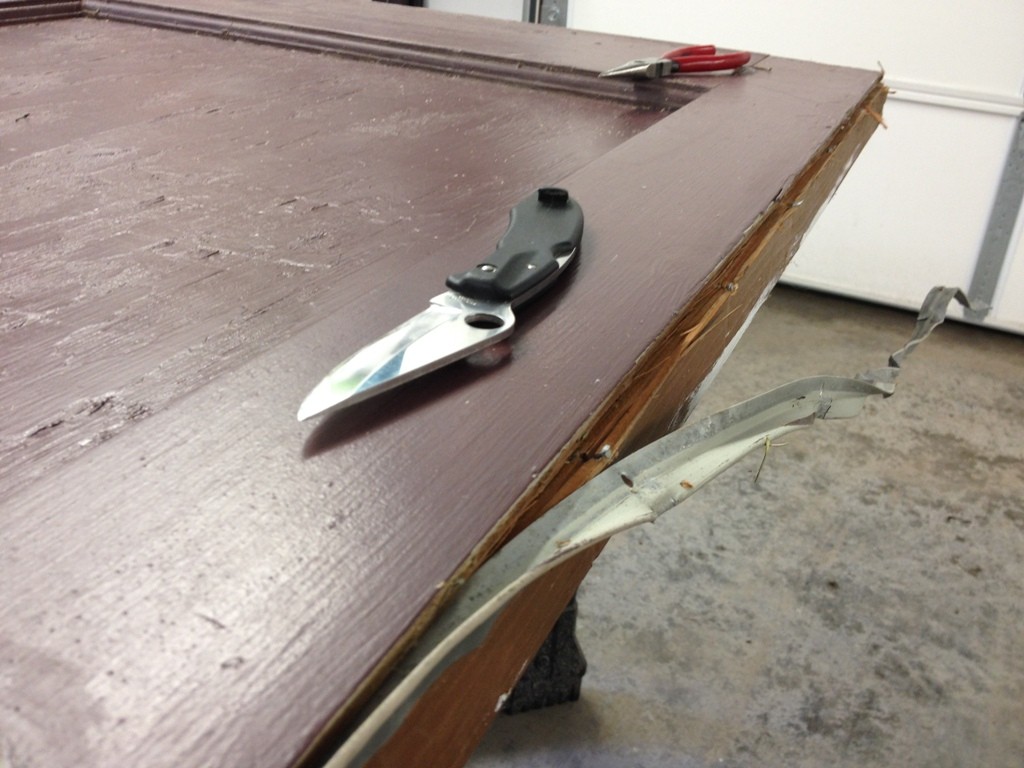
Back to the door. It had a weather strip around the outside that needed to go.  It put up a fight, but when threatened with a knife it finally surrendered.  Next weekend I’ll cut it to size and see if I can get it fitted and mounted.

Shop Time!

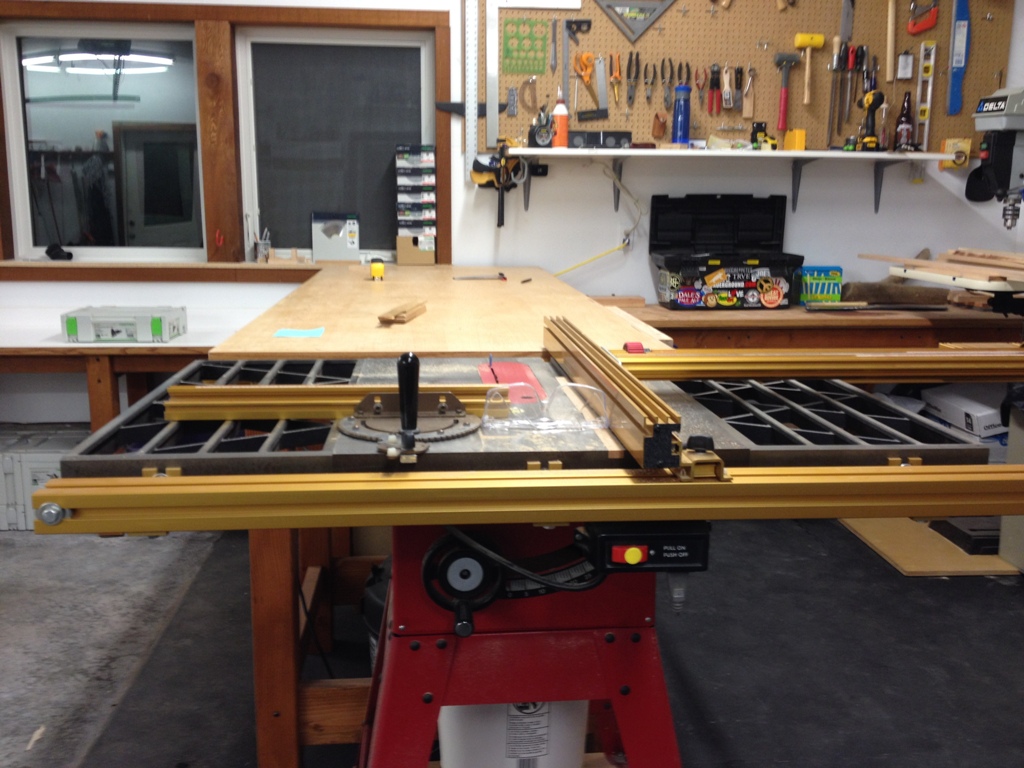
Table Saw

Got out of bed this morning and decided to make some sawdust.  It’s been a busy week at work (which is a real, non-sawdust-related job) and I just needed some time away from the office, so to speak.  Plus, I had just torn out a bunch of paneling inside and hung a couple sheets of drywall and needed to cut and fit a bunch of new trim pieces.

Router

For the most part, I’m using finished hemlock for trim pieces.  I don’t do much to them, just take slabs and slather it with some stain and polyurethane and nail it to the wall.  It’s not real woodwork but it’s fairly economical — I have a whole house to trim and I don’t want to break the bank doing it.

Drill Press

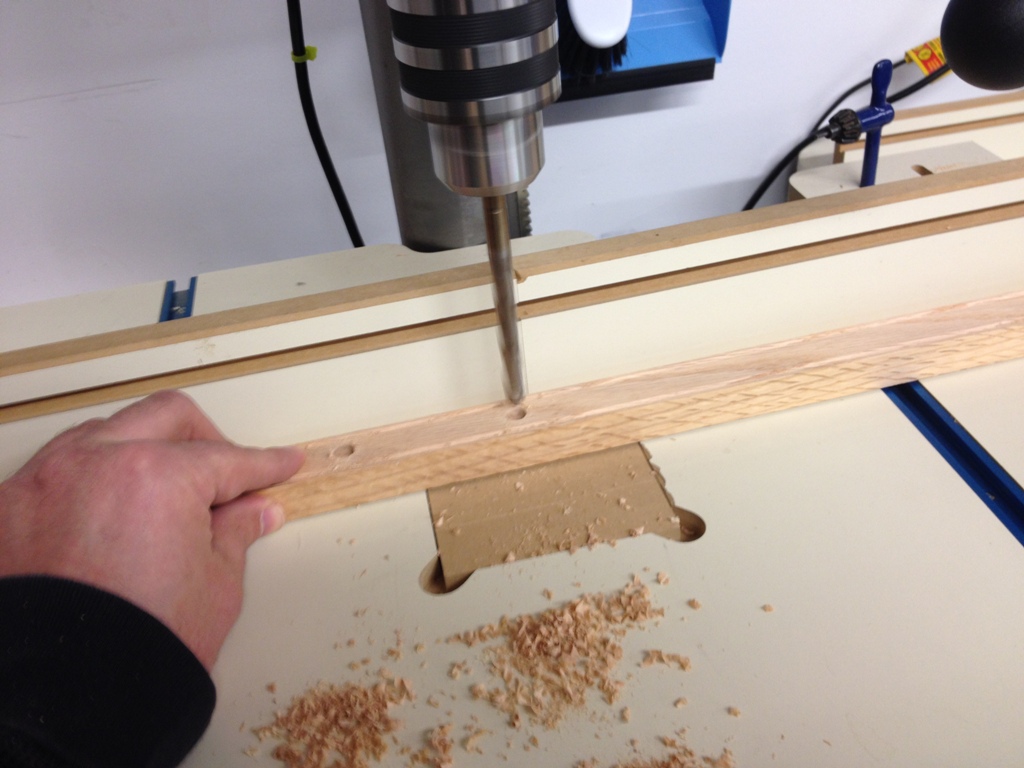
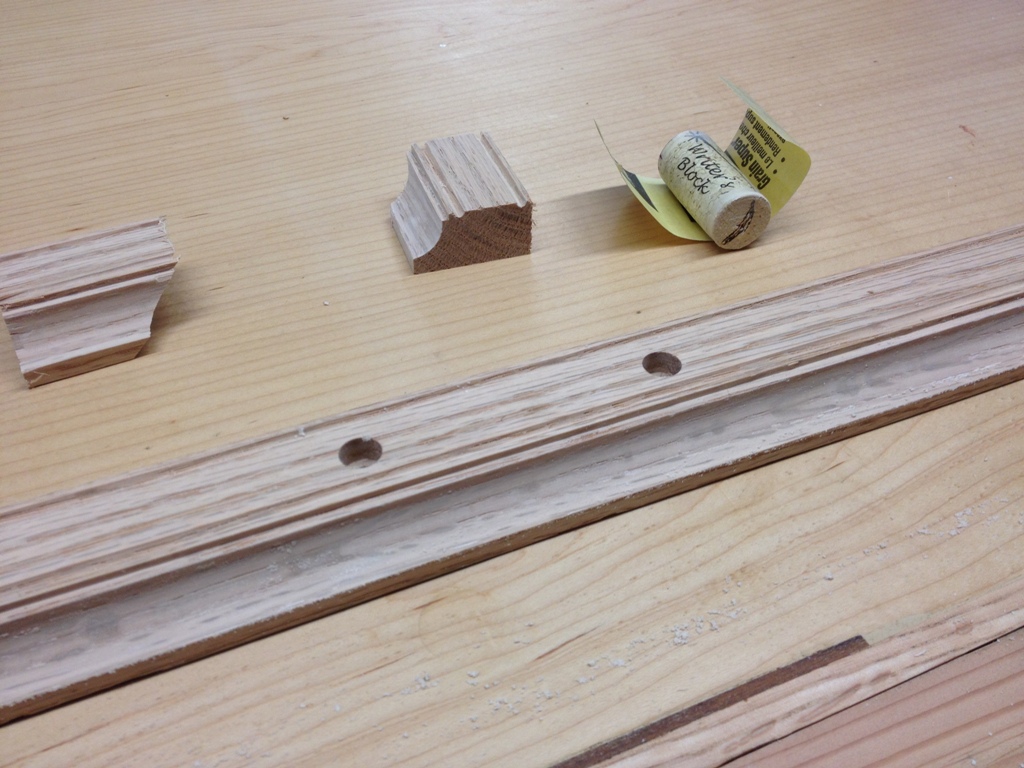
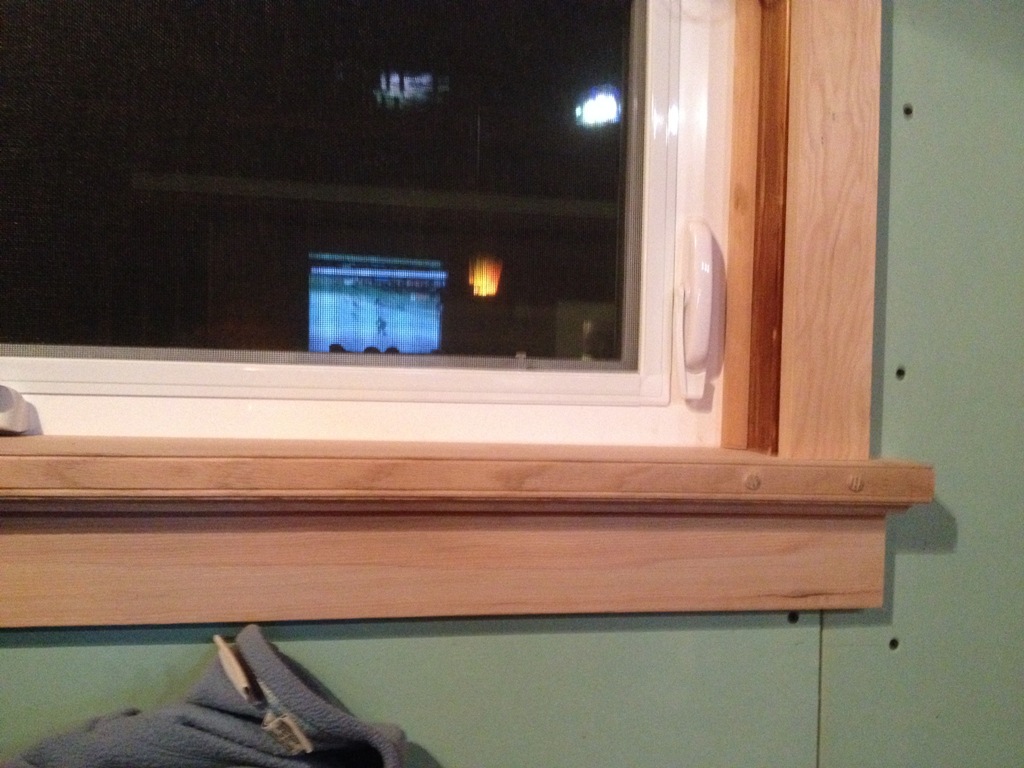
However, I am going to sneak in some shaped and fitted pieces as I can.  This time, I got to make a nice windowsill out of one of my favorite hardwoods:  red oak.  It’s kind of an involved process.  I use a 1×6 to nail on top of the rough frame, but I band it with a 1×2 that I do some shaping on over the router.  The result looks like a thick plank of wood with a little cove molding across the bottom.  I attach the two pieces with wood screws hidden behind oak dowels that look like little buttons going around the band.  You can see me drilling out the holes for the dowels above.  I know, I know, I could have joined them with hand cut dovetails or run a spline down its length or tongue and groove or some other fancy pants joinery, but I simply don’t have time.  I need to get this house finished while I’m still young enough to enjoy it.

Wine bottle cork


The routed piece has some clean lines that give it a little interest.  You can see the profile on the end cap above.  That rounded cove at the base can be sanded by wrapping sandpaper around a wine bottle cork.  If you need an excuse to buy a bottle of wine, there you have it.

Window Sill

Here’s the finished windowsill fitted into place with the other trim pieces around it. They’re just pinned in place with a couple finish nails, I’ll remove them to stain and polyurethane them in the garage.  Oak takes a stain very well, accentuating the light and dark color with its alternating waves of smooth and rough grain.

Not sure if you noticed but it seems like every picture I take with the TV in the background, there’s a hockey game on.

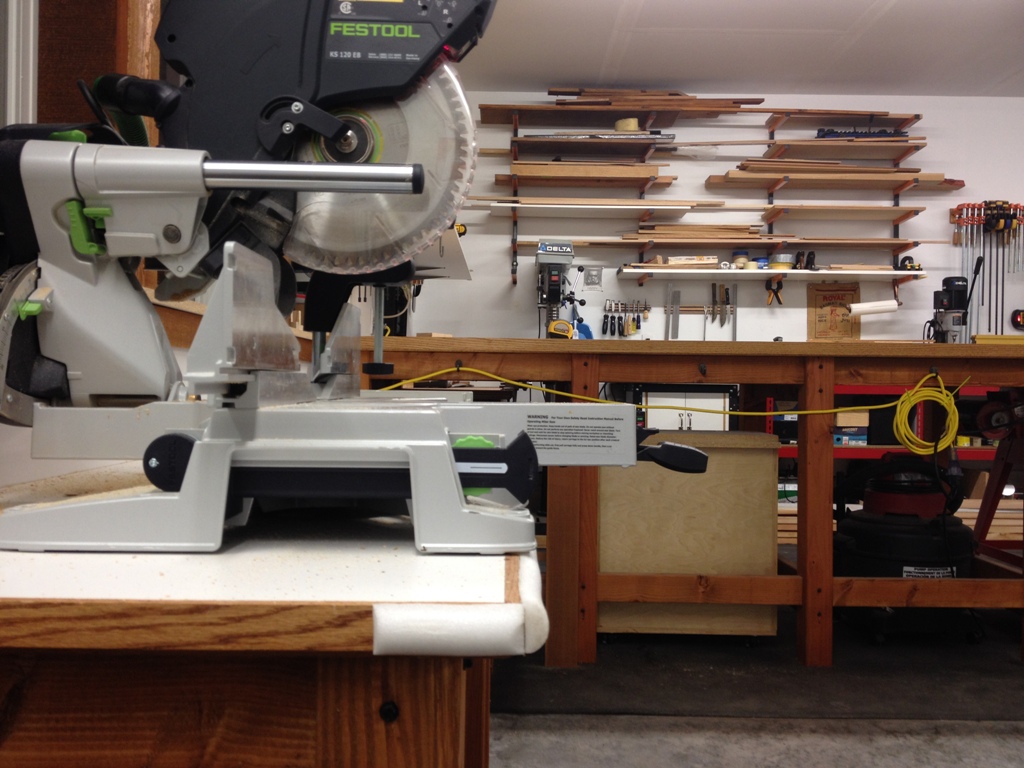
Chop Saw

Still a lot of trim to cut and fit, and sand and stain and polyurethane and install.  Not to mention I need to get some mud on that drywall and sand it and topcoat it and primer it and paint it.  Yeah, never a shortage of things to do around here.

How To Attach Your Bookshelf To The Wall And Not Look Like A Redneck

So, almost two years ago I made the Jeff Foxworthy inspired joke “You might be a redneck if you mount your bookshelf on the wall with 2×4’s.”

IMG_0242s

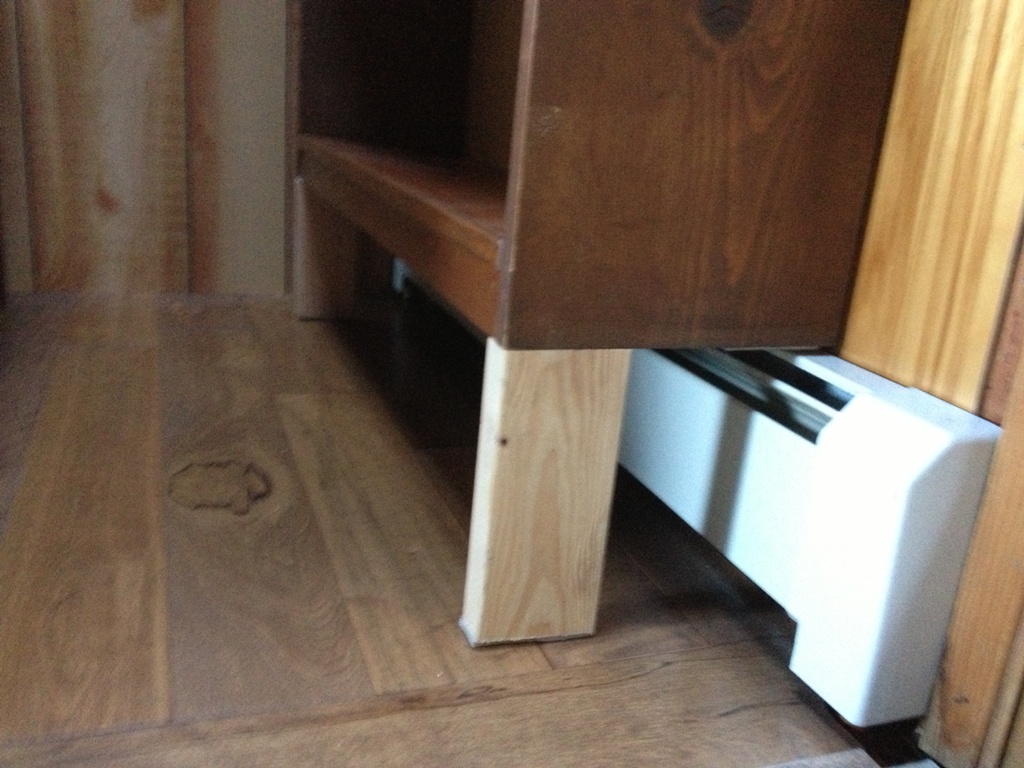
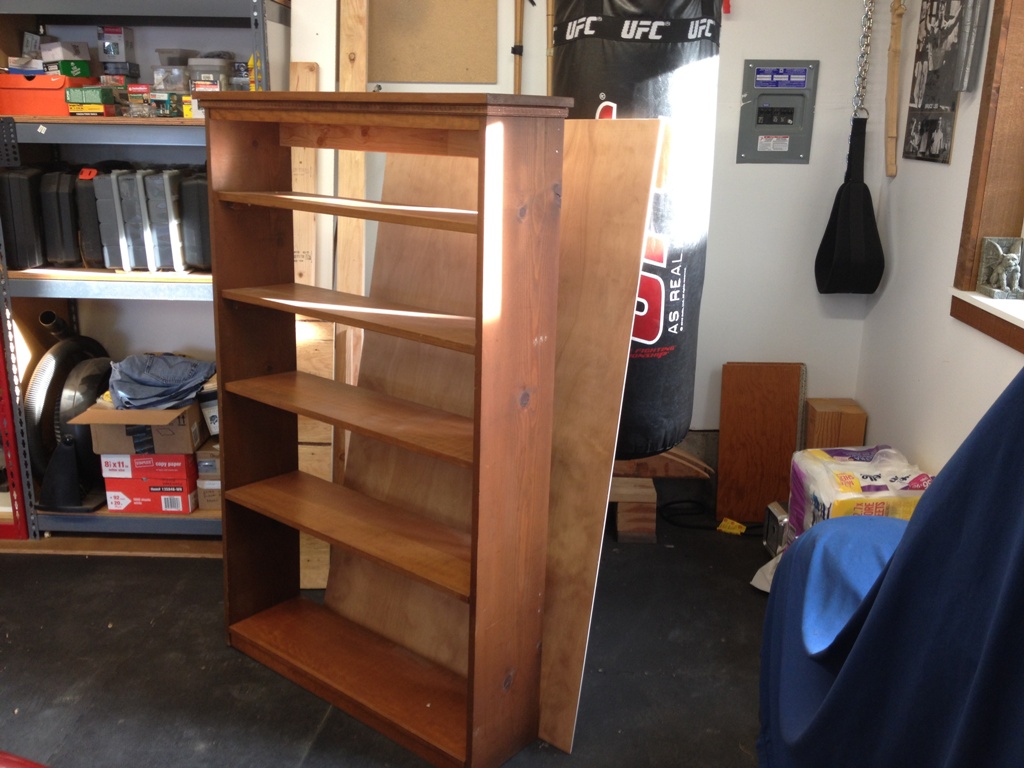
Yeah.  You see, we have these little hot water radiators that heat the house.  They work ok.  I guess.  But you can’t really put furniture in front of them or you lose all that heat.  Plus, the furniture doesn’t go right up against the wall.  Ergo, I mounted my bookshelf up on 2×4’s and installed it into the wall.  The resultant space beneath the bookshelf was a favorite cat hangout, due to the nice warmth it gave and the opportunistic view of the birds out the back door.

Well, I always knew that when I got around to destroying the paneling and replacing it with drywall, I’d make something a tad nicer than a 2×4 block to support the front load of this 600 pound bookshelf.  But first, a bit of history about the stupid bookshelf.

bookshelf

This was one of the first pieces of furniture I ever made.  I had some spare boards from my old house in Denver, good aged fir 1x12s with really nice patina and very good strength.  These were from old growth trees, and the wood is nice and dried now.  It’s a shame they were butchered by my amateur techniques but there you have it.

The poor thing has been through the war and crossed several state lines to be where it is now.  It’s never had a proper backing, so I bought some 1/4″ plywood that I’ll stain and affix to the back. Other than that, I’ll give it a few coats of polyurethane that it always deserved and patch it up nice.  And when I put it back on the wall, it’s not going to be on crappy paneling but real sheetrock, just like modern homes.  And it won’t be on 2×4’s!!

footer

I made this little base to support it, and it rests on a ledge that’s screwn directly into the wall studs.  I’ll stain this to resemble (not match, I never have any luck trying to color match) the bookshelf and I think it will go together nicely.  In another week or two, this monster bookshelf will be built into the wall and suspended over the heaters and our cat will have a nice warm place to watch birds from.

progress

In other news, we’re making progress on the wall demo.  I’ve almost finished all the electrical work.  It was finished last week but we decided we wanted lights dangling in that little open space so now I have more electrical work to do.  I had to run the wire through a 4″ post, a 4″ post with 2×4’s joined to each side (that was fun to drill through) and now I get to decide which of the three circuits I want to draw power from.  That wall has wires from (1) the bathroom circuit, (2) the laundry room circuit, and (3) an unknown circuit that has some kitchen outlets on it now.  I’ll sleep on it but I’m probably going with (3).

cap

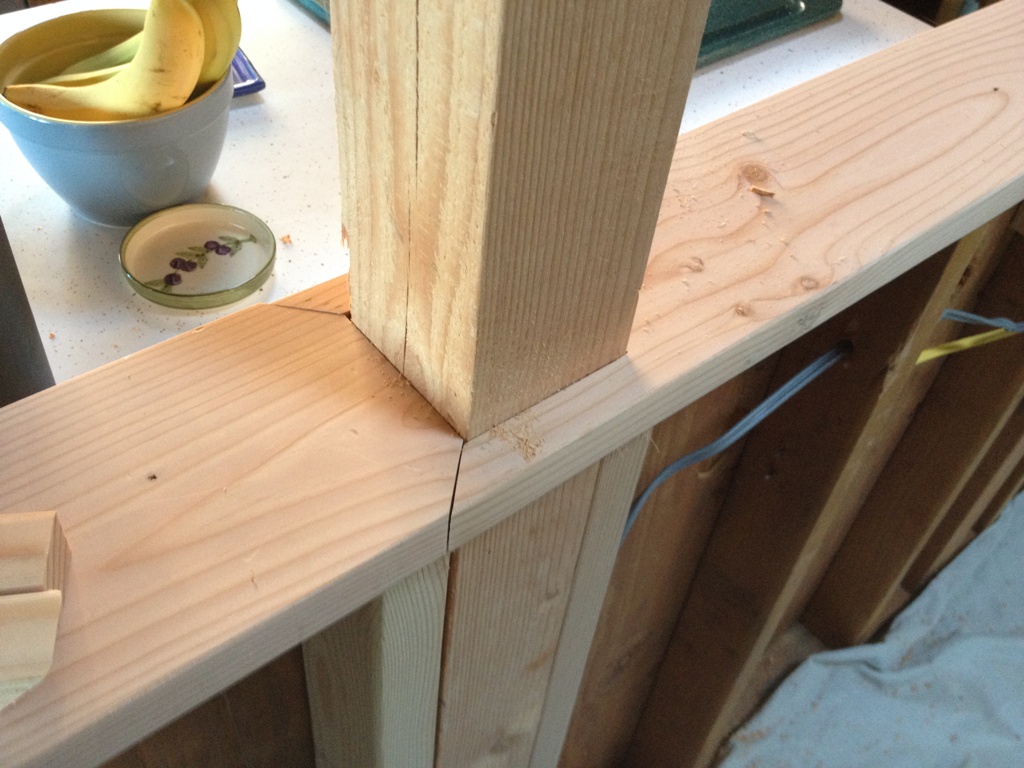
One of the funner bits of woodworking I got to do was make a cap for the half wall.  I used one of the remaining 2×6’s I had left over from the garage construction, and planed it down to about 1 1/8″ so it doesn’t look like a 2×6.  I had to cut holes for the posts and install them around like that.  I was going to do some fancy pants joinery like triangular feather joints at the corners, but I really need to finish this project by 2016.  And I have a full time job that eats up more of my time than I spend sleeping.  So I’m probably just going to use tenpenny nails.

joinery

A little glue, some cabinet mounting screws, some time with the Festool sander, and it’ll look great.  Okay, it’ll look adequate.  And I’m proud of myself:  it’s one of the few things in this house that is actually level.  It’s kind of weird.  Makes the rest of the house look lopsided.

no help

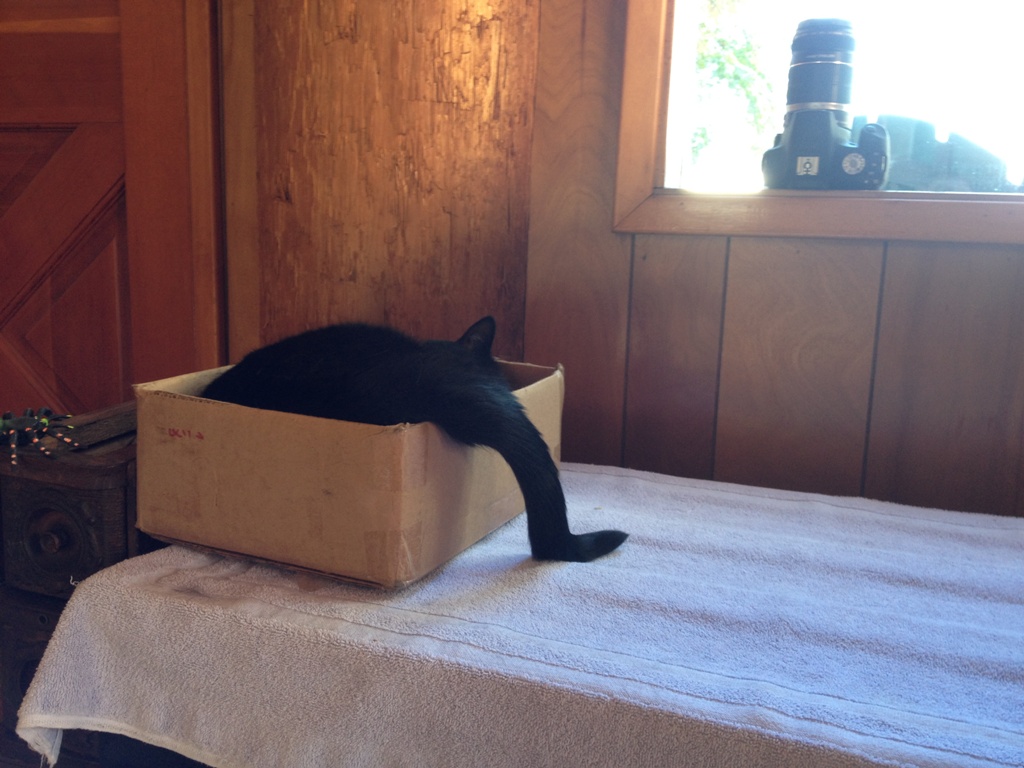
Of course, some of those who live here would be perfectly happy if everything was made out of cardboard.

Even More Shop Work

One thing I’ve always wanted to do with my table saw is really seal up the interior so sawdust doesn’t get all over the place.  In my former shop, I used to have it boxed in and connected to a vacuum hose, but that was really ineffective and I kept tripping over the hose.  So now I basically have the housing all sealed up and I put a bucket underneath it.  It actually works really well, except that I never did seal up the backside.  That’s where the motor and the pulley pokes through making it difficult to really seal up.

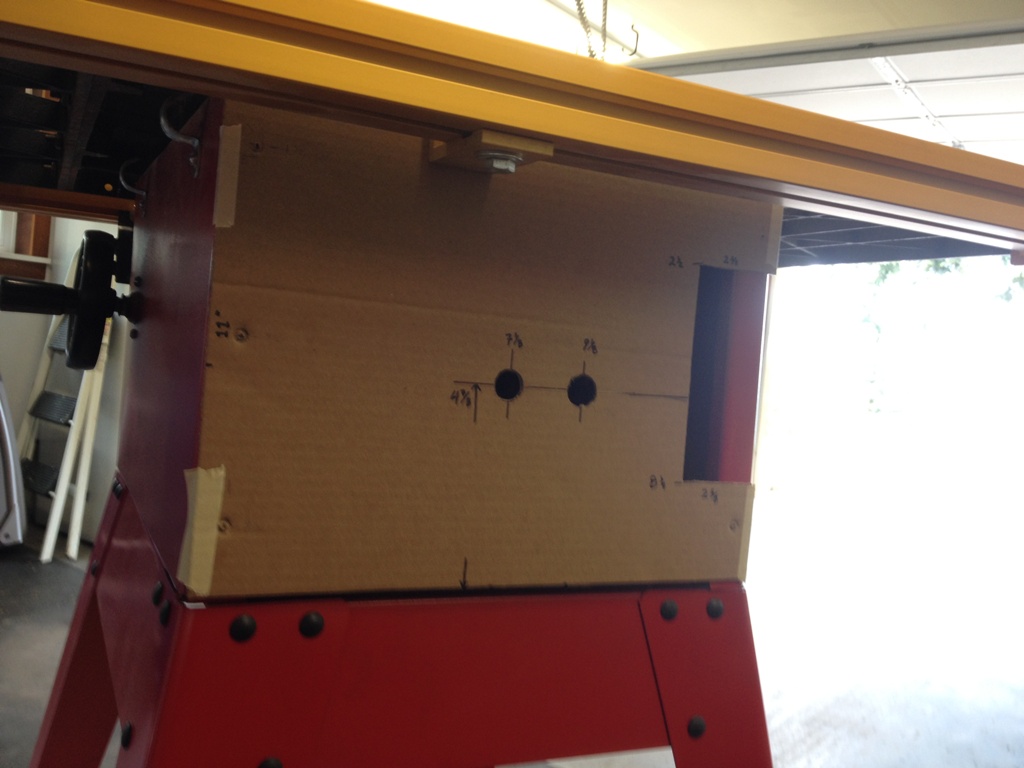
Well, I finally got around to making a back plate that should cut down on the sawdust considerably and not interfere with the motor and pulley.  I was going to go with sheet metal but I didn’t want anything that could damage any moving parts.  I needed something soft, yet firm.  And cheap and easily accessible.  I ended up going with cardboard.

template

I marked everything really carefully so if I have to remake it (out of a different material if I so desire) it will be easy to do.  Cardboard is soft enough that it won’t damage anything should something go wrong, and firm enough to hold its shape.

Fitting

There you can see it’s a tricky fit.  The holes are for the rods that hold the motor, and that slot on the right is where the pulley goes.  Everything is looking great, but I do wish I had something I could use to make it a little stronger, to help it withstand the rigors of a shop.

what to use

Hmm.  I wonder what I can use?

how about duck tape

Hmm…

Oh, I know!  Duck tape!

panel

Handyman’s secret weapon!!  Oh yeah, now that thing is pretty much waterproof.  I’ll probably never have to replace it.  It might last longer than my table saw.

installed

I am happy to report that I can now rip down a 2×4 and not cover my entire shop floor with a spray of fine yellow powder.  This contraption cut down on the dust piles by at least 75%.  Yeah, I still get some.  That’s okay.  Wouldn’t be a shop without sawdust all over everything.

Shop Work

view

This is the view from my shop.  This is what I see when I look up from whatever I’m working on.  Whenever I think this house is falling apart faster than I can fix it, whenever I despair that there’s so much wrong with it that I’ll never get it all done, this is a wonderful reminder of why we moved here and why we live here.  Today is the 2nd anniversary of when we bought the house, and as much of a challenge as it’s been, I have loved every day of it.

shopSo yeah, with a view like that, it’s no mystery that I like to spend a little time working on the shop itself.  It’s my base; it’s where I go to repair old work or create new things, and practice my craft.  Here, all things are possible.  Here, there is nothing I can’t do.

table legs

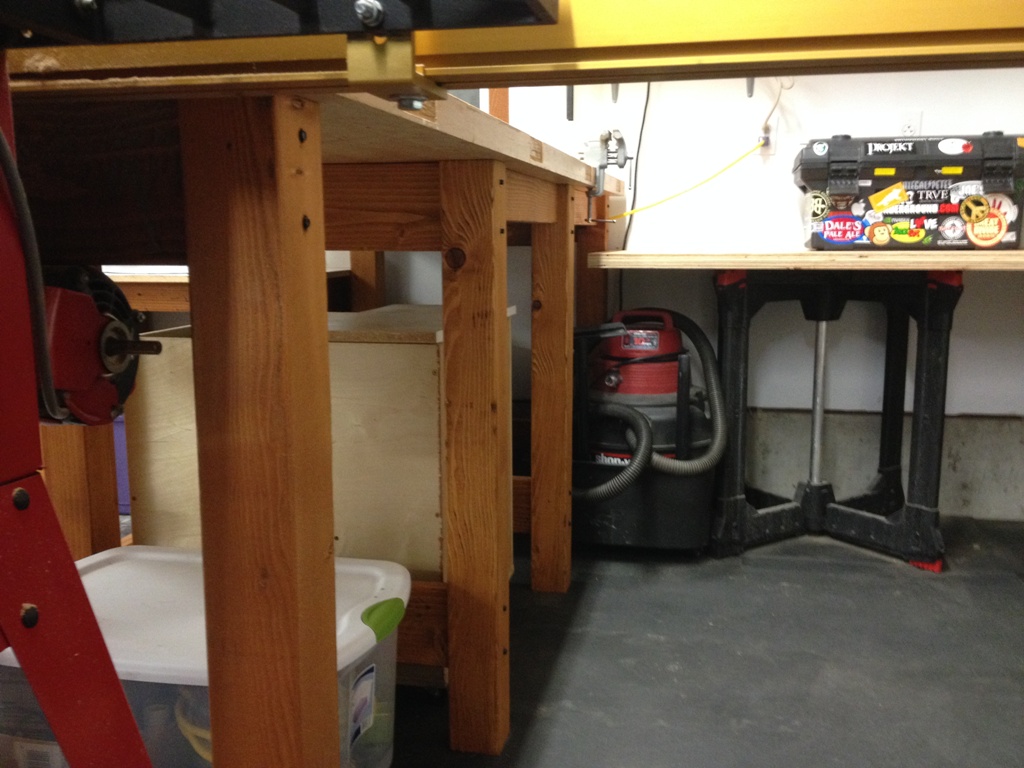
It makes sense to me that I want my shop as good as it can get.  That bench used to be on some old sawhorses I made two hundred years ago.  They were sturdy enough, but I like a bench that is the exact same height as the table saw.  This way, when I cut lumber on the saw it can just slide onto the table.  That’s called a Return Feed Table.  I’m happy that I have enough space for a big one like that.  Plus, I can now work on things without my lower back complaining from bending over all day.

plans

Two years later, and I still have about 500 board feet of construction lumber up at the shed.  Some of it is exposed to the weather and it’s getting mossy and green, which I actually don’t mind.  I like the weathered look.  Today I decided to take down some 2×12’s and make them into brackets for a side table next to my bench.  Not only will this thing be nice and sturdy, but the brackets keep any table legs out of the way so I can keep things under it, and I can also clean back there a lot easier.

saw

I really need to cut these as accurately as I can.  There’s two angled cuts there, and if they don’t make a precise 90 degree angle the table is not going to be flat.  I want my tables flat.  It’s the least I can ask of them.  Working with construction lumber can be like measuring with a micrometer, marking with chalk and cutting with an axe.  No matter how careful you are, the wood is a little bowed and knotty and not all the same thickness and the sides aren’t even really straight.  Yeah, I could put it all through the planer, but what’s the fun in that?

sanded

Now, here is what I really like about weathered wood.  The piece on the right is as I found it outside, and on the left is sanded.  I don’t sand it perfect, just enough to give it some smoothness and get most of the dirt and mold off it.  It comes out looking random and naturally distressed.  And it’s still a very, very strong beam.

wood

So I got all the pieces cut and I think this week I’ll get a coat of finish on it and let it cure for a couple days before I affix it to the wall.  The shop is really coming up great, the workflow is good and there’s lots of space to spread out and get things done in there.  I’ll be ready to start making some kitchen cabinets real soon.

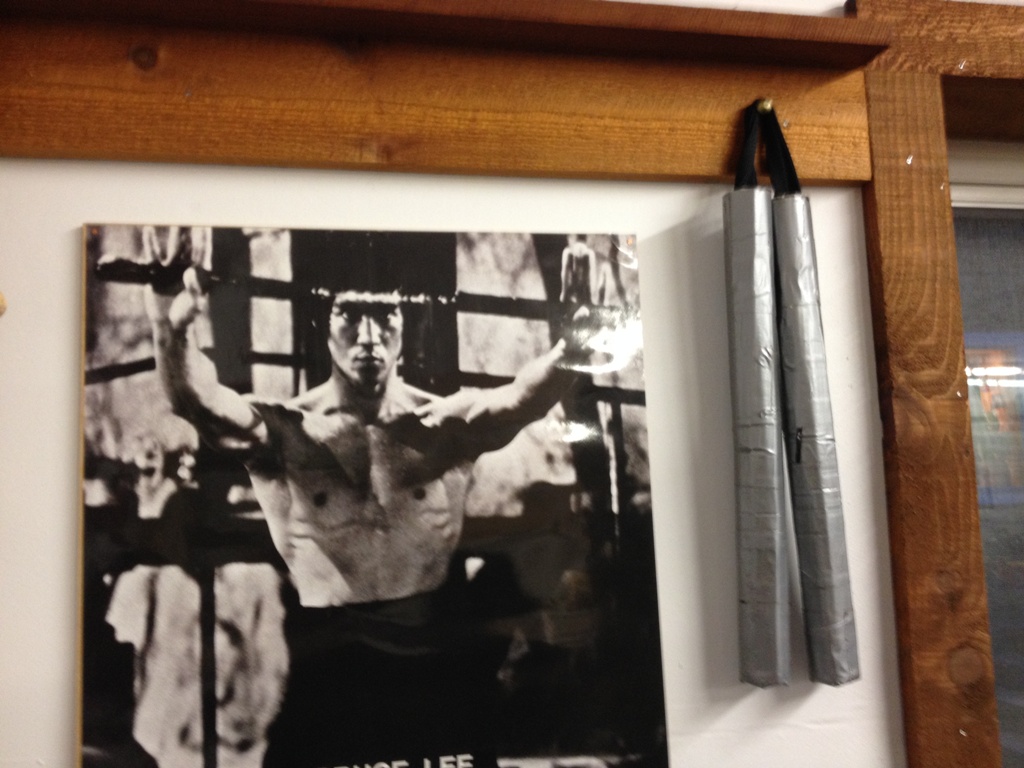
bruce lee

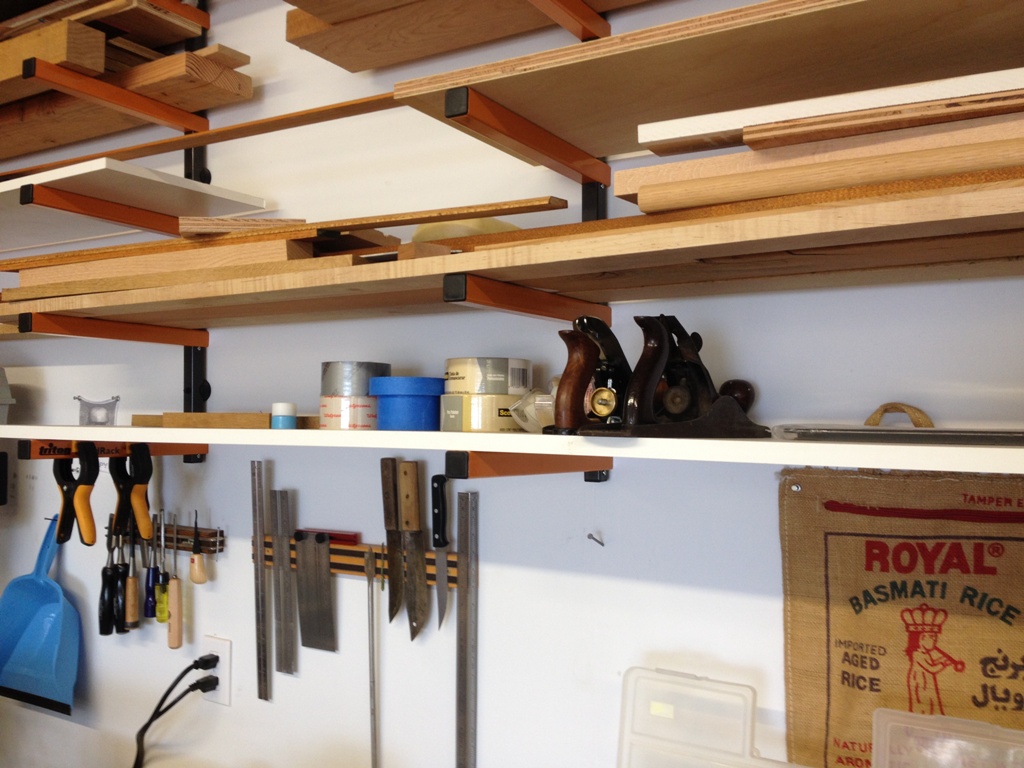
I’ve also added a lot of trim and shelves and hooks in the garage.  I’m just using rough cedar and leftover T-111 boards for the trim.  For a garage, they work great!  You may have noticed the punching bag that hangs in the corner from previous pictures.  It’s not just for looks.  About once a week, or every other week, I’m using it for a workout.  I spend some of the toughest 48 minutes of my life in front of that bag.  We use our garage for a lot of things.  I think it’s worth it to fix it up nice.


Alright, 1/8 of the house is finished.

Snowing


It’s snowing.  No better time to make sawdust.

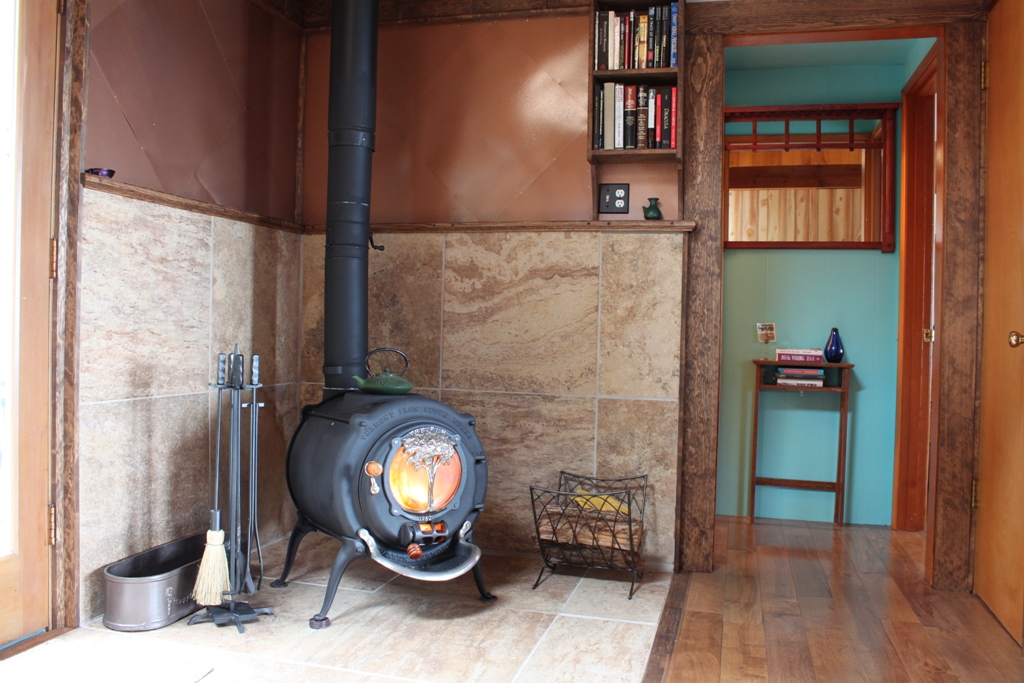
Okay, I finished a corner of the house.  The area around the wood stove.  The mantle is done, the trim work is done, and I’m ready to declare that one eighth of the house is now completed.

One Eighth Finished


The wood stove has a mantle.  Solid oak.  I set sheets of steel (painted copper) as a backsplash on the wall above the tile.  It’s painted with high heat enamel.  It is bulletproof.  If our wood stove explodes in a flaming conflagration that threatens to burn the house down, the metal sheets won’t help it a bit.

A patch of drywall


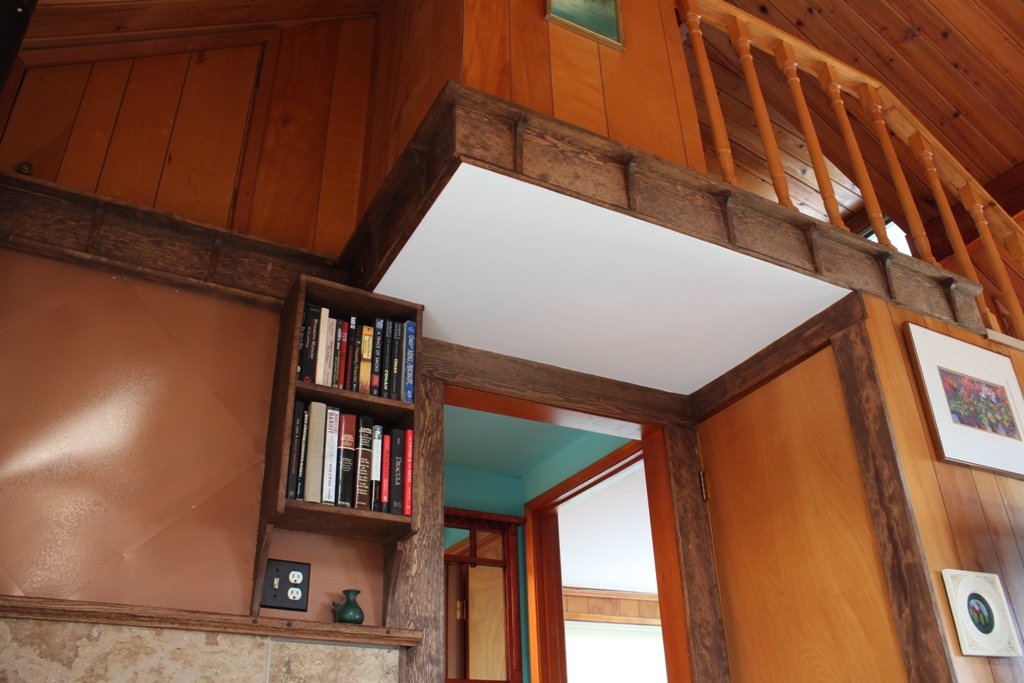
I built a little built-in bookshelf to help with the book creep.  Oh, what’s book creep?   That’s when your bookshelves are too full, and the books you’re reading start to litter shelves, tables, couches, chairs, pretty much any horizontal surface not previously occupied by a cat or a candle or anything else that takes up space.  Book Creep means you don’t have enough storage space for books.  Ergo, I build book shelves.

Oh, and that rectangle of drywall up there?  That was wood paneling.  Now it’s drywall.  We cheer, seriously cheer, for every square foot of old paneling that leaves this house, never to return.  We’ll paint it.  It won’t be white for much longer.

Mantle


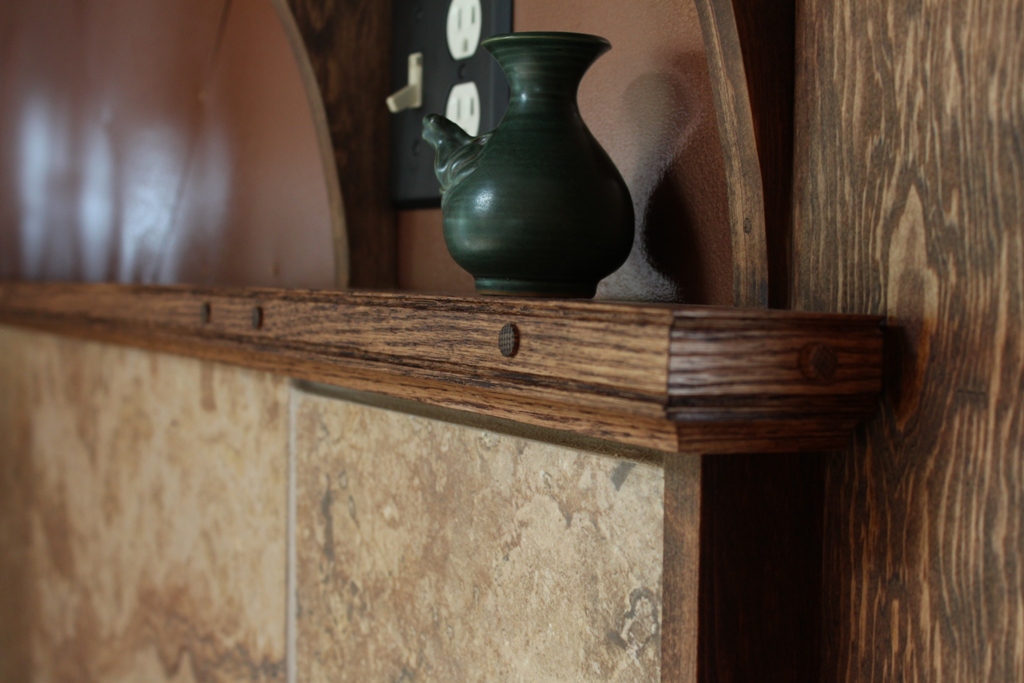
I was worried that the stove got too hot for a wooden mantle, but so far, the oak mantle has held up very well.  Hasn’t even burst into flames yet, and we’ve had quite a few fires in that stove since I installed it.  Those oak dowels conceal the fasteners that affix the mantle to the wall.  There’s quite a few of them.  That thing will never move.

Anyway, one eighth of the house is complete.  Fans of the computer game Ultima will rejoice, for I have not lost an eighth.


How To Make (lots of) Curved Brackets


I use brackets a lot in my projects.  I like the look of little brackets spaced at intervals along a band of wood, like you see in old craftsman houses.  They add structure as well as charm.  As I’m re-doing all the trim pieces in the house, the new trim is going to have plenty of these little curved brackets for added support, as well as architectural style.

Here’s an example of ones I did in a past project:

example

So they run along a band of wood with a little shelf on top, which makes for a convenent place to put your beer, collect D&D lead figures, or simply accumulate dust.  But I think it adds some character.  Anyway, in this house, I’ll probably need about 100 to 200 of these brackets.  When you need that many, you need to find a way to make lots of them and all the same size and shape.

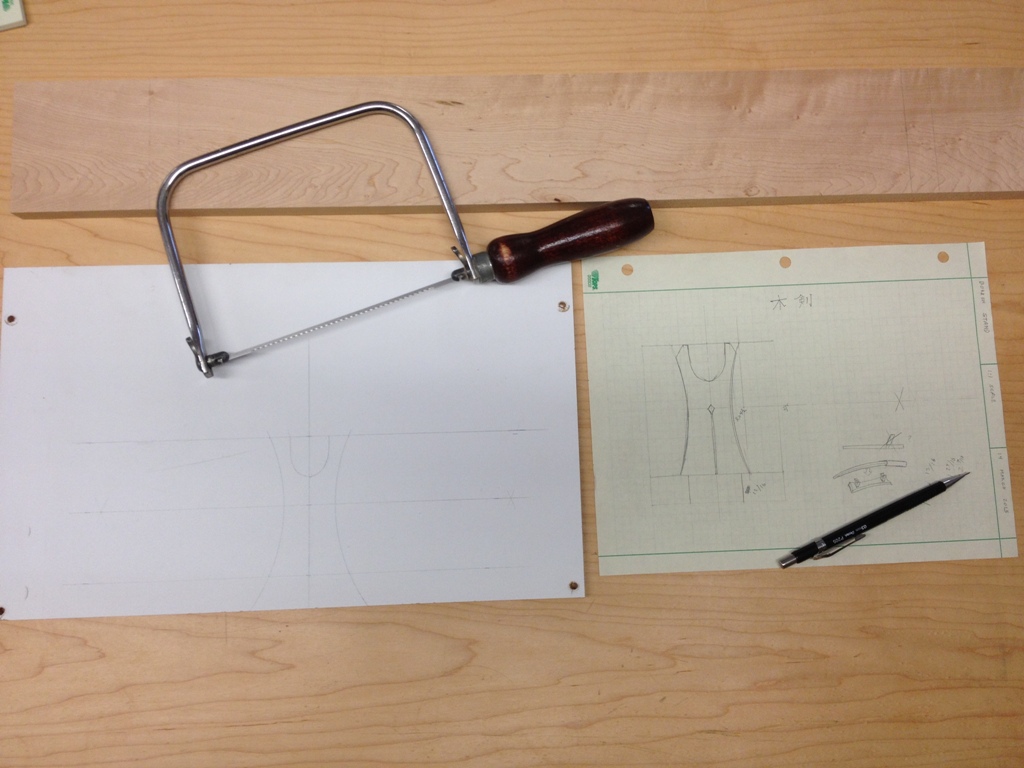
I start by making a template.  I use 1/4″ laminated MDF.  It’s very easy to work with and retains its shape well as long as it’s not abused.  I’ve got a growing collection of templates for various brackets and curves that I’ve done.  I first make a rough cut with a coping saw, then file it smooth, then sand it even smoother, checking the final shape for symmetry and correct geometry.  The one on the right is the one I’ll be using.
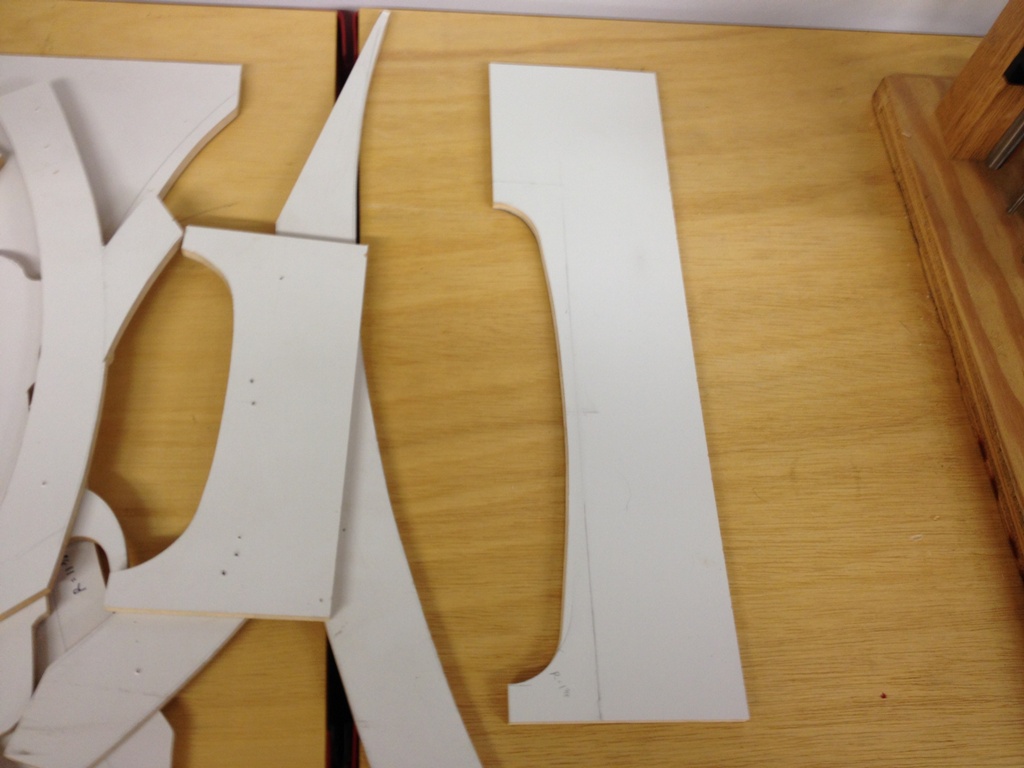
FormsUsing the template, I scribe out the line I need to cut on the wood.  I make a fine line right along the edge, then use a bolder pencil to line out where I’m going to cut with the jigsaw.  The idea is that the rough cut is not going to go all the way to the line, it’ll leave about 1 or 2 mm of wood left to shave off.  See, I’m so freaking close to Canada that I’m starting to use metric units.
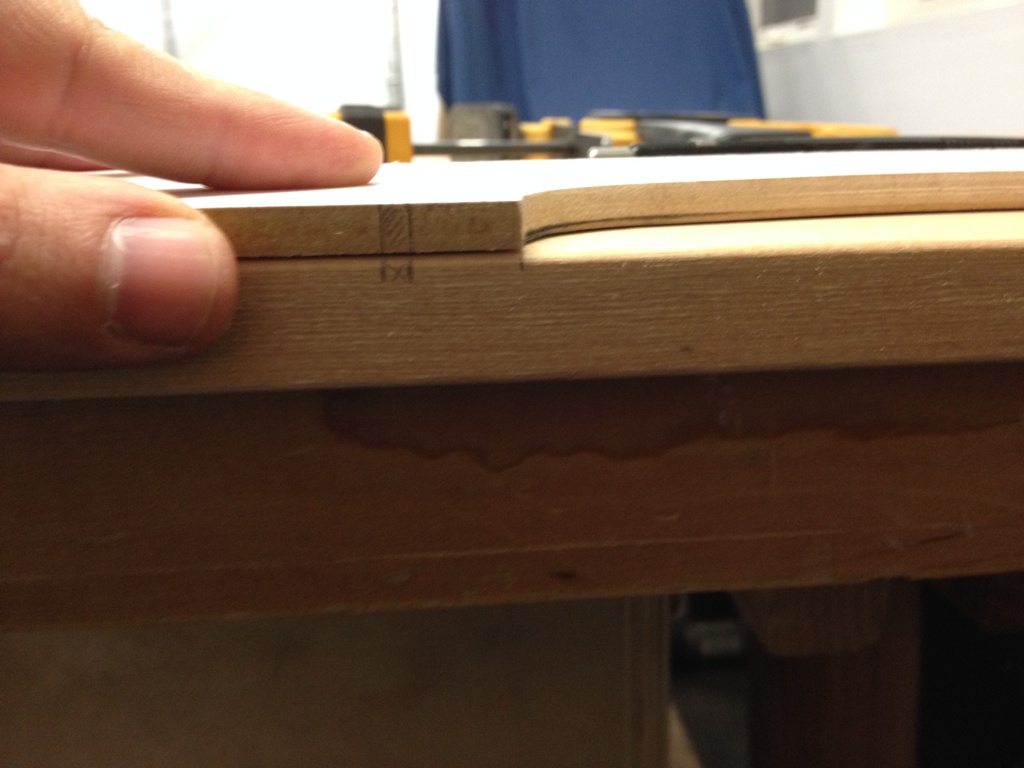
Marking


Each piece is very carefully marked.  That little hatched area is the area the saw will cut away.
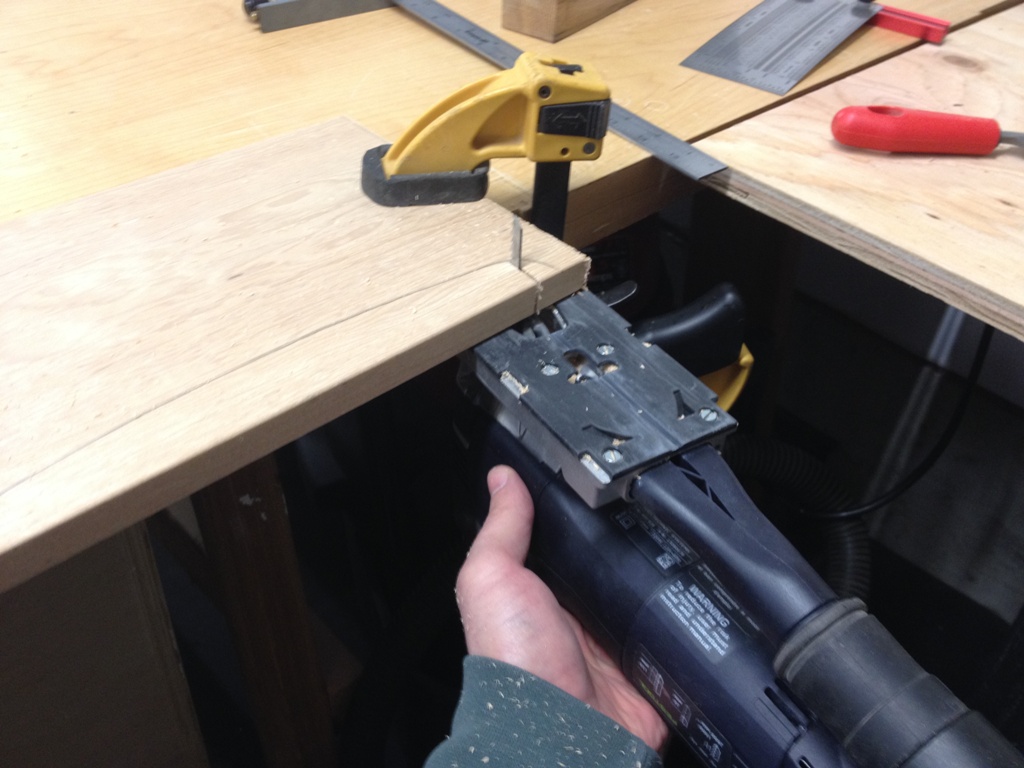
Cutting


With this jigsaw, I like to cut from underneath the piece.  This way you see exactly where the blade is cutting.  The trick is to keep the jigsaw plate square to the wood.  If it’s not square, or if there’s some movement or vibration in the wood, you run into trouble.  Press firm.  Watch the blade carefully.  Cutting freehand along a scribed line is not something I’m particularly good at, so I need to take my time with this step.Festool Jigsaw
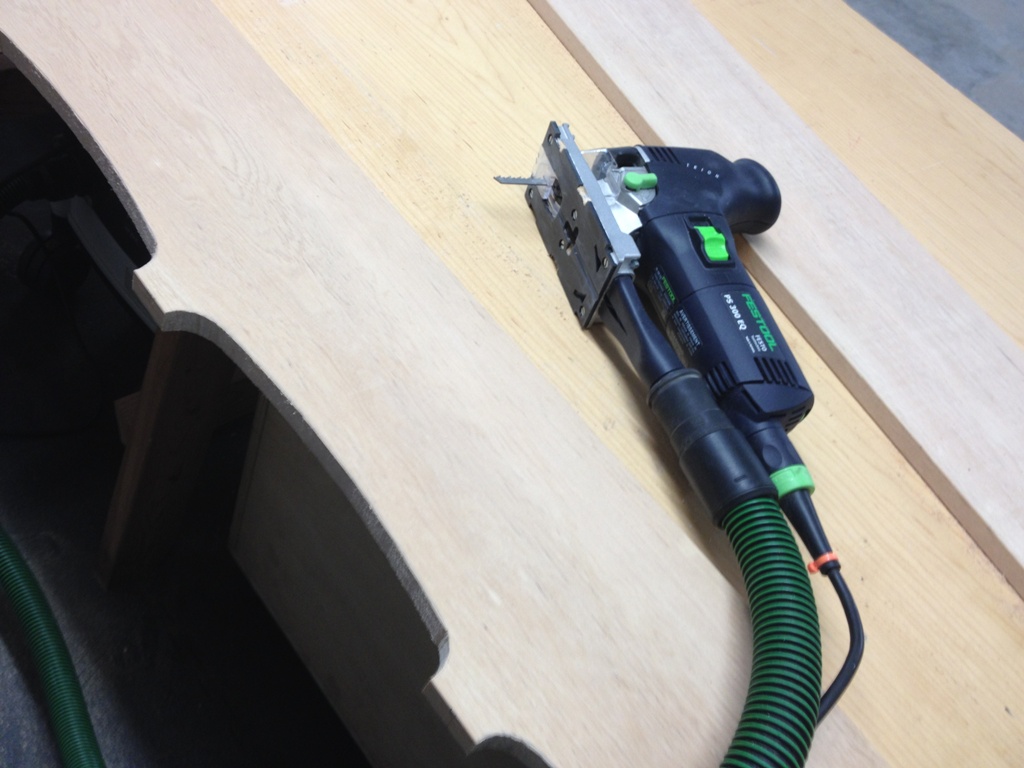
Again, Festool makes short work of the project.
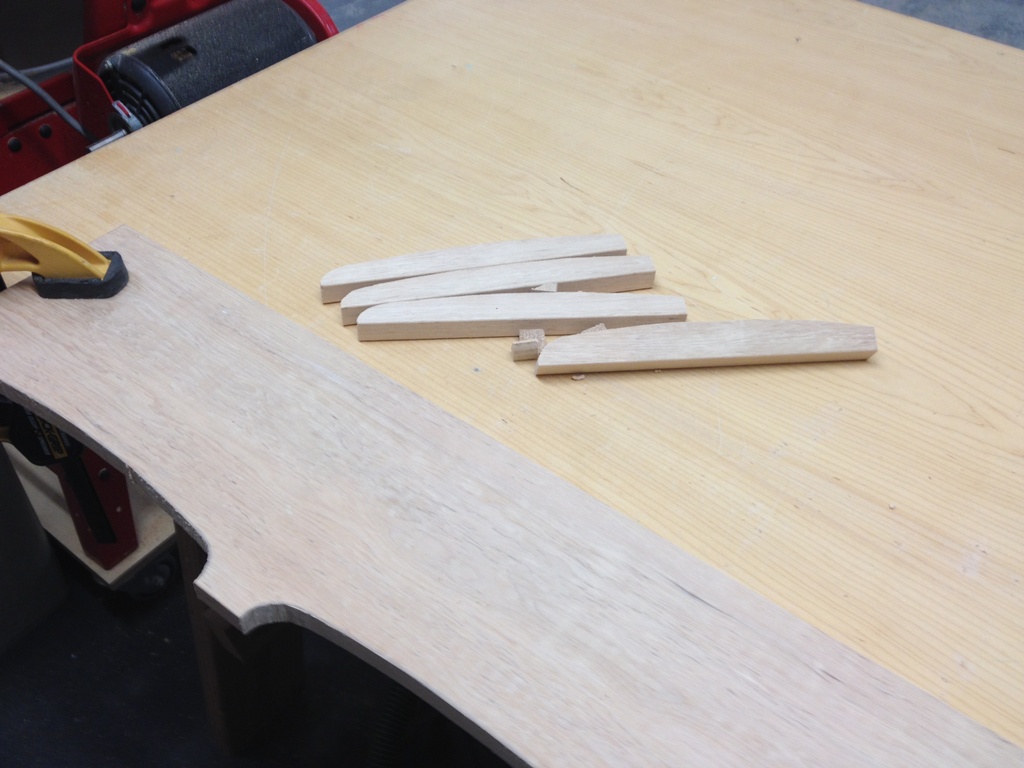
Kindling


The nice thing about being a woodworker and owning a wood burning stove is that every project I work on makes my house warmer.  As I type this blog post, those little pieces of wood are on fire and heating my home.  We don’t let much go to waste out here.

Next thing I do is affix that template to the work piece and give it a few passes on the router.  Using a nice smoothing bit, it cuts right along the template edge, and gives me an exact cut that’s going to be the same shape every time and typically I don’t even need to sand it.
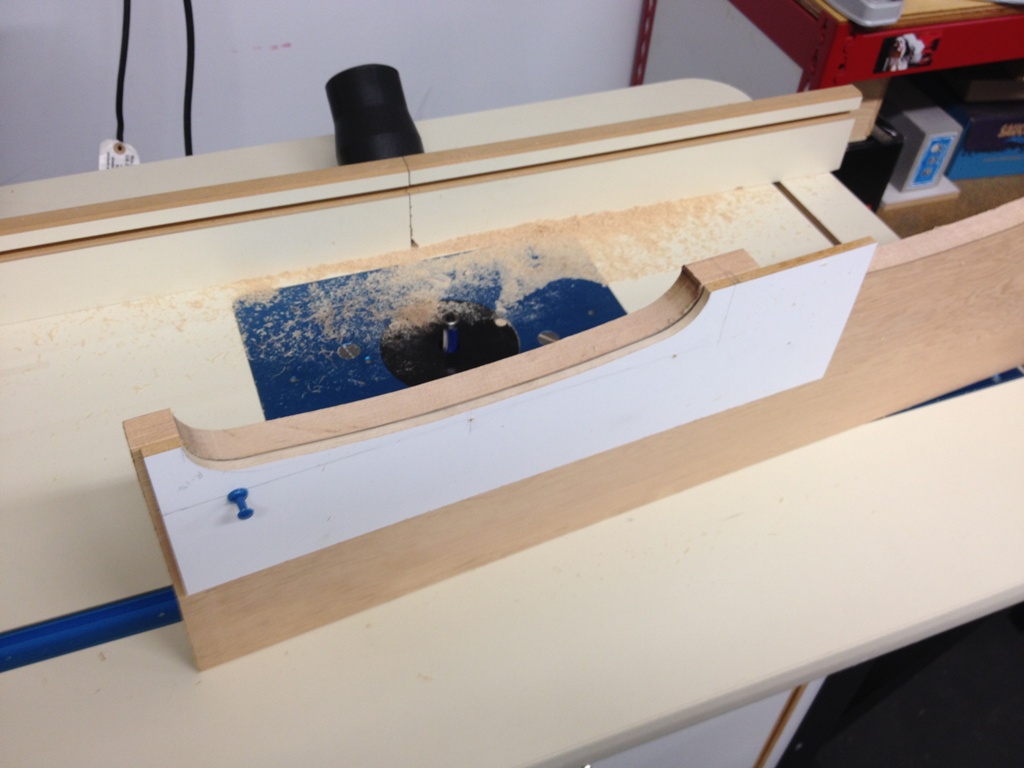
Router Work


I attach the template to the board using push pins.  Yes, push pins.  I used to have push pins made entirely of steel but they are now lost and I have no idea where they are.  They went to push pin heaven or something.  Now all I have is a dwindling number of plastic push pins that tend to break when I push them into the wood.

Now if you plan this appropriately, you can drive the pin through a section of the wood that’s going to get sawn off.  Therefore there’s no need to fill or repair the hole it made.  But I’ll be honest here.  I’ve made a lot of brackets and the vast majority of them have little pin holes in them where the template attached, and I made no attempt to repair them.  And no one ever notices.  Anyway, these particular brackets will have the hole marks sawn off.
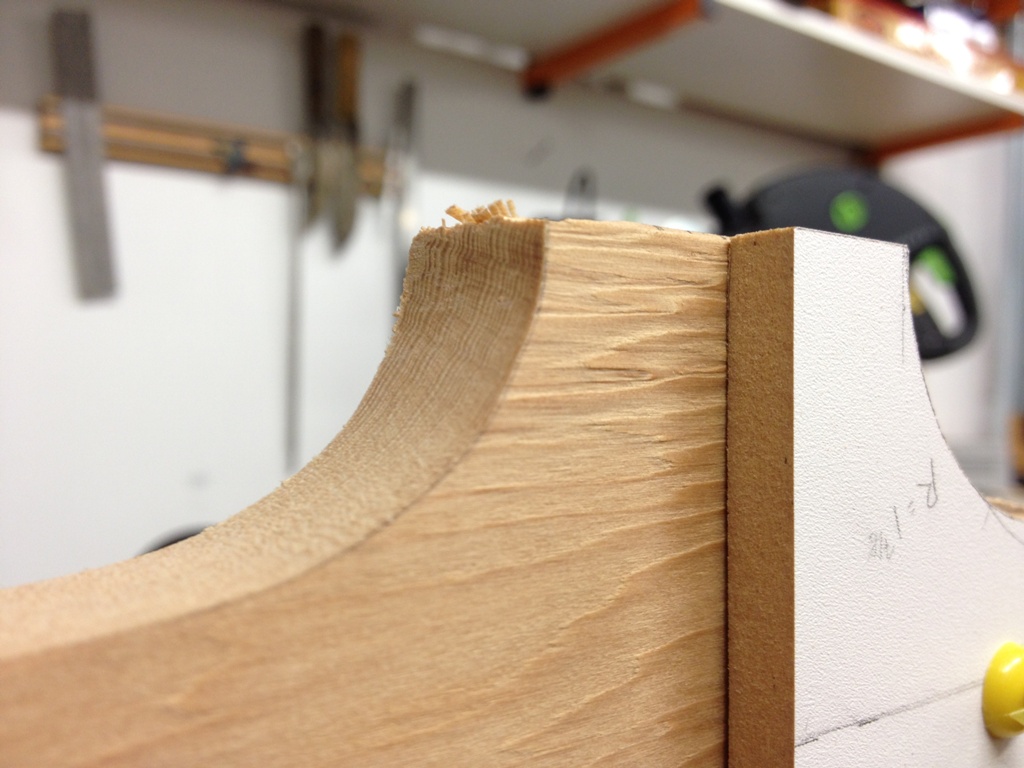
Tearout

Now there is a problem with tear out when you do it this way.  That’s when the router bit tears the wood at the corner, like in the pic above.  Sometimes it’s pretty minor, sometimes it ruins the piece.  There’s a few ways to avoid tearout but the method I prefer is to cut the wood with a chisel right where the router bit is going to tear.
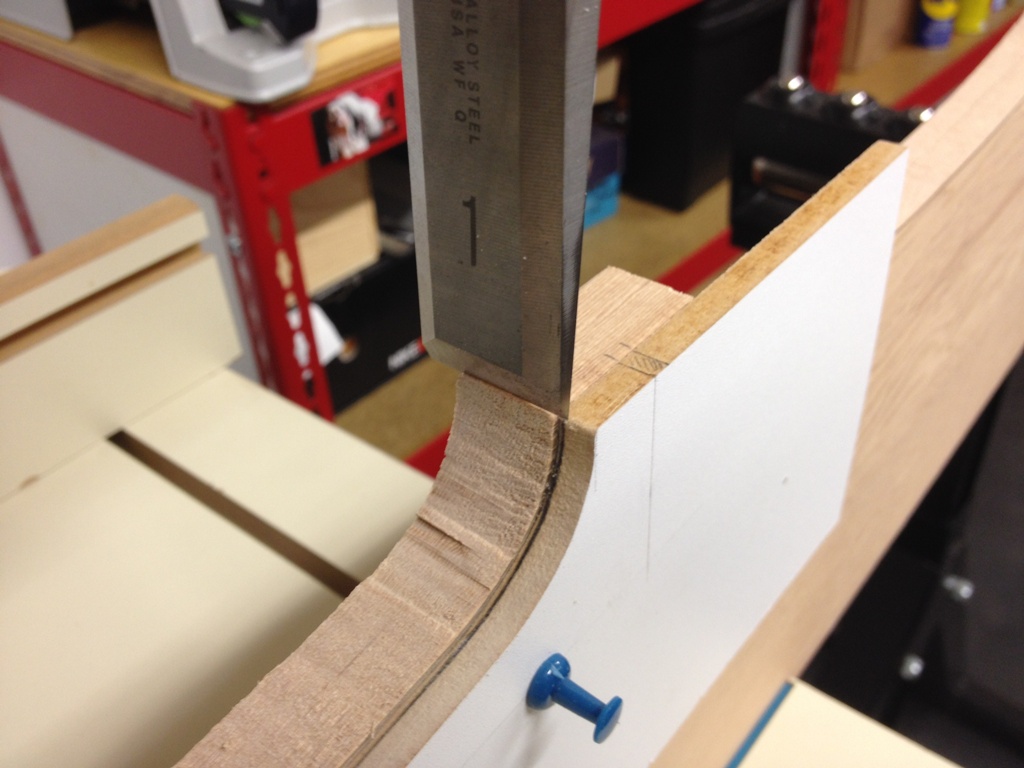
Chisel


It’s a pain in the butt to do it for every single bracket, but you really want that point to look neat and clean.  It’s going to be the most prominent point on the bracket, very visible.  So I take the time to do it right and ensure a clean look.

Once each bracket is hollowed out, it’s time to rip it down to the correct width.
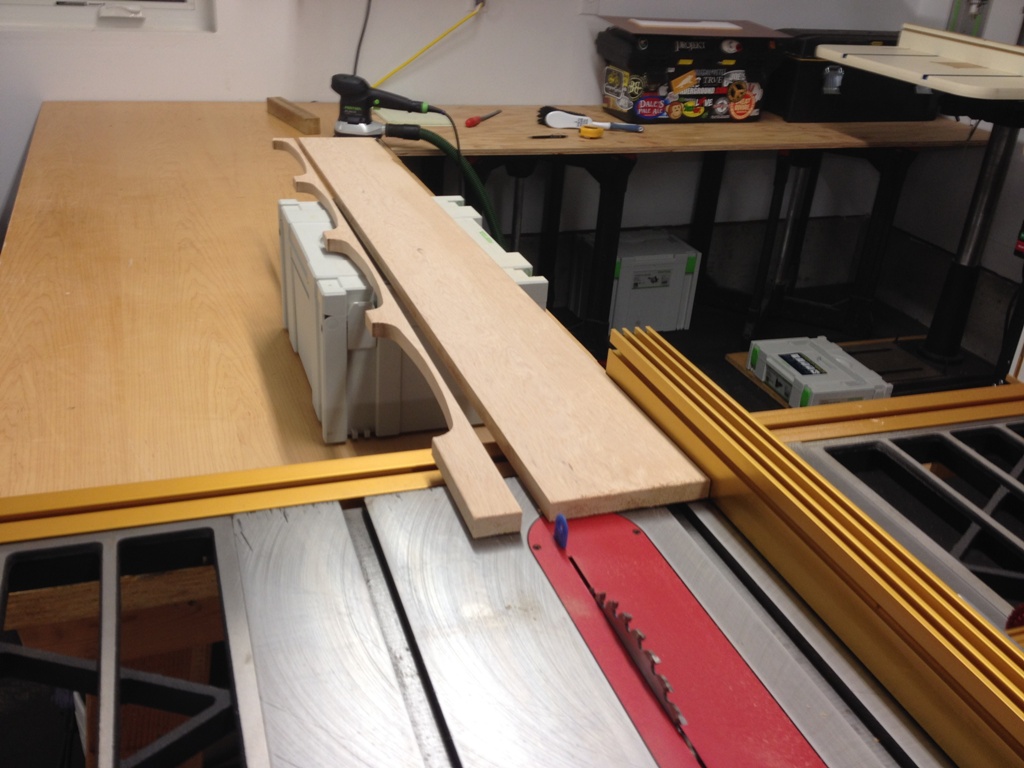
Ripping


The table saw made this cut flawlessly and effortlessly.  Which is pretty much the only thing that has gone flawless and effortless since I moved to this island and started working on projects.  So immediately my guard was up, waiting for the next thing to go wrong.

I cut out the individual brackets on the chop saw.  I don’t like cutting small pieces on the table saw, as small things have a tendency to want to go flying and poke someone’s eye out.
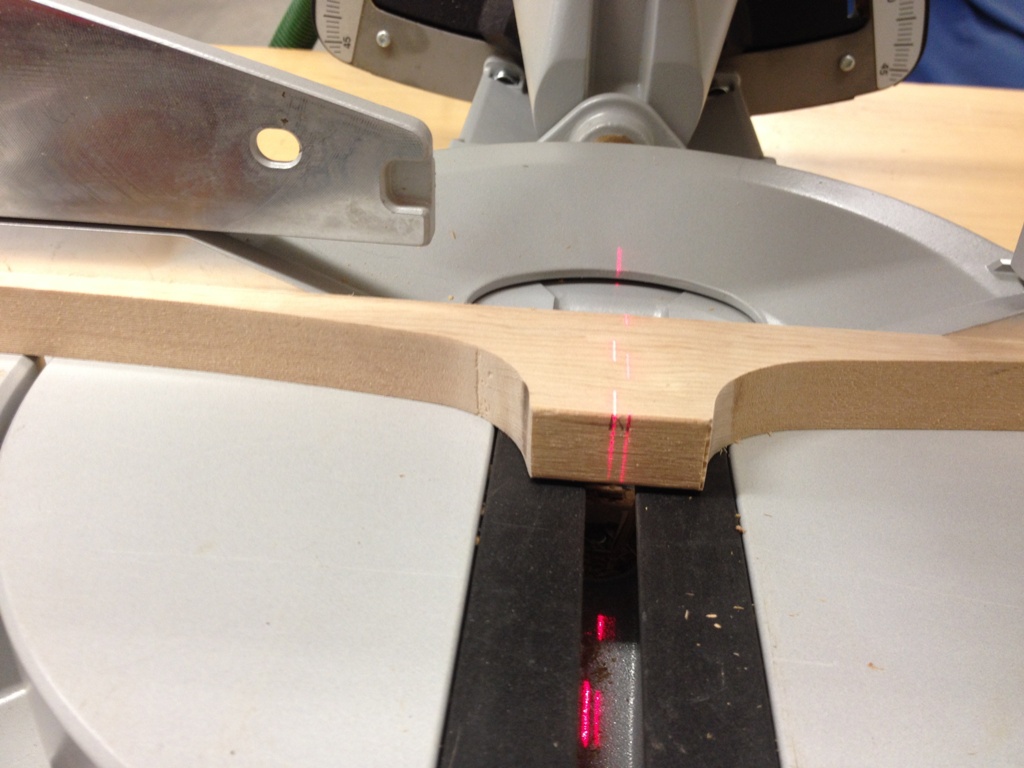
Final Cuts


My template pre-marked where the saw needs to cut to make each bracket symmetrical.  After cutting this way, it looks like I have a stack of ribs, ready to make a boat or something.
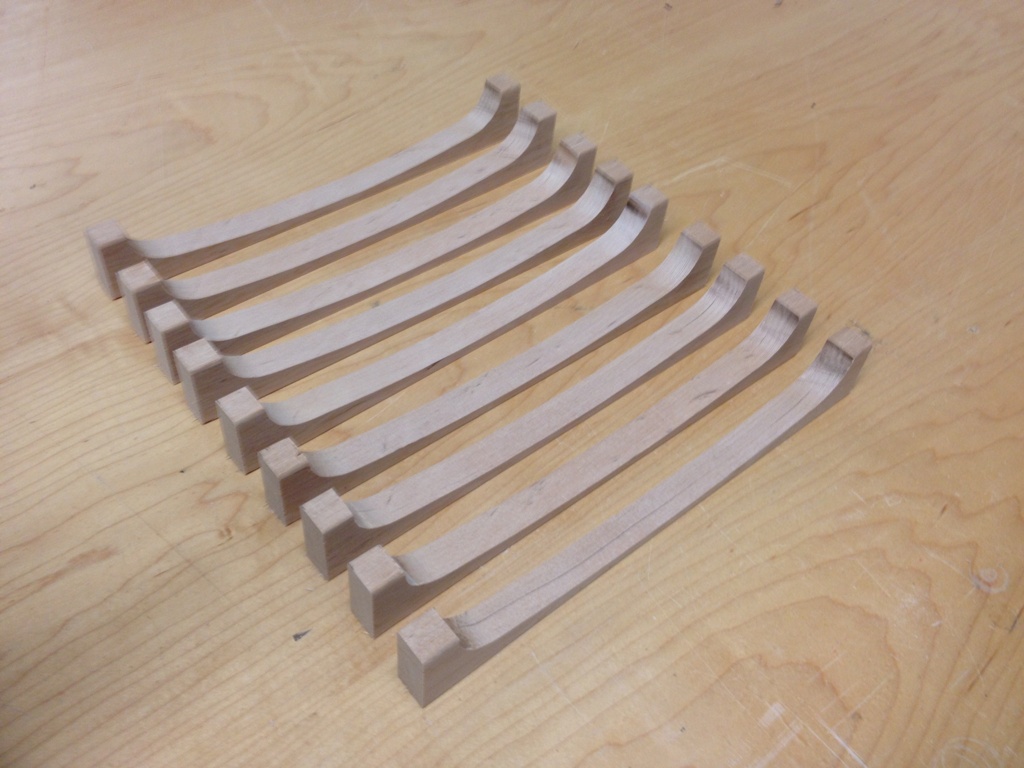
Ribs


Ha ha!  A boat.  That would imply I have time for recreational activities.  Ha ha ha.  I’m so funny.

Back to reality.  One more cut and they finally look like brackets.
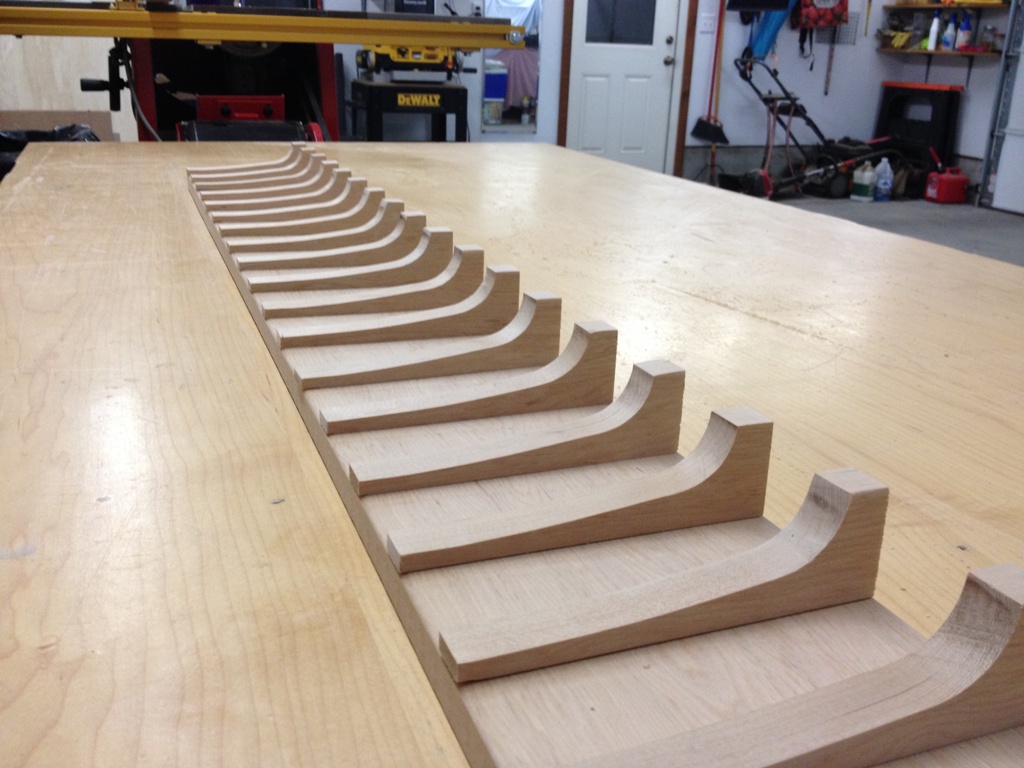
Brackets


Just some final sanding needed now to get rid of those stubborn burn marks.  A nice drum or spindle sander should get rid of those marks pretty easily (problem:  I don’t own a drum or spindle sander).

This is a good technique to make any number of curved pieces with repeatable accuracy.  These brackets are going to be along a band and shelf that goes around most of the interior of the house so it’s important they all look uniform.  They don’t need to be down to the tenth of a millimeter or anything, but they have to look the same when viewed with the eye.