 If you’re like me, you have a large number of Japanese swords cluttering up your house. All manner of Nihon-to, katana, bokken and shinsakuto edged weapons just leaning against walls or lying on the floor like a trip hazard. I really needed to do something about this. Storage space is hard to come by in this house so I thought my best bet was to design a wall mounted sword rack.
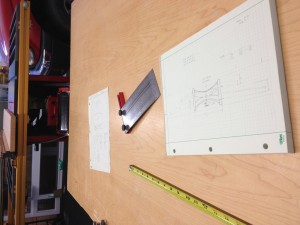 There’s not much wall space in the house either, but there’s a few spots I can mount at least one or two of my better blades as long as I keep the mount a little compact. I didn’t want a traditional Japanese design either, and I came up with my own, something a little more modern. Simple, though. Fit and function are a lot more important than looks.
When designing something small, it can be helpful to make a full scale drawing of what you’re trying to make. Drawing it out full scale really helps you see exactly what you have to cut out of wood.
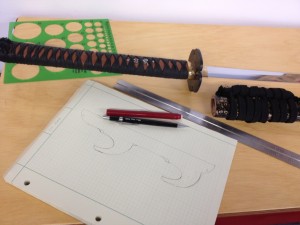 I used a slab of 7/8″ burled rock maple. It is not easy to saw and not very forgiving, but it is bulletproof. The prongs that hold the sword tend to be the weak point of any sword rack – if the sword twists against that prong, it can easily snap. This is why I like to use a really hard wood. When you draw it out life size, you start to realize there are things you may not be able to do, and you adjust your design accordingly.
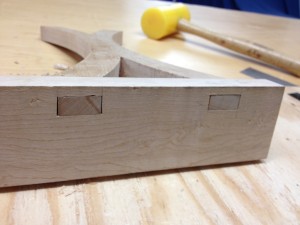
I have a mortising machine that cuts square holes like that, but it broke on the first mortise. Haven’t used it in over a year and I guess it was mad at me. So I had to cut all four mortises by hand with chisels I haven’t sharpened in over a year. I probably should have stopped and sharpened them but I know me, that would have taken all day. I wanted to get this project done before moving on to another project.
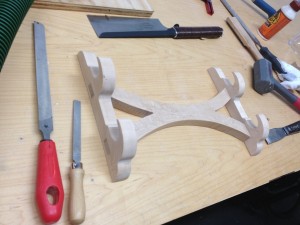 It takes a village of tools to do even a small project like this, especially the smoothing, shaping and sanding. I cut out a lot of that with a jigsaw (don’t own a scroll saw, and I’m not sure how a scroll saw likes an inch of rock maple anyway) and it was very rough after cutting. I smoothed it out with rasps and files and a nice straight router bit where I could get it to fit.
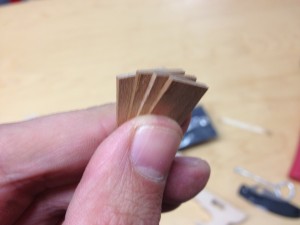 When I have exposed tenons like that, I like to put a wedge in there for some added stability. I don’t need them for structure, it’s only got to hold about 5 pounds of swords. Could have made this out of cardboard and still had enough structure. But wedged tenons not only look great but really make a strong joint that should never fail for the life of the piece. Last time I made wedges, I needed about 84 of them for my desk, and I cut them all by hand. Thankfully, the zero tolerance insert on my table saw lets me cut them on the saw. The wedge goes flying once it’s cut out, but it’s small enough that it doesn’t hurt anybody.
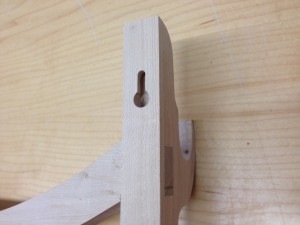 I’ve never cut a keyhole like this before but it seemed like the best way to mount it to the wall (and saved me a trip to town looking for hanging brackets that would fit). It’s not a difficult cut to make on a router table. The holes came out perfect and are actually stronger than I thought they would be.
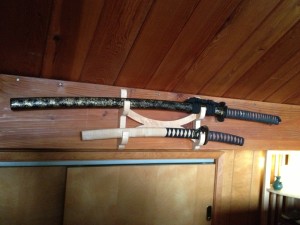 Anyway, all finished. Two less swords to trip on now. The top one is a crappy replica but it’s okay to train with. The bottom one is a very real wakizashi, folded steel, and extremely sharp. I’m going to re-do the handles on both of them and probably do some more work to that wakisashi at some point. Another project for another day.

